Testing Camera Angles to Avoid Capturing Whiteboards With Strategic Notes
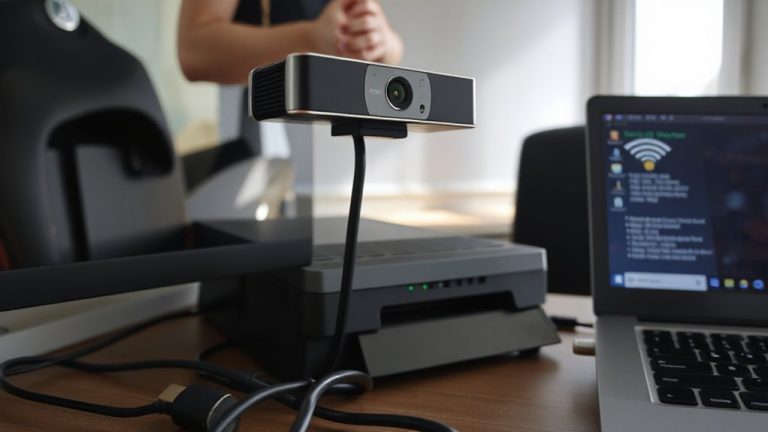
You should test your camera angle now to block whiteboards with strategic notes-slight sightlines or lighting glare can expose sensitive info, even if you think they’re out of frame. Position your webcam slightly above eye level and tilt it downward to exclude backgrounds. Use a tight chest-up frame, but avoid looking too stiff. Check recordings, not just live previews, since reflections or bright spots might reveal more than expected. Reviewing clips helps catch issues fast-especially ones you didn’t see coming.
Notable Insights
- Position the camera slightly above eye level and tilt downward to exclude whiteboards from the frame.
- Perform a full room sweep to identify all reflective surfaces and sightlines within the camera’s field of view.
- Use bookshelves or opaque covers to block whiteboards without altering camera positioning.
- Record a short video clip and review it to detect unintended visibility of notes or boards.
- Apply tight framing from the chest up to minimize background exposure while maintaining professional appearance.
Why Camera Angles Expose Sensitive Information
Why do some camera angles accidentally reveal more than you intend? Because your webcam’s field of view often captures beyond your desk, especially if you haven’t tested sightlines. Lighting contrast can highlight glare on walls or windows, drawing attention to areas behind you-like where a whiteboard sits. Even subtle reflections or bright spots might expose notes you thought were out of frame. Audio feedback won’t warn you, either; your mic captures sound, not visuals, so you won’t realize the issue until someone points it out. Test angles by recording a short clip and reviewing it-don’t just rely on live previews. Use a wide-angle lens cautiously; while it fits more in frame, it increases background exposure. Position your camera at eye level with a neutral backdrop to minimize risks. Remember: minor setup changes greatly improve privacy, but no angle fixes poor placement. Always verify in real conditions.
Scan the Room for Whiteboards and Screens
Start by doing a full sweep of your space before any meeting-look behind you, to your sides, and even above and below your camera’s line of sight. Whiteboards and monitors can reflect sensitive info, especially under bright lighting conditions. Adjust your position or camera angle to keep them out of frame without sacrificing audio clarity from your mic.
| Area Checked | Risk Level |
|---|---|
| Behind you | High |
| Left/right walls | Medium |
| Desk monitor | High |
| Ceiling/walls | Low |
| Floor/under desk | Low |
Good lighting conditions reduce glare on screens, making errant text harder to read. But don’t over-brighten-harsh light creates reflections that compromise privacy. Test angles with a quick video replay. Guarantee your setup maintains audio clarity using built-in or external mics, but avoid placing them near noisy electronics. Trade wide-angle views for tighter, safer frames if needed.
Block Whiteboards With Furniture or Covers
Your whiteboard’s visibility during calls is a bigger liability than most realize-positioning a bookshelf, freestanding panel, or even a floor lamp in front of it cuts the risk of accidental exposure with minimal setup. Smart furniture placement serves as a reliable, immediate barrier, especially in shared or hybrid workspaces where repositioning the camera isn’t an option. Choose pieces with solid backs to prevent sightlines from the side. Alternatively, use cover materials like opaque fabric rolls, vinyl wraps, or dry-erase board covers that attach with magnets or clips. These are portable and quick to deploy. Most durable covers last over a year with daily use and often come with 1-year warranties. While fabric may wrinkle and bulky furniture can limit space, both options beat digital fixes post-recording. Test stability during movement-nothing’s worse than a cover slipping mid-call.
Test Angles to Hide Sensitive Backgrounds
How much of your workspace really needs to be on camera? Testing angles helps hide sensitive backgrounds without costly gear. Position your camera slightly above eye level and tilt it down just enough to keep whiteboards or documents out of view. This minor shift can block confidential notes while maintaining a professional look. Be mindful of light positioning-avoid backlighting from windows behind you, which can create silhouettes and reduce facial visibility. Instead, use soft, front-facing light to keep your face clear. While adjusting the angle, check audio clarity; some positions may affect mic pickup, especially with built-in laptop mics. A 15-degree shift might dim sound slightly, so test with recording software. There’s always a trade-off between visual privacy and technical performance. Small adjustments deliver results, but they require real-time testing to balance privacy, light positioning, and audio clarity effectively.
Frame Shots Tightly on People, Not Walls
Focusing your camera on what matters-your face and upper body-means leaving cluttered walls and sensitive surfaces out of frame altogether. Using tight framing techniques guarantees your visual focus stays on you, not on accidentally captured notes or whiteboards. This approach works well with most built-in laptop cameras or entry-level webcams, especially when paired with a neutral backdrop. You don’t need expensive gear-just adjust the angle and zoom to frame from the chest up. However, overly tight shots can feel impersonal or cut off natural gestures, so balance is key. Test your setup in different lighting, noting how shadows or glare affect clarity. While this method limits background risks, it offers little room for movement. Make certain your seating and desk position allow consistent positioning. Tight framing isn’t always ideal for collaborative or dynamic sessions, but for focused, secure meetings, it’s a practical, low-cost solution backed by real use cases. A high-quality best webcams pick can enhance image clarity even in tight frames without sacrificing detail.
Walk the Set With Your Camera First
A quick walkthrough with your camera in hand beats guessing what’s in frame. You’ll spot problem areas-like whiteboards with notes-before rolling. Use your actual lens and settings; focal length changes what fits in shot. A wide-angle might capture more wall than you intend, risking unwanted details. Watch for lens distortion near edges, especially with cheaper glass-it can warp text into visibility even when you think it’s out of focus. Walk to where talent will stand and frame yourself. Check angles from seated and standing positions. Lighting shifts can expose reflective surfaces, so test under real conditions. Don’t assume a 35mm acts like a 50mm; the difference impacts background inclusion. Tripods help maintain consistency, but handheld checks reveal natural variance. Be precise: your setup’s success hinges on these pretests. Skip this, and you risk unusable footage. Consider using a monitor riser to optimize your camera’s line of sight during scouting.
Review Clips Right After Shooting
Why assume everything looked fine when you can confirm it in seconds? Review your clips right after shooting to catch whiteboard oversights early. This quick clip analysis saves time later, reducing reliance on post production review for fixable issues. You’ll spot stray notes in the frame or awkward angles that seemed fine on the viewfinder but don’t translate on playback. Use your camera’s LCD or plug into a monitor for a clearer look. Check focus, framing, and lighting continuity across takes. While immediate review improves accuracy, don’t expect consumer-grade screens to reveal every flaw-especially in bright rooms. Relying solely on them may miss compression artifacts or minor exposure shifts visible only later. Still, this step cuts major errors. Treat it as a practical checkpoint, not a replacement for full post production review. It’s efficient, low-effort insurance for cleaner final footage.
On a final note
You should test camera angles before filming to keep whiteboards out of view. Pointing the lens slightly away from walls or using a shallow depth of field helps hide sensitive notes. A modest tripod adjustment or repositioning a desk chair can block key areas. But tight framing may limit movement, and fixed setups won’t suit dynamic shots. Always review footage right after-what looks clean live might reveal details on playback. Test under real lighting, too, since glare can expose text.