Back-of-Desk Vertical Rails Supporting Charging Stations for Multiple Devices
You’ll save desk space and reduce clutter with a vertical back-of-desk rail that securely holds 3–6 devices using rubberized grooves and separated cable channels. Look for metal-backed models with UL listing and at least a two-year warranty for durability. Install it in minutes using screws into studs-adhesives may fail. Guarantee 3–4 inches of rear clearance and avoid overcrowding beyond six ports to maintain airflow and safety. Strong build and smart layout make it a solid upgrade-if you keep these details in mind, you’ll get the most out of your setup.
Notable Insights
- Vertical back-of-desk rails organize and secure charging cables for 3–6 devices using rubberized grooves and cable channels.
- They maximize workspace by clearing desktop clutter and routing cords neatly behind desks or walls.
- Mounting requires 3–4 inches of rear clearance and secure screw fastening into desk or wall studs.
- Choose durable models with aluminum or reinforced polymer builds and UL/ETL safety certifications.
- Ideal for high-traffic areas like offices or retail counters where multiple devices need accessible, safe charging.
Why Vertical Rails Beat Cable Clutter
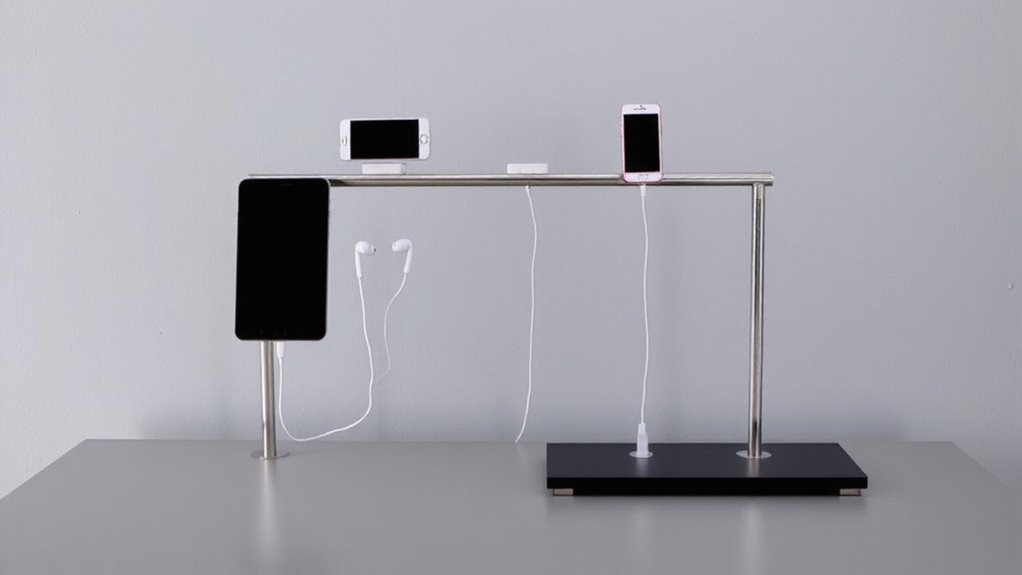
While managing tangled charging cables might seem minor, switching to vertical back-of-desk rails genuinely simplifies daily workflow-if you pick the right model. You gain serious cable management benefits, with dedicated slots keeping cords separated and accessible. Vertical rails improve space efficiency by using unused wall or desk-back areas, freeing up desktop real estate for work, not chargers. Most units hold 3–6 devices, with rubberized grooves preventing slipping and fray. Metal-backed models stay rigid, but lightweight plastic ones may wobble under tension. Mounting requires at least 3 screws into studs or a backing board for stability. Cord length matters-most rails work best with 36-inch cables to avoid strain. Units with ETL certification pass safety tests, but check warranty length; 1–2 years is typical. Some require adhesive strips, which can damage paint during removal. You’ll cut clutter, but mind fit and durability before buying. For a comprehensive overview, check out the best cable management solutions for a clutter-free desk.
Keep Devices Organized With a Vertical Charging Rail
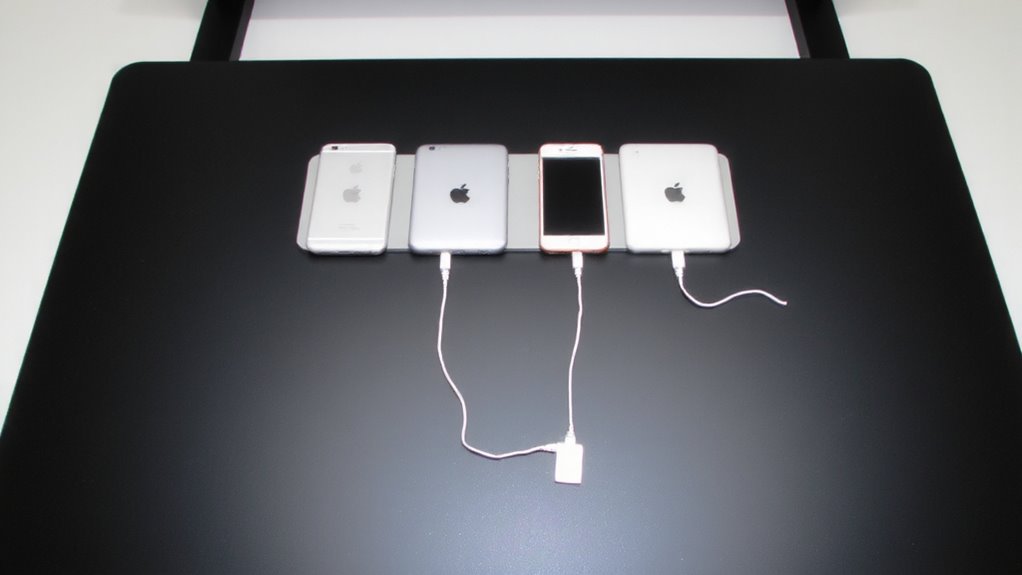
A vertical charging rail isn’t just another desk accessory-it’s a practical fix for the constant clutter of cords and devices vying for space. You’ll gain better cable management by routing charging cables neatly along the rail, reducing tangles and tripping hazards. It’s a strong move for space optimization, keeping your desk surface clear while charging multiple devices at once. Mounting the rail behind your desk means less visual distraction and easier access when docking phones, earbuds, or tablets. Most models use standardized mounting patterns and include Velcro or elastic retention, so setup is simple. Just be sure your desk has enough rear clearance-some rails add 3–4 inches of depth. Check weight capacity if charging heavier devices. Not all rails include power supplies, so confirm what’s bundled.
Must-Have Features in a Back-of-Desk Charging Rail
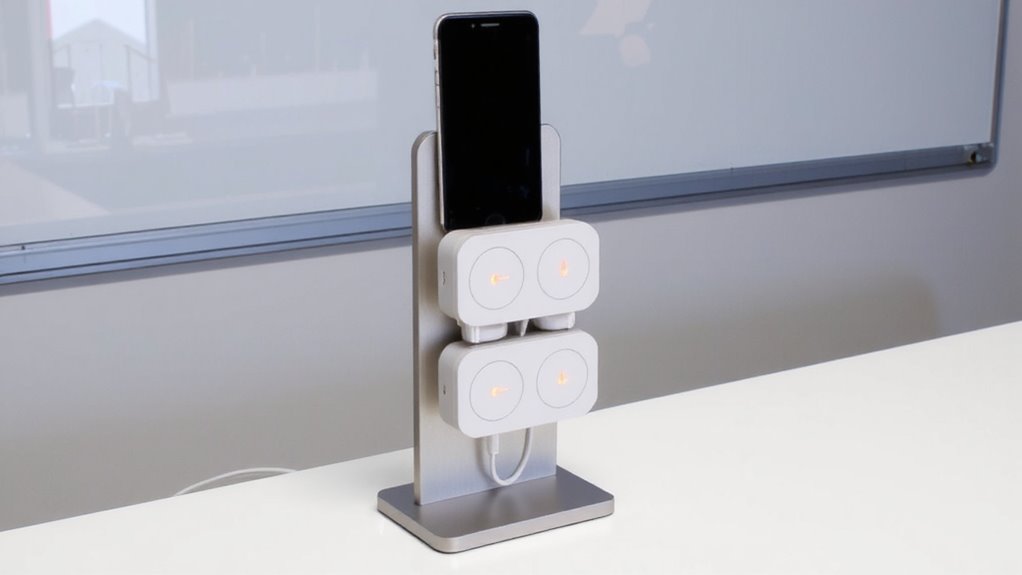
You’ll want to focus on specific features that make a back-of-desk charging rail both functional and adaptable to your daily setup. Look for strong cable management-channels or clips that keep cords aligned and tangle-free, reducing clutter and wear over time. Device compatibility is essential; choose a rail that supports a range of devices, from smartphones to tablets and even larger electronics, with adjustable mounting points or universal docking standards. A durable build using aluminum or reinforced polymer guarantees stability, especially when multiple devices are attached. Check for certifications like UL listing and at least a two-year warranty for long-term reliability. While more ports offer flexibility, overcrowding can lead to inefficient charging, so balance capacity with airflow and spacing. Avoid models with proprietary connectors unless you’re locked into a specific ecosystem. For optimal performance and safety, consider models highlighted in expert reviews of the best desktop charging stations.
Install Your Charging Rail in Minutes
Getting your back-of-desk charging rail set up should take no more than 10 to 15 minutes with the right tools and a clear plan. You’ll enjoy an easy installation if you pick a model with adjustable brackets and pre-drilled mounting holes. Most rails use simple screws or adhesive strips-just align it vertically on the desk’s rear edge and secure. A quick setup doesn’t mean cutting corners: always check cable length and outlet access before finalizing placement. Some units require routing cords through desk grommets, which adds a minute but improves neatness. While metal rails offer durability, they can weigh more, making alignment trickier solo. Models with modular ports let you customize charging spots, but make certain your devices fit the spacing. Always test fit first-poor positioning can block drawers or cause overheating. Follow manufacturer guidelines; skipping steps risks instability. Warranty terms vary-stick to brands offering at least one year coverage. A well-organized cable management system can significantly reduce desk clutter, and choosing the right cable management solutions ensures both functionality and aesthetics.
Best Places to Use a Back-of-Desk Charging Rail
Where should you install a back-of-desk charging rail for the best results? You’ll get the most benefit in high-traffic areas where people wait and need device power. Hospital waiting rooms are ideal-families and staff stay longer and appreciate accessible charging without clutter. Mount the rail behind nurse stations or reception desks to keep cords out of reach but ports within arm’s reach. Retail checkout counters also gain from rails; employees on shift can charge handheld scanners or personal phones neatly, reducing tripping hazards. Just make certain the rail fits your desk depth-most are 18–24 inches tall and fit desks up to 1.5 inches thick. Use models with surge protection and a minimum 3-year warranty. Avoid overloading; four to six ports max per rail maintains safety and cable space.
On a final note
You should get a back-of-desk vertical charging rail if you use multiple devices daily. It keeps cables tidy and saves desk space, with most models fitting desks up to 2.5 inches thick and offering 3–6 USB ports. Rails mount in minutes using included clamps or screws. Just note: placement matters-avoid blocking cable management or power strips. Some units lack surge protection, so check specs. Warranties typically last one year.