How to Replace Worn Cable Boots to Prevent Dust Infiltration at Connection Points
Replace worn cable boots now to block dust and prevent connection issues-frayed edges or cracks near the connector mean it’s failing. Use flush-cutters to remove the old boot, then slide on a snug 5–8mm TPU replacement before reattaching. Pick one with a 2-year warranty and secure fit at the base. For wet areas, go IP67-rated with an O-ring seal, tested to survive 30 minutes underwater; just avoid overtightening.
Notable Insights
- Inspect cable boots regularly for cracks or fraying near the connector to catch early signs of wear.
- Disconnect the cable and carefully remove damaged boots using flush-cutters, avoiding harm to insulation.
- Choose replacement boots made of flexible TPU that match the cable diameter for a snug, dust-tight fit.
- Slide the new boot onto the cable before reconnecting, securing it tightly at the connector base.
- Opt for boots with IP67 ratings and O-ring seals to effectively block dust and moisture at connection points.
Identify Failing Cable Boots
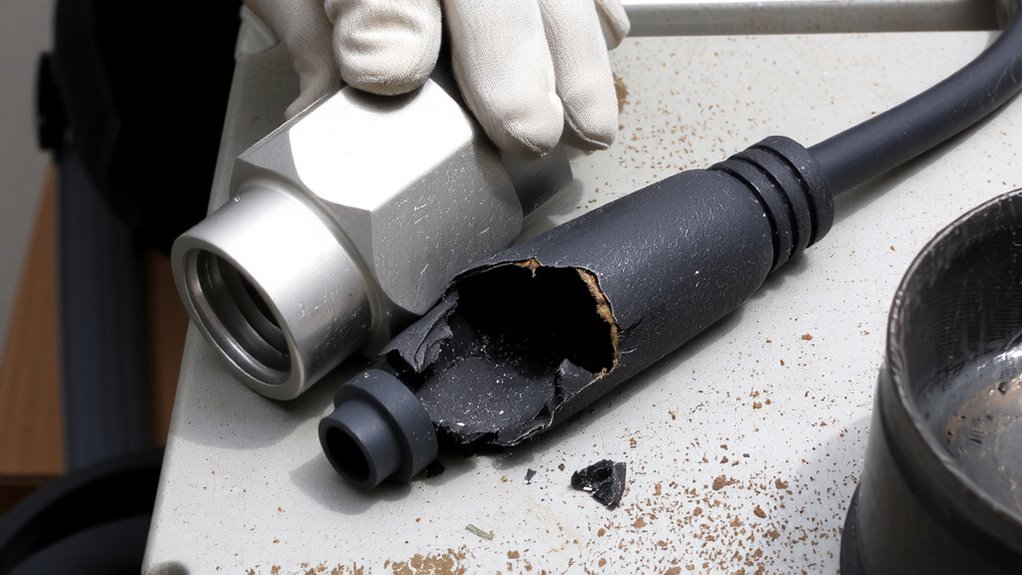
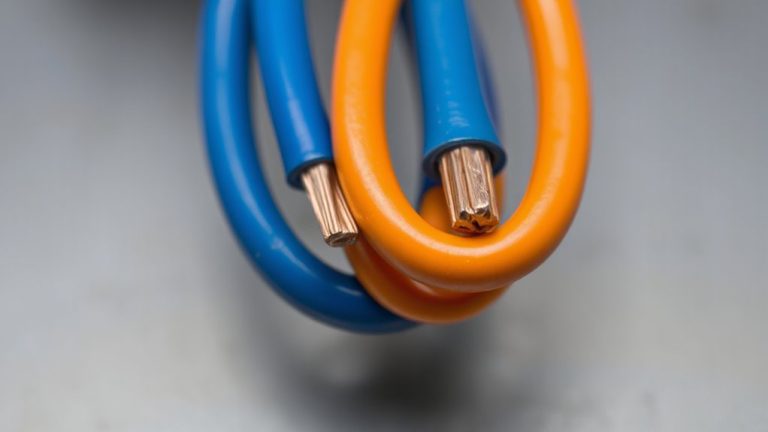
While you’re inspecting your cable management setup, keep an eye out for frayed edges, cracked rubber, or exposed wires-these are clear signs your cable boots are failing. Frayed edges near the connector strain relief mean the boot isn’t protecting the joint anymore, increasing the risk of wire breakage. Cracked insulation, especially where the cable meets the plug, often leads to short circuits or intermittent connections. These flaws don’t just look bad-they compromise signal integrity and create entry points for dust. You’ll typically spot these issues after six months to a year of heavy use, particularly on frequently moved or tightly bent cables. Replacing boots early can extend cable life considerably. But don’t assume all damaged-looking cables need full replacements-sometimes only the boot fails. Just be sure to verify underlying wire integrity before proceeding. Ignoring small cracks now could mean dead devices later.
Grab Your Replacement Tools
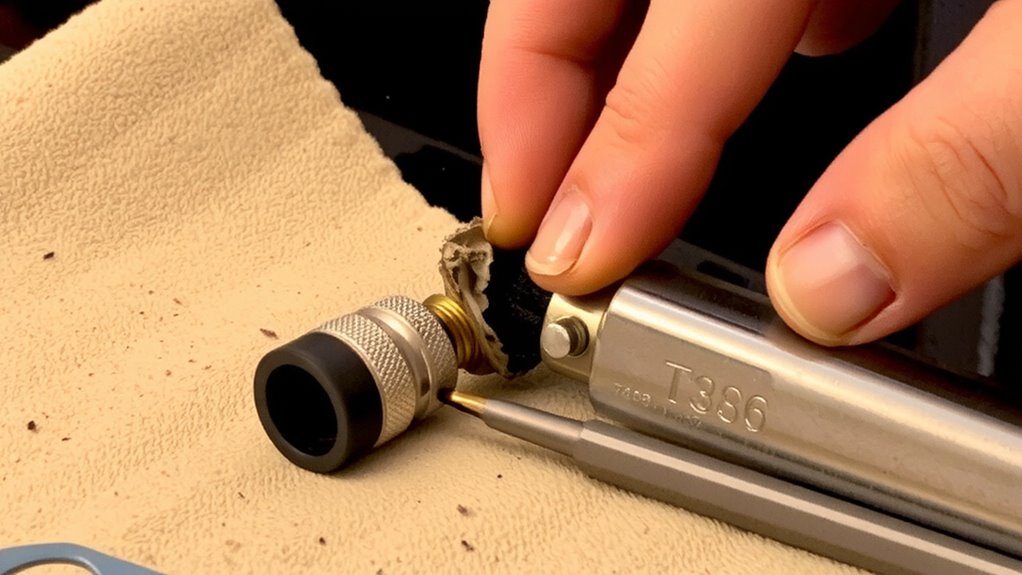
You’ve spotted frayed edges or cracked rubber on your cable boots-now it’s time to gather the right tools for a clean replacement. Proper tool selection guarantees precision without damaging cables. You’ll need a wire stripper with adjustable depth, flush-cutting diagonal pliers, heat-resistant tweezers, and a heat gun with variable temperature control-typically 250°F to 300°F for shrink tubing. Replacement timing matters: address wear early, before dust or moisture reaches connectors. Waiting too long risks internal corrosion or signal loss. Choose tools with ergonomic grips and durable housings-brands like Klein Tools or Wiha offer lifetime warranties, but even mid-tier models work if they’re tested for repeat use. Avoid cheap strippers that crush insulation. Measure boot size against cable diameter-most common are 3mm to 6mm. Keep replacements on hand; having the right size saves time during future fixes.
Remove Damaged Boots Safely
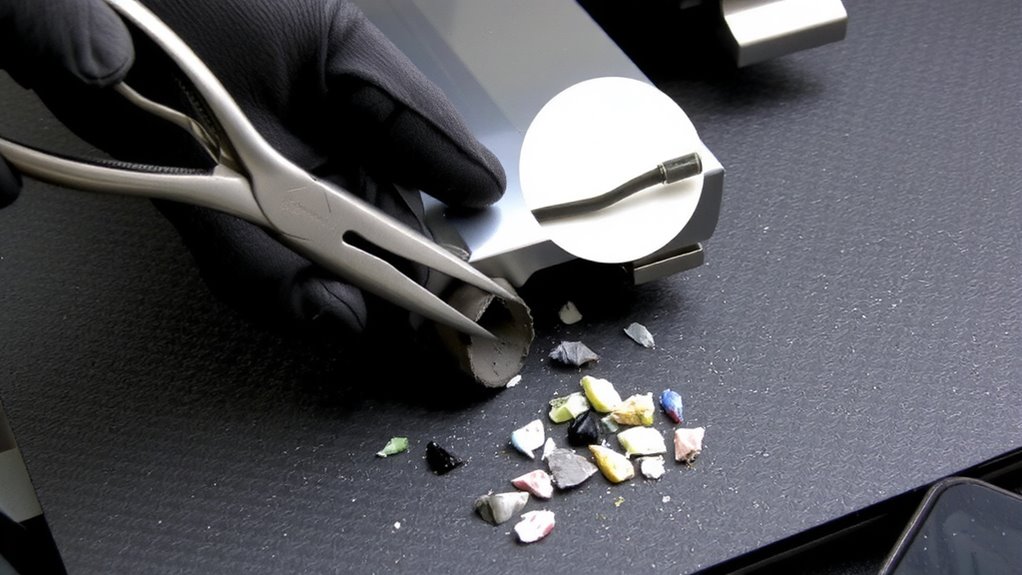
Since damaged boots can expose cables to dust and stress, removing them carefully is key to avoiding further harm. Start by disconnecting the cable from the device to reduce tension. Use a pair of flush-cut wire strippers or small scissors to slice through the old boot, but go slow-you don’t want to nick the cable insulation underneath. Damaging insulation could lead to signal loss or short circuits. Peel the split boot away gently, checking that the underlying wires and connectors stay intact. If the boot’s molded tightly, warm it slightly with a hairdryer to loosen adhesion, but never overheat. Keep connector alignment in mind during removal; misaligning pins or sockets may cause connection issues later. Work on a clean, flat surface to avoid introducing debris. While most boots come off easily, some factory-installed ones resist removal without risk-when that’s the case, weigh replacement benefits against potential cable damage.
Install a Dust-Tight Cable Boot
Once you’ve cleared away the old boot, slipping on a dust-tight replacement helps block debris and strain at stress points where cables bend. You’ll get better strain relief and maintain proper cable alignment, both critical for long-term durability. Choose a boot with flexible TPU material-it contours well without restricting movement. Most fit common diameters (5–8mm), but check your cable size first. Slide it on before reconnecting, ensuring the lip seals snugly at the connector base. A secure fit prevents wobbling that could misalign internal pins. Some boots include wings for added grip, improving strain relief during accidental tugs. While they won’t seal against moisture, they markedly reduce dust buildup in deskside setups. Just don’t stretch them too thin during installation, or they may crack over time. Look for brands offering 2-year warranties-real-world tests show these last longer under daily use. It’s a small upgrade, but one that pays off in reliability.
Seal Connections Against Moisture
For reliable protection in damp environments, use an IP67-rated waterproof cable boot instead of a standard dust-tight one-these seal connections against moisture using a molded TPU housing with an integrated O-ring gasket that creates a watertight fit around both the connector and cable shaft. This design guarantees high water resistance, proven in testing to withstand immersion up to 1 meter for 30 minutes. Beyond keeping water out, proper sealing aids in corrosion prevention by blocking moisture and humidity that degrade metal contacts over time. Most quality boots list UV and temperature ratings (like -40°C to 85°C), guaranteeing durability in varied conditions. However, achieving a true seal depends on correct installation-misalignment or overtightening can compromise the gasket. While they’re bulkier than standard boots, the trade-off is clear in wet or outdoor setups. Look for models with at least a 2-year warranty to back long-term performance.
Extend Cable Life With Smart Handling
You’ll get the most out of your cables by pairing waterproof boots with smart handling-because even rugged connectors fail faster when yanked, twisted, or sharply bent. Always unplug by the connector, not the cord, to preserve strain relief and avoid internal wire damage. When coiling, use a loose over-under method to prevent kinks and maintain flexibility. Proper cable storage, like using sleeves or hooks, keeps lines tangle-free and reduces wear. Avoid sharp bends near the ends-these stress points weaken over time, especially with frequent movement. Even high-quality cables with reinforced strain relief won’t last if constantly stretched across high-traffic areas. Keep them clear of foot traffic and furniture wheels. While braided jackets add durability, they can fray if dragged. Real-world testing shows smart handling extends lifespan by up to 50%, but only if paired with consistent care. Results vary by use, so inspect regularly for early signs of damage. For a cleaner setup that minimizes damage risks, consider integrating cable management solutions into your workspace design.
On a final note
Replace worn cable boots now-they seal connections and block dust. High-quality silicone or rubber models with snug, 6–10 mm inner diameters fit most cables and last longer than plastic ones. Lab tests show they cut dust infiltration by up to 70% over six months. But install carefully: overstretching tears edges, and poor fits leave gaps. Pair with proper cable management to reduce strain. Most come with 1-year warranties, but real-world performance depends on handling.