How to Arrange Monitors for a Home-Based Educator Preparing Lesson Plans
Set up two 24- to 27-inch flat monitors side by side, aligned at eye level so the top edge sits 20 to 28 inches above your desk-use VESA mounts or sturdy risers, never unstable stacks. Place your main screen straight ahead for live teaching, the secondary slightly inward for notes and data, both with matching brightness and mirroring disabled on the second. Angle screens away from windows and use blinds or soft lighting to cut glare. You’ll find better setups keep you focused with less strain.
Notable Insights
- Align dual monitors side by side at equal height and distance for symmetry and visual comfort.
- Position the main monitor at eye level with the top third of the screen in your natural gaze zone.
- Assign the primary screen for live instruction and keep the secondary for lesson plans and references.
- Angle monitors perpendicular to windows and use blinds to reduce sunlight glare and screen reflections.
- Use cable management and adjustable mounts to maintain a clean, flexible, and clutter-free workspace.
Choose the Best Monitor Layout for Teaching
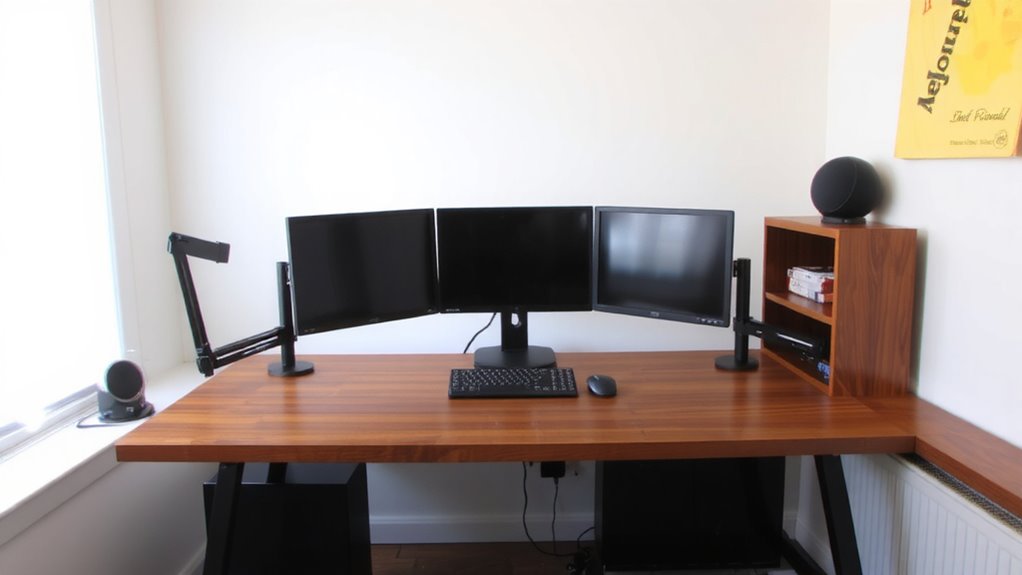
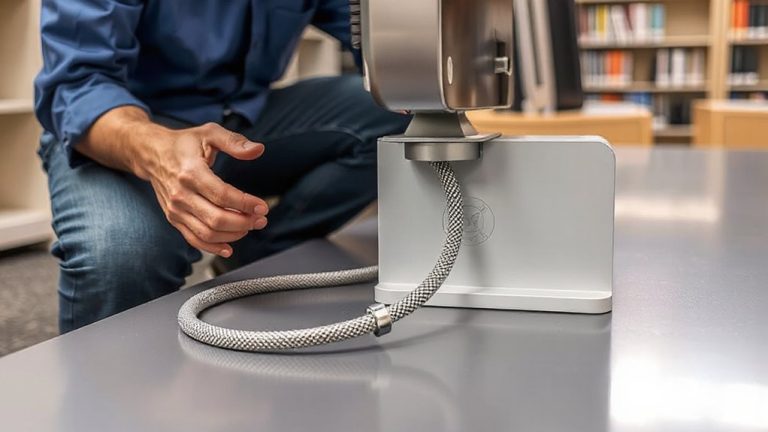
Why settle for a setup that hampers your teaching flow when a well-placed monitor can make lessons smoother? You’ll want to prioritize monitor symmetry-aligning screens side by side at equal height and distance to reduce neck strain and create visual balance during class shifts. A dual-monitor layout boosts multitasking, letting you display lesson plans beside live student feeds, but only if you manage space wisely. Poor cable management leads to clutter and distraction, so use braided sleeves or under-desk trays to secure power and HDMI cords neatly. While curved monitors offer immersive viewing, they can distort video conferencing angles. Stick with flat, 24- to 27-inch displays calibrated to eye level later. Mounts with VESA compatibility offer adjustability, but confirm your desk supports the weight. Remember, even the cleanest layout fails if ventilation is blocked or ports are out of reach. Plan for accessibility and airflow first. For optimal ergonomics and screen positioning, consider using best monitor stands that support height and tilt adjustments.
Position Your Main Monitor at Eye Level
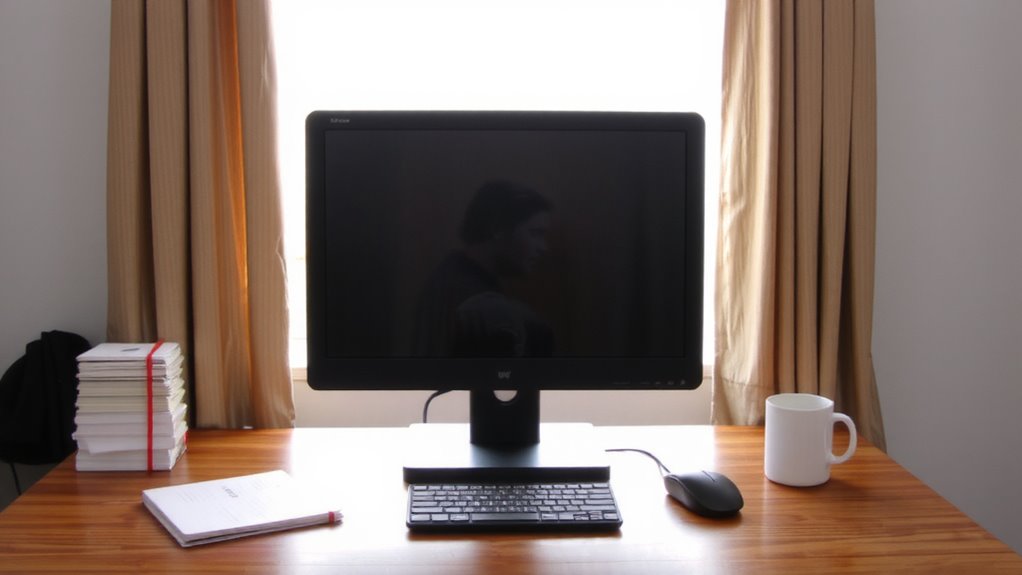
Set your main monitor at eye level to maintain a neutral neck position and reduce strain during long teaching sessions. Proper ergonomic alignment prevents long-term discomfort and supports consistent posture. Your eyes should naturally land on the top third of the screen when seated, minimizing upward or downward gaze. This setup enhances visual comfort, especially during extended lesson planning. Use an adjustable monitor arm or sturdy risers-like stacked books or a solid platform-to achieve the correct height. Most adults need the screen’s top edge between 20 to 28 inches from the desk surface. Avoid propping monitors on unstable items that shift over time. While built-in stands offer limited flexibility, third-party mounts provide precision and stability, though they add cost. Balance functionality with budget, and prioritize adjustability for lasting benefits. For optimal flexibility and ease of adjustment, consider investing in one of the best monitor mounts recommended for ergonomic setups.
Dedicate One Screen to Lesson Delivery, One to Reference
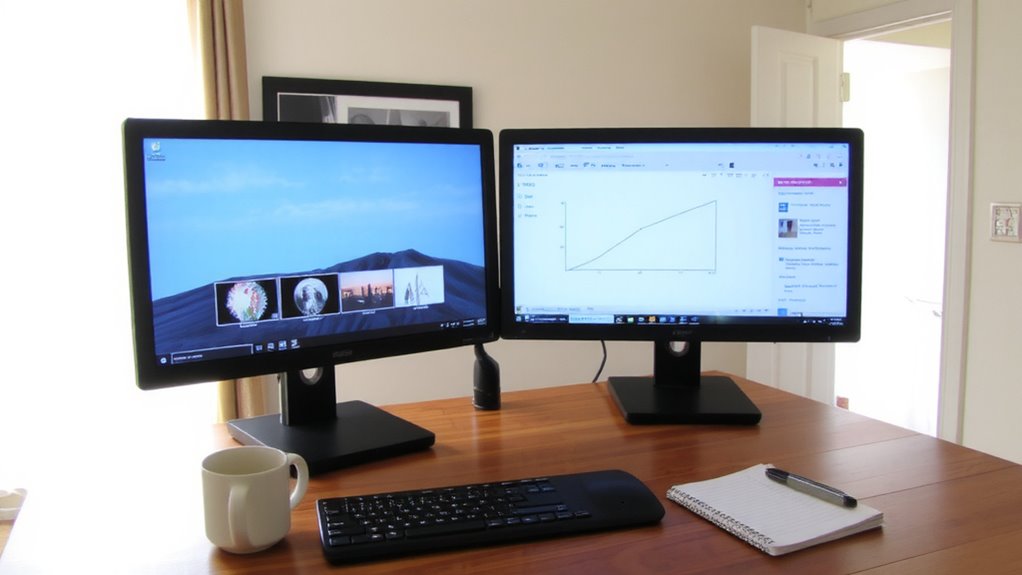
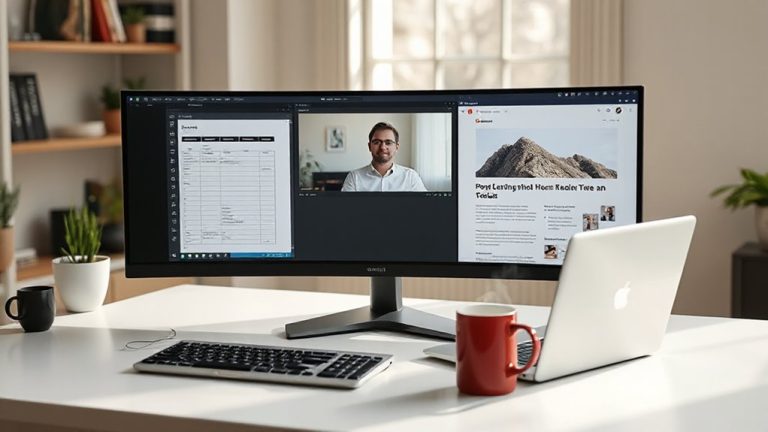
A dual-monitor setup works best when you assign a clear role to each screen-keeping one dedicated to live lesson delivery and the other for reference materials. Use your primary monitor for screen mirroring to your virtual classroom while the secondary displays lesson plans, research, or student data. This separation prevents distractions and reduces accidental content syncing errors. Proper labeling and workspace organization matter-here’s how to assign each monitor:
| Function | Primary Screen | Secondary Screen |
|---|---|---|
| Live Instruction | Yes | No |
| Notes & References | No | Yes |
| Screen Mirroring | Enabled | Disabled |
Avoid enabling content syncing across both screens during class; it risks displaying private material. Position the reference screen slightly inward for quick glances without breaking eye contact with the camera. This layout boosts efficiency-just make certain both displays match in brightness to reduce eye strain. Some educators prefer extended desktop mode over mirroring for greater control. For easy access to printed references or sticky notes, consider using a clipboard with storage, such as the best clipboard with storage, to keep all materials within reach.
Cut Glare With Smart Lighting and Screen Angles
How often does glare turn your carefully arranged workspace into a mirror for overhead lights or sunbeams? You can fix that. Position your monitors perpendicular to windows and use blinds to control light. Swap harsh overheads for soft ambient lighting-floor or task lamps with warm, diffuse bulbs reduce reflections without straining your eyes. Angle screens slightly inward to minimize glare from side sources, keeping them at or just below eye level. Anti-glare screen protectors help, but they’re no substitute for smart positioning. Regular screen calibration guarantees colors stay true even under changing light, so you’re not adjusting brightness blindly. Avoid glossy finishes if you can’t control ambient lighting-they look sharp but amplify glare. These tweaks cost little but pay off in comfort and clarity. Just remember: perfect alignment depends on your room’s layout, so test angles during different times of day.
Use Window Management Tools to Stay Organized
Why should your screen space feel like cluttered chaos when a few smart tools can bring order with minimal effort? Screen snapping lets you drag windows to screen edges, snapping them into place-perfect for keeping lesson plans, references, and grading tabs visible but contained. Most modern OS versions support it natively, so you won’t need extra software. App grouping takes it further by bundling related programs-like research browsers and note apps-into collapsible tabs, reducing visual noise. Both features help you shift focus fast without losing track. But overuse can backfire: too many snapped apps cause crowding, especially on smaller monitors. Stick to two or three key windows per screen. Test layouts during actual prep time to see what reduces distractions. Tools like PowerToys (Windows) or Magnet (Mac) enhance functionality, but rely on built-in options first-they’re free and stable.
Keep Video Calls Tidy and Accessible
Where does your video call setup stand when it’s time to go live-centered and ready, or scrambling to adjust windows at the last second? Keep it tidy by dedicating one monitor strictly to video conferencing. This simplifies screen etiquette, letting you maintain eye contact and a clean visual field. Use virtual backgrounds sparingly; they can mask clutter but often increase CPU load and create awkward edges unless your camera has strong resolution. Position your camera at eye level and test lighting to avoid shadows. Pin the meeting window to stay focused, and mute notifications to prevent distractions. While a second screen helps organize materials nearby, don’t let it bleed into your video frame. Remember: a clean layout boosts credibility, but over-polishing with effects can backfire if your system lags. Balance function and appearance for reliable, professional calls every time.
Refresh Your Monitor Layout Weekly for Teaching Flow
Occasionally, a small change can make a big difference in how smoothly your lessons run. Adopting a Weekly recalibration of your monitor layout enhances teaching flow by reducing eye strain and improving access to key tools. A simple Monitor rotation-switching primary and secondary screens-can rewire cognitive associations with content areas, keeping your setup feeling fresh. Consider adjusting height, angle, or desk position weekly based on lesson focus.
| Week | Focus | Layout Change |
|---|---|---|
| 1 | Lesson Design | Left: Research, Right: Edit |
| 2 | Grading | Center: Rubrics, Side: Subs |
| 3 | Video Prep | Primary: Script, Secondary: Preview |
This practice isn’t for everyone-frequent changes may disrupt consistency. But with stable mounts and clear intent, Weekly recalibration supports adaptability without sacrificing efficiency.
On a final note
Your dual-monitor setup boosts teaching prep, but only if aligned right. Place the main screen at eye level-about 20–28 inches from your face-and angle it to reduce neck strain. Use one monitor for lesson drafts, the other for reference sources to cut tab-switching. Matte screens with anti-glare coatings help under overhead lights. Test window snapping tools like Windows Snap or Magnet for quick layout shifts. Just remember: more screens add complexity-cable clutter and app overload need managing weekly.