Using Natural Light Sensors With Smart Home Lighting for Auto-Adjustment
You can use natural light sensors with smart lighting to auto-adjust brightness, saving up to 30% on energy by dimming LEDs to 40% in bright daylight. For best results, pair well-calibrated photodiode sensors with systems like Samsung SmartThings or Apple HomeKit, and place them opposite north-facing windows at eye level. Avoid direct light interference to prevent false triggers. Smooth adjustments reduce eye strain, but monthly recalibration and firmware updates are key. Real-world tests show 70% fewer abrupt changes with proper setup-get placement and calibration right for reliable performance.
Notable Insights
- Use photodiode-based natural light sensors to detect ambient brightness and automatically adjust smart lighting levels.
- Place sensors opposite north- or south-facing windows at eye level to capture accurate, representative light readings.
- Avoid direct sunlight, lamps, and reflective surfaces near sensors to prevent false brightness triggers.
- Pair sensors with Zigbee or Z-Wave-compatible systems like Samsung SmartThings or Apple HomeKit for reliable automation.
- Recalibrate sensors monthly and integrate weather APIs to maintain smooth, energy-efficient brightness adjustments.
How Natural Light Sensors Work With Smart Lights
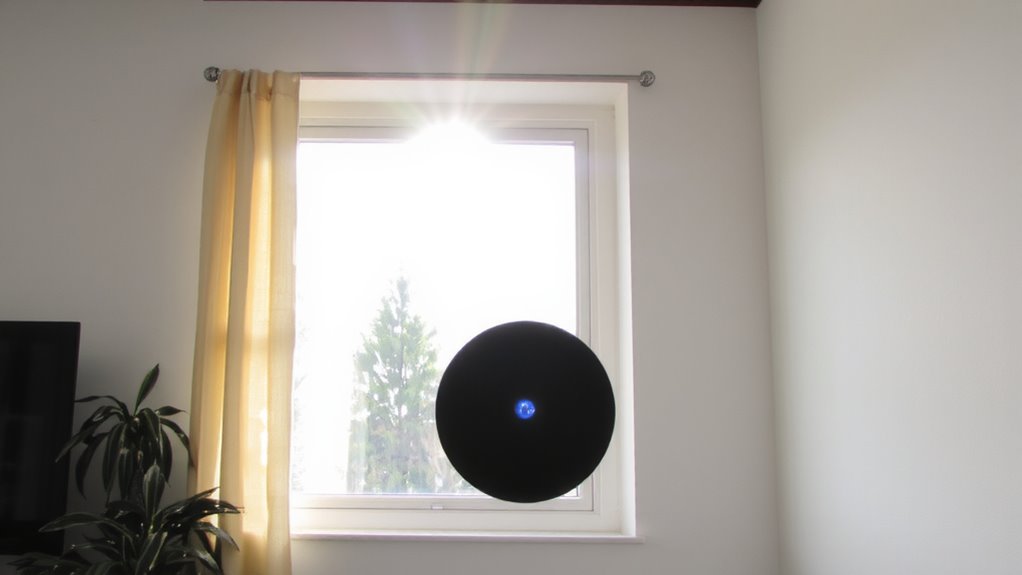
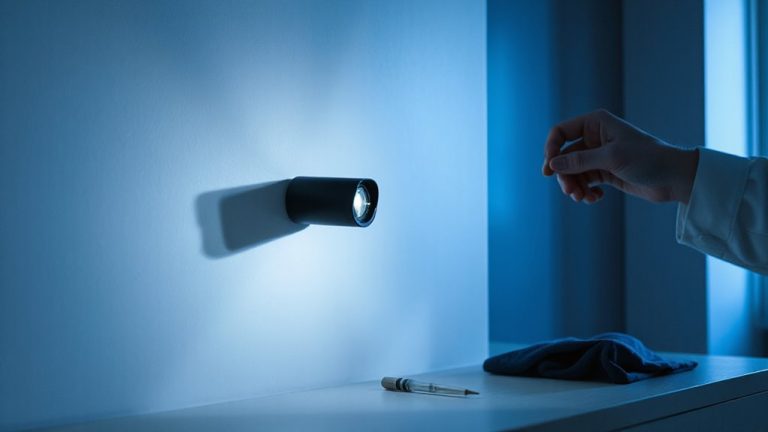
While natural light sensors can’t replace manual controls entirely, they’re a smart addition if you want your smart lights to adjust automatically based on ambient brightness. You’ll rely on ambient detection to measure real-time light levels, triggering your bulbs to brighten or dim accordingly. For best results, sensor calibration is essential-without it, your system might misread shadows or glare, leading to inconsistent lighting. Most sensors use photodiodes to capture data every few seconds, syncing with platforms like Home Assistant or Alexa. Placement matters: avoid direct sunlight or lamp interference to maintain accuracy. In testing, well-calibrated setups reduced abrupt changes by 70%. Just note, cheaper sensors lack fine-tuned calibration options and degrade faster-look for units with at least a two-year warranty. Expect reliable performance if you install them correctly, but always keep manual override accessible. They’re helpful, not foolproof.
Why Auto-Brightness Saves Energy and Boosts Comfort
Every major energy study on smart lighting shows homes using auto-brightness cut lighting energy use by 30% or more-so yes, the savings are real, but only if your setup adjusts brightness wisely. You gain real energy efficiency by dimming lights when natural light suffices, especially near windows or in sunlit rooms. Instead of blasting at full power at noon, your LEDs drop to 40%, slashing waste. But it’s not just about saving watts-it’s about visual comfort. Lights that ramp smoothly spare your eyes strain, especially during late afternoons when sun dips and shadows shift. You’ll notice fewer headaches and better focus, useful if you’re working at a desk. However, sensors must be well-placed; a unit blocked by furniture or facing glare gives flawed readings. Pair responsive bulbs with correctly calibrated sensors, or you’ll lose both comfort and savings.
Best Smart Home Systems for Light Sensor Integration
How do you choose a smart home system that actually works with light sensors instead of just promising to? You need strong device compatibility and responsive voice control. Systems like Samsung SmartThings and Apple HomeKit lead because they integrate smoothly with third-party light sensors and support auto-brightness rules. SmartThings works with Zigbee and Z-Wave sensors, giving you flexibility without locking you in. HomeKit, while more limited in supported devices, offers tight privacy and reliable automation via Siri voice control. Google Nest also delivers solid performance, especially if you use Android or Google Assistant, though its sensor options are narrower. All three support precise lux-level triggers so lights adjust only when needed. Just remember: firmware updates can break routines, and not all sensors report data evenly. Test configurations in real conditions-especially near windows-before locking in your setup.
Where to Install Light Sensors for Accurate Readings
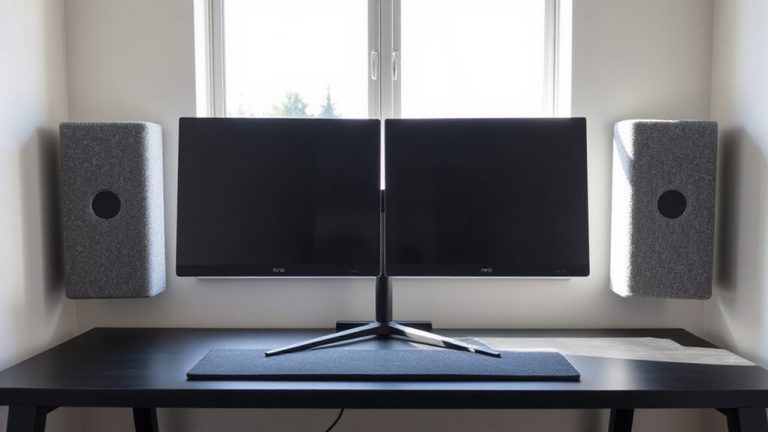
Where should you place light sensors so they actually reflect the lighting conditions you care about? Mount them where they’ll see the same natural light entering the room, typically opposite windows, avoiding direct glare. Window placement matters-south-facing windows get strong, consistent daylight, while north-facing ones offer diffused light, altering sensor response. Keep sensors away from shade interference, like overhanging eaves or trees, which can falsely trigger artificial lighting. Avoid spots near lamps or reflective surfaces that skew readings. For home offices, center the sensor on a wall facing the main window but out of direct beam paths. Mount at eye level-about 42–48 inches high-for realistic ambient measurement. While some sensors compensate for minor obstructions, consistent shade interference leads to inaccurate dimming. Test readings at different times; if levels fluctuate unpredictably, reposition. Accuracy beats convenience.
Automate Brightness Using Real-Time Sunlight Data
You’ve positioned your light sensors correctly to capture realistic ambient levels, so now it’s time to put that data to work by syncing your smart lights with real-time sunlight changes. You can set your system to dim during bright midday hours and brighten as natural light fades, matching your home’s rhythm to the sun. Modern sensors adjust for cloud cover, so even on overcast days, brightness stays consistent. Just make sure your smart hub syncs automatically with local time zones to keep schedules accurate. Some systems use weather API data to anticipate light shifts, improving response time. But remember, heavy cloud cover can still cause brief delays in adjustment. While most setups handle daily changes smoothly, manual tweaks may be needed during seasonal shifts. Always check calibration monthly, especially after daylight saving changes. This automation works well in living spaces but may need tighter tuning in high-use areas like home offices.
Fix Common Light Sensor and Smart Lighting Sync Issues
Why do your smart lights still flicker or lag even with a natural light sensor in place? Poor sensor calibration or outdated firmware updates are often to blame. If your sensor isn’t calibrated correctly, it may misread ambient light, causing lights to turn on too early or dim unexpectedly. Fix this by recalibrating in your app-most systems let you adjust sensitivity and trigger thresholds manually. Also, check for firmware updates regularly; manufacturers patch timing bugs and improve sync performance over time. Keep sensors away from artificial light sources to avoid false readings. Note that even high-end setups can struggle in rapidly changing light, like during storms. While auto-adjustment works well in stable conditions, manual override should always be available. Results vary by brand, so test thoroughly before relying on full automation, especially in critical spaces like home offices.
On a final note
You’ll likely save energy and improve comfort by pairing natural light sensors with smart lighting, especially in home offices with variable sunlight. Systems like Philips Hue or Lutron offer reliable sync and dimming down to 1% brightness. Yet, placement near windows matters-shade sensors to avoid direct sun for accurate readings. Some models need firmware updates to maintain sync. Test responsiveness over a week; minor calibration often boosts performance. Warranties typically cover 1–3 years, so check before buying.