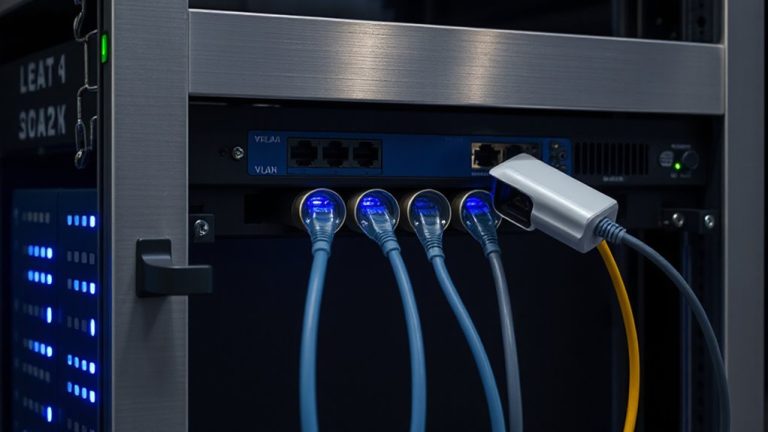
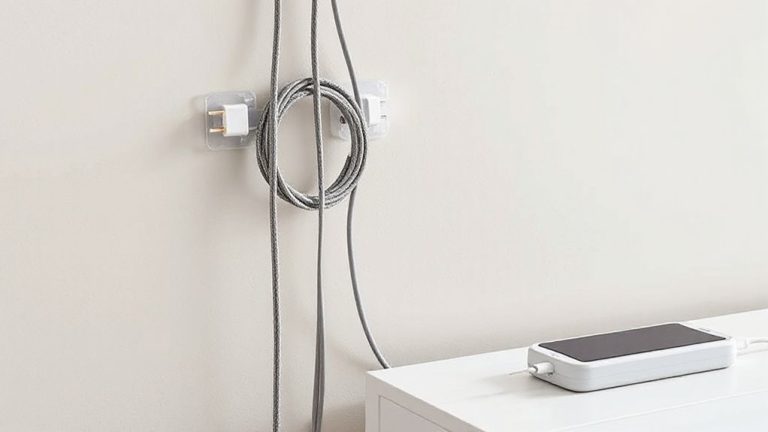
Creating a Labeling System for Multi-Zone Audio/Video Cables
Start by mapping your AV zones-you’ll prevent signal interference and cut down troubleshooting time, especially in systems with eight or more zones. Use color-coded cables for quick identification and number each run within a zone for precision. Label both ends with waterproof, durable tags-never skip this. Maintain a simple, updated diagram and test every connection for audio/video dropouts or impedance issues. Keep logs to track cable swaps and degradation over time-consistency here saves hours later. You’ll see exactly how smart planning pays off in reliability and speed.
Notable Insights
- Map all AV zones first by sketching a floor plan to plan cable routes and avoid interference.
- Use a combined color and number labeling system to identify zones and individual cable runs clearly.
- Label both ends of every cable with durable, waterproof tags to ensure long-term readability and consistency.
- Choose high-quality cables and low-profile labeling tools like heat-shrink sleeves to prevent damage and fading.
- Maintain updated diagrams and test all connections to verify signal integrity and document changes.
Map Your AV Zones Before Labeling Any Cables
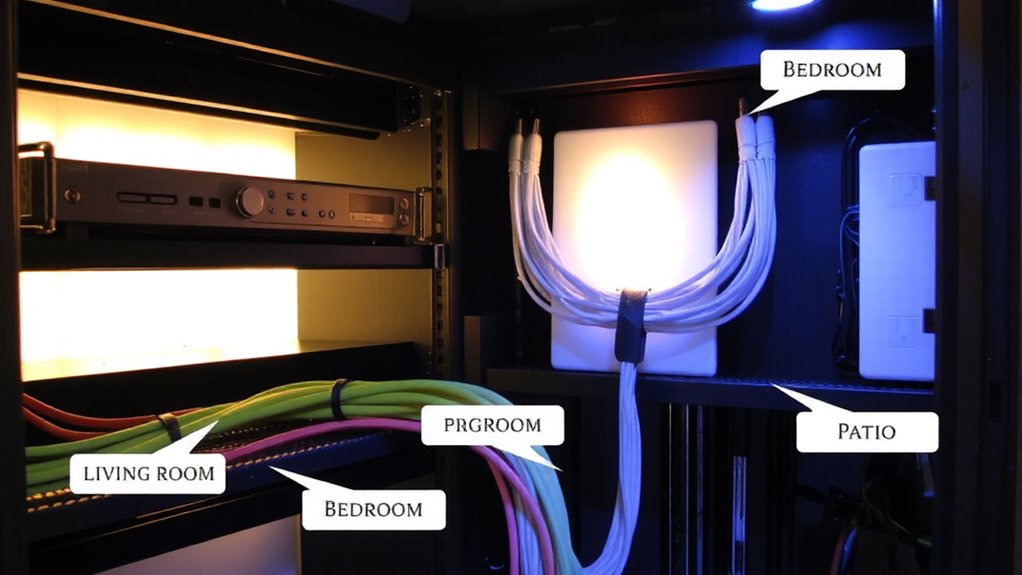
Where should you even start when your AV setup sprawls across multiple rooms? Map your AV zones first-this step’s non-negotiable. You can’t label cables effectively if you don’t know where they begin and end. Walk through each room, noting display locations, audio devices, and source components like streamers or gaming consoles. Sketch a simple floor plan to visualize cable routing paths. Poor planning leads to tangled runs, unnecessary wire length, and increased risk of signal interference, especially with HDMI or analog audio near power lines. Keep data and power cables separated by at least 6 inches where they cross. Accurate zone mapping reduces guesswork later, saves time during troubleshooting, and improves signal reliability. Skipping this step might seem fast now, but it’ll cost you hours down the line when interference distorts feeds or devices miscommunicate.
Choose Your Labeling System: Color, Number, or Custom
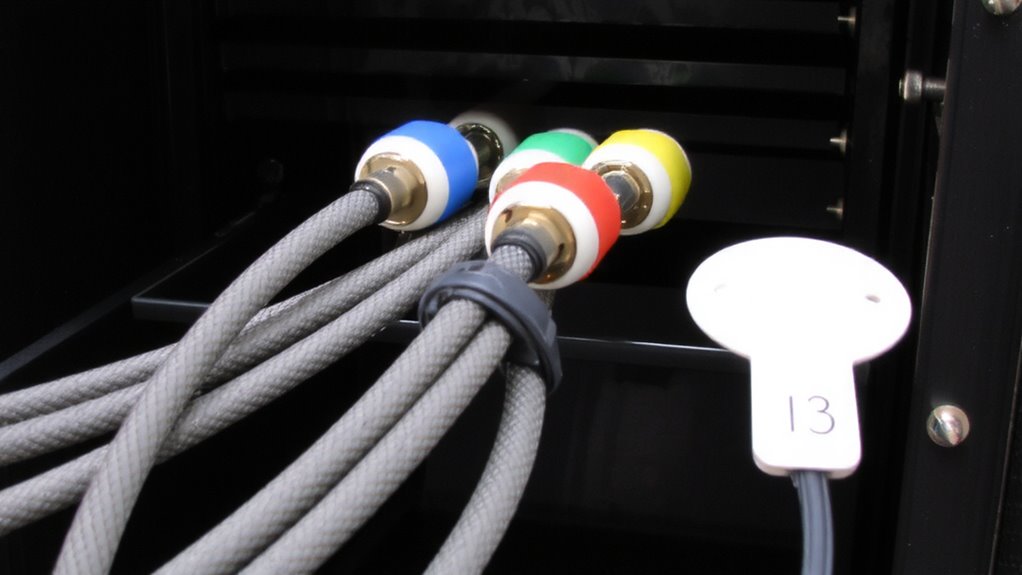
How do you make sure you’re not guessing which cable goes where next time you upgrade your receiver or replace a failed HDMI run? You pick a labeling system-color, number, or custom-and stick with it. Numbers offer precision, especially in complex setups with eight or more zones, while colors speed up identification when you’re on a ladder or in tight spaces. Custom labels let you name zones by room or function, cutting confusion during troubleshooting. Whatever method you choose, pair it with high-quality cables that resist bending and crushing to guarantee cable durability over time. Poor jackets or thin conductors increase signal interference, especially in bundled runs. Label both ends clearly so mismatches don’t waste your time. Remember, color coding fails if your TV and projector both use red cables-consistency matters. Balance speed and accuracy based on your setup size and access.
Color-Code and Number for Instant Cable Recognition
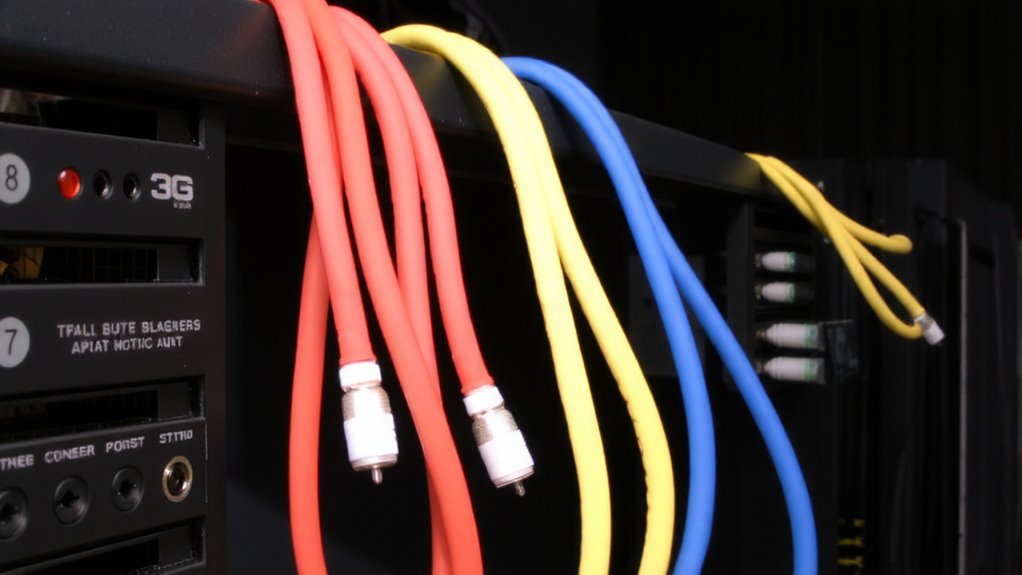
You get the fastest identification by combining color and numbering on your cables, especially when working under time pressure or in tight AV racks. This dual-method cuts confusion and reduces mistakes during setup or troubleshooting. Color helps you spot zones or signal types at a glance, while numbers clarify individual runs within each zone. Use standardized colors-like blue for audio and yellow for video-but avoid cheap vinyl wraps that fade or crack, as they hurt cable durability. Print legible numbers with waterproof labels to prevent wear. Poor-quality tapes or adhesives can also introduce signal interference, especially on long HDMI or analog runs. Stick to tested, low-profile labeling tools like heat-shrink sleeves or braided nylon tags. Remember, even the best system fails if labels aren’t consistent or materials aren’t built to last.
Label Both Ends of Every Cable: No Exceptions
Labeling both ends of every cable isn’t just good practice-it’s non-negotiable for anyone managing audio or video systems with reliability in mind. You’ll save time during installation and troubleshooting when you can identify each cable instantly, no matter which end you’re holding. Maintaining labeling consistency across all cables guarantees everyone on the team stays on the same page, reducing misconnections. It also reduces strain on connectors, supporting cable durability by minimizing unnecessary pulling or tracing. Use tags or heat-shrink labels that resist fading and abrasion, especially in high-traffic racks or tight conduits. Don’t rely solely on color-labels can and do wear out. Recheck labels annually, particularly in environments with temperature swings or dust exposure. While it takes extra minutes upfront, skipping this step risks hours of downtime later. No exceptions-your future self will thank you. A reliable best label makers choice ensures professional, durable labeling that withstands demanding environments.
Keep a Simple Diagram of Labeled Zones Updated
A clear, up-to-date diagram of your labeled zones is the backbone of any well-managed AV setup-without it, even the best labeling system can unravel under pressure. You need a simple visual to track zone layout and signal flow, especially when troubleshooting or expanding. It doesn’t have to be fancy, but it must stay current. Below is a sample reference:
| Zone | Device Connected |
|---|---|
| Zone 1 | Projector + Speakers |
| Zone 2 | Conference Monitor |
| Zone 3 | PA System |
| Zone 4 | Streaming Display |
You’ll save time during outages and prevent signal flow errors when reconfiguring. A hand-drawn sketch or digital file works-just update it after every change. The trade-off? Slight upfront effort for long-term reliability. Skip this, and you’re relying on memory, which fails under stress. Keep it legible, accessible, and precise.
Test Every Connection After Labeling
Once everything’s labeled, testing each connection becomes non-negotiable-skip this step, and even the most organized setup risks silent failures or mismatched signals. You need to verify signal integrity by playing audio or video through every output and confirming it arrives cleanly at the right zone. Use a basic AV source to check for flickering, dropouts, or incorrect routing. Then perform continuity testing with a multimeter or cable tester to guarantee physical connections aren’t broken, especially in long or flexed cables. This catches internal damage labels can’t reveal. True, it’s time-consuming, but it prevents headaches during live use. Some faults only surface under load, so test under real conditions when possible. While solid connections often hold, environmental stress or poor crimps can compromise performance. Testing isn’t overkill-it’s due diligence.
Maintain Labels and Logs for Future Upgrades
How often do you revisit your setup only to find that a last-minute cable swap or equipment upgrade has thrown the whole system into confusion? You’ll save time and headaches by maintaining clear labels and detailed logs. Update your records whenever you replace a cable, noting length, type, and zone. This helps you track cable degradation over time and identify spots prone to signal interference. Even premium cables wear out, and subtle issues can creep in without immediate symptoms. Logs make it easier to swap components without guesswork. But don’t rely on labels alone-verify connections during testing. Keep logs digital and backed up, since paper degrades too. Regular updates take effort, but they pay off during troubleshooting or expansions. Accuracy now prevents failures later. Still, remember: no system is foolproof if you skip maintenance.
On a final note
You’ll save time and reduce errors by labeling multi-zone AV cables with color-coded tags and clear numbers at both ends. A simple, updated diagram helps track connections across zones. Testing each link guarantees accuracy. While color systems speed identification, they demand strict consistency-mismarked cables cause confusion. Labels wear over time, so use durable, writable tags. Keep logs for future upgrades, but don’t overcomplicate: balance simplicity with reliability.