Preventing Auto-Gain Control Distortion on Condenser Microphones
Turn off AGC in your recording software-it distorts signals and messes with mic calibration. Set manual input levels instead, aiming for peaks between -12 dB and -6 dB to preserve clarity and avoid clipping. Use light compression (2:1 to 4:1) to tame dynamics without squashing your voice. Monitor levels in real time with headphones and level meters. Avoid budget interfaces that force AGC; pick ones with manual gain knobs and low-latency monitoring-your condenser mic will sound cleaner and more consistent. There’s more to fine-tuning than just gain.
Notable Insights
- Disable AGC in your recording software to prevent automatic volume fluctuations and maintain manual gain control.
- Set input levels manually so peaks stay between -12 dB and -6 dB for optimal gain staging.
- Use compression with light ratios (2:1 to 4:1) to manage vocal dynamics without AGC’s distortion.
- Monitor input levels in real time using DAW meters and headphones to catch clipping during recording.
- Choose audio interfaces with manual gain knobs and no forced AGC to ensure clean signal capture.
Disable AGC in Your Recording Software
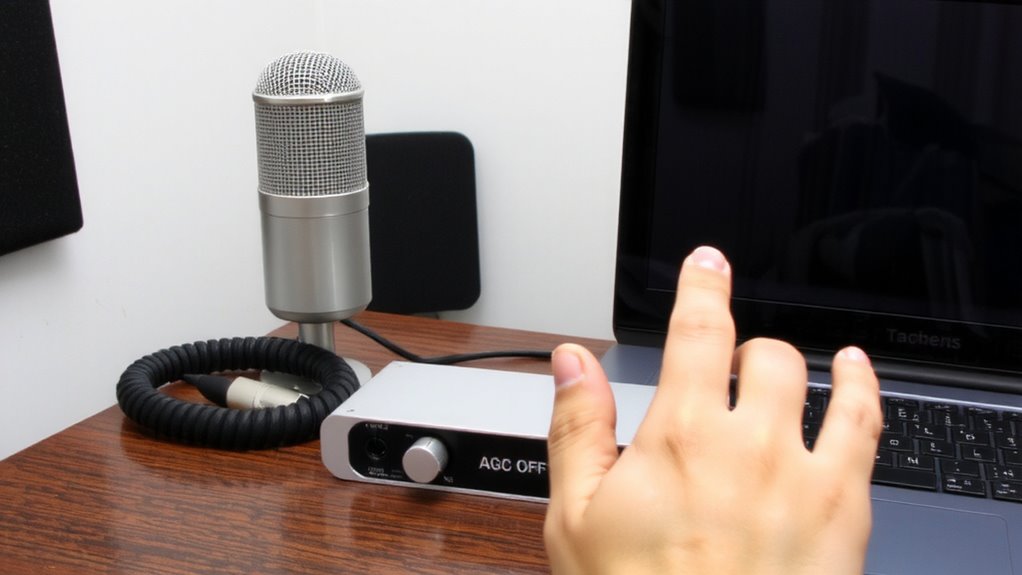
While your recording software might default to automatic gain control (AGC) for convenience, turning it off is usually the better move if you’re using a condenser mic. AGC constantly adjusts input levels, which can distort your signal and interfere with accurate microphone calibration. Disabling it gives you full control, letting you set consistent, clean gain manually. Most DAWs and audio interfaces let you change this in software preferences-look under audio settings or device setup. This step is key for podcasters, streamers, or anyone recording speech where clarity matters. Just remember, turning off AGC means you’re responsible for avoiding clipping, so monitor your input levels closely. It’s a small trade-off for noticeably better audio quality. Test your setup with a few spoken phrases to confirm stability before full recording.
Set Manual Input Levels to Prevent AGC Distortion
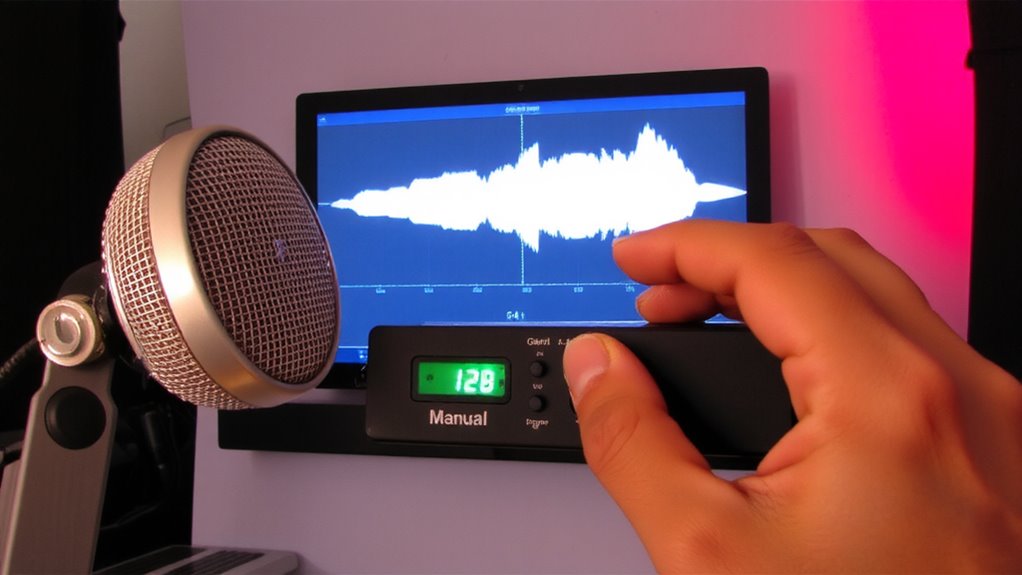
Your condenser mic’s clean signal hinges on setting manual input levels-you’re in control, and that’s where good recordings start. By using manual adjustment, you avoid the erratic volume swings AGC causes, ensuring consistent gain staging. Set your preamp or audio interface input so the loudest parts peak around -12 dB to -6 dB, leaving headroom without sacrificing signal strength. Proper gain staging reduces distortion and preserves dynamic range, especially with sensitive condenser mics. You’ll need to recheck levels if you move the mic or change speaking volume, since there’s no automatic compensation. Manual adjustment takes more attention, but it’s essential for professional sound. Don’t rely on software fixes later-get it right at the source. While it demands a bit more effort, the payoff in audio clarity is measurable and worth it.
Use Compression Instead of Auto-Gain Control
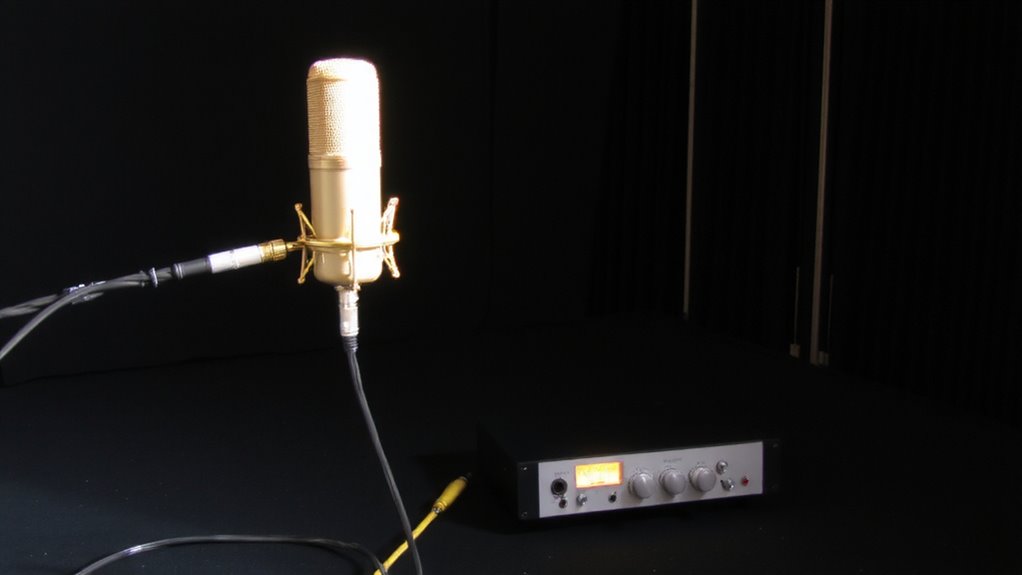
Setting manual gain gives you control, but even well-set input levels can’t fix inconsistent vocal dynamics-this is where compression becomes a more predictable fix than auto-gain. Compression reduces dynamic range by lowering loud peaks and boosting quieter parts, delivering better signal consistency without the abrupt jumps AGC often causes. Unlike auto-gain, which reacts after distortion occurs, compression acts proactively with adjustable thresholds and ratios.
| Feature | Auto-Gain Control | Compression |
|---|---|---|
| Response Time | Reactive, delayed | Proactive, immediate |
| Dynamic Range | Uncontrolled swings | Smoothed, consistent |
| Signal Consistency | Unreliable | High, adjustable |
Use light to moderate settings-too much compression sacrifices natural tone. A 2:1 to 4:1 ratio works for most voices. Pair with manual gain for best results.
Monitor Your Signal to Catch Gain Issues Early
Because you can’t fix clipping after it happens, catching gain issues early by actively monitoring your signal is key to maintaining clean audio with condenser microphones. Signal monitoring lets you see levels in real time, so you can adjust gain before distortion occurs. Most DAWs and audio interfaces include level meters-use them. Watch for peaks near 0 dBFS; anything above clips. Early detection means you’ll catch problems during recording, not in post. Set input gain so your loudest passages stay around -6 dBFS for headroom. Use headphones to listen for harshness or distortion while recording. While built-in meters help, external tools like VU meters or software plugins add precision. Not all interfaces show clip indicators instantly, so rely on consistent monitoring. This approach doesn’t eliminate mistakes, but it reduces risk. It’s simple, effective, and requires no extra gear-just attention.
Avoid Audio Interfaces With Forced AGC
Not all audio interfaces are created equal, and some can actually work against you by forcing auto-gain control (AGC) on your signal-something you’ll want to avoid with condenser microphones. AGC can cause distortion and inconsistent levels, especially with sensitive condensers. Many budget models embed AGC due to hardware limitations, and firmware updates don’t always remove it. Always check manufacturer specs carefully.
| Feature | Why It Matters |
|---|---|
| Manual gain knobs | Let you control input levels precisely |
| Zero-latency monitoring | Helps catch clipping in real time |
| Firmware updatable | May fix hidden AGC bugs |
| No forced AGC | Prevents unwanted signal boosts |
| Transparent specs | Reveals hardware limitations upfront |
Pick interfaces proven in real-world tests to give you full control-your recordings depend on it.
Stop AGC From Ruining Condenser Mic Recordings
While you can’t always control the environment, you *can* stop AGC from distorting your condenser mic recordings by taking deliberate control of your signal chain. Disable AGC in your recording software or audio interface settings-most DAWs and OS-level audio panels let you turn it off directly. Once disabled, manually set your input gain to avoid clipping, especially since condenser mics are highly sensitive. Proper microphone placement-roughly 6 to 12 inches from your mouth, slightly off-axis-reduces plosives and uneven level swings that often trigger gain adjustments. Pair this with decent room acoustics: use rugs, curtains, or foam panels to tame reflections that muddy your signal. Even basic treatment helps. Remember, no amount of post-processing fixes AGC-induced distortion. You’ll sacrifice some convenience, but you gain clarity and consistency-critical for voiceovers, streaming, or remote meetings where audio quality直接影响 perception.
On a final note
You should disable AGC whenever possible-it often distorts the clean signal your condenser mic captures. Manually set input levels around -18 dBFS to leave headroom, and use gentle compression if needed. While some audio interfaces lack AGC controls, models like the Focusrite Scarlett Solo (3rd Gen) let you bypass it entirely. Just remember: manual gain demands attention during recording, but the trade-off is clearer, more professional sound.