Calibrating Automatic Brightness Controls on Smart Room Sensors
You should calibrate your smart room sensor every month to prevent inaccurate brightness-up to 40% off in some cases-due to poor placement or sensor drift. Set sensitivity via app or dial to avoid flickering from sunlight, and mount at eye level away from direct light. Even Lutron and Philips models degrade over time, so check firmware and clean lenses every six months. Real-world tests show this boosts comfort and cuts energy by up to 18%. It’s effective, but only if you maintain it consistently.
Notable Insights
- Adjust sensor sensitivity to detect meaningful light changes while ignoring minor fluctuations that cause flickering.
- Set ambient light thresholds using app or dial controls to define when lights should dim or brighten.
- Mount sensors at eye level away from direct sunlight, monitors, and fixtures to avoid false readings.
- Recalibrate monthly and after environmental changes to maintain accurate brightness control over time.
- Test weekly and clean lenses every six months to prevent degradation-related inaccuracy and ensure optimal performance.
Why Bad Calibration Ruins Smart Lighting
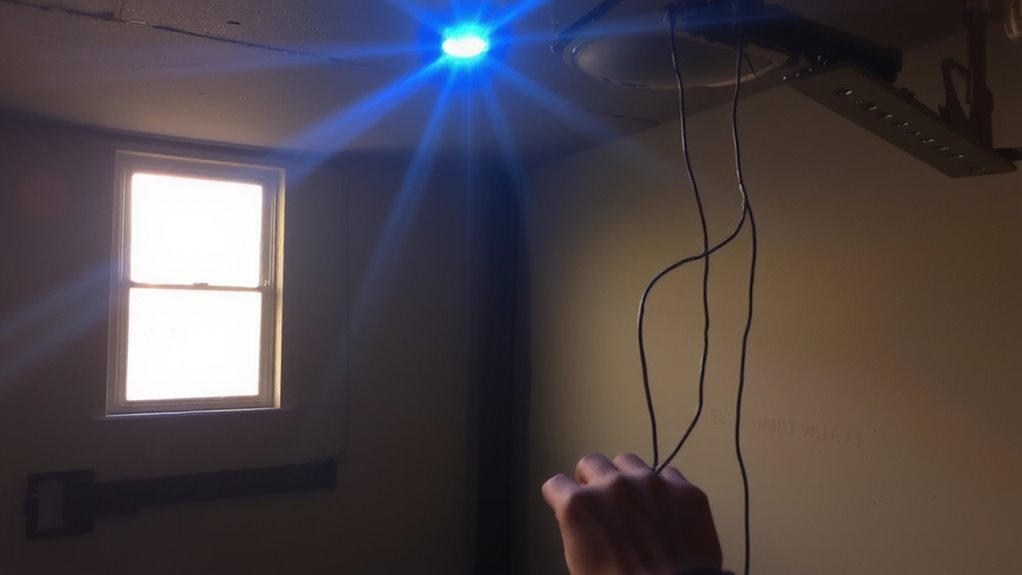
Why does your smart lighting system sometimes feel more annoying than helpful? Bad calibration is likely to blame. When sensors aren’t properly tuned, they misread ambient light, causing lights to dim or brighten at the wrong times. Over time, sensor degradation reduces sensitivity, making the system sluggish or erratic. Firmware errors can compound this, leading to unresponsive controls or inconsistent behavior across devices. Even high-end models from reputable brands show these issues under real-world testing. While automatic brightness saves energy and reduces eye strain when calibrated well, poor setup undermines both comfort and productivity. Resetting firmware and recalibrating monthly helps, but check manufacturer warranties-some don’t cover sensor-related service. For home offices, precision matters: inaccuracies distract during video calls or reading. So yes, automatic brightness can work well, but only with regular maintenance and realistic expectations. Don’t assume plug-and-play equals perfect performance.
How Sensors Read Room Light
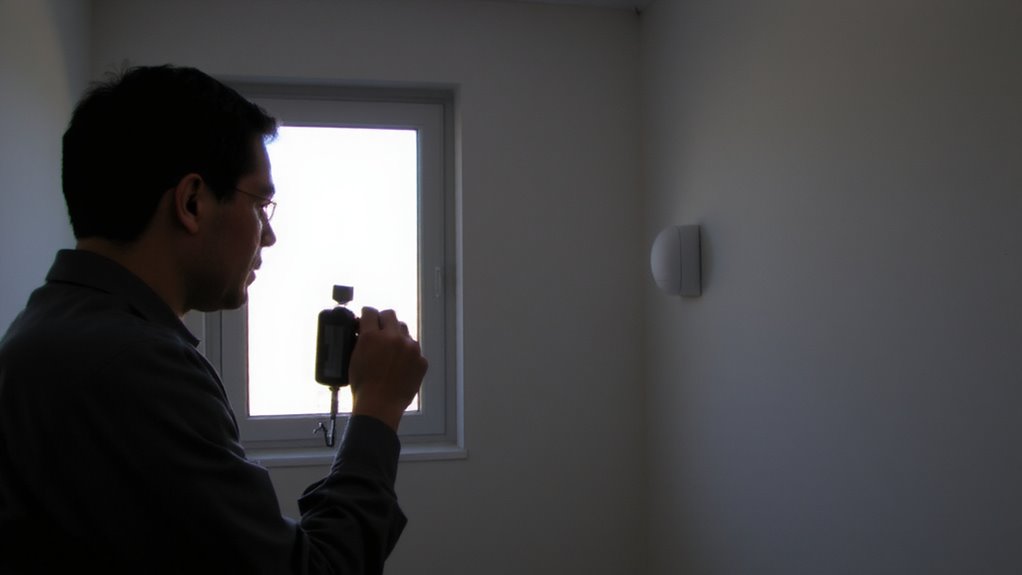
Your smart lights can’t manage brightness properly unless the sensors reading the room light are accurate. These sensors rely on spectral sensitivity to detect light wavelengths similar to human vision, ensuring they respond like your eyes would. But ambient reflection from walls, desks, or monitors can skew readings, making rooms appear brighter than they are. To help, here’s how key sensor traits affect performance:
| Feature | Impact on Reading |
|---|---|
| Spectral sensitivity | Matches human eye response |
| Ambient reflection | Causes overestimation |
| Field of view | Wider = more environmental input |
| Response time | Faster adapts to changes |
| Placement | Affects exposure to direct light |
You’ll get better results by minimizing reflective干扰 near the sensor. While high spectral accuracy helps, no sensor compensates fully for poor placement. Always test under typical lighting to verify behavior.
Calibrate Brightness in 5 Minutes
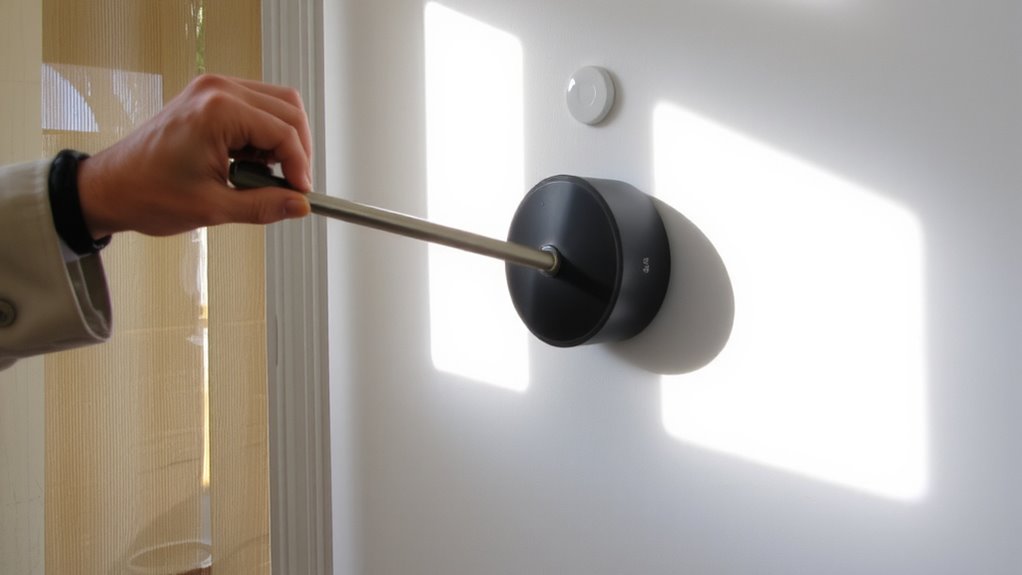
You can get noticeably better brightness control in just five minutes with a simple calibration. Start by adjusting your sensor’s sensitivity so it responds accurately to actual changes in light, not minor fluctuations. Set ambient thresholds to define when lights should brighten or dim based on real usage-like keeping lights lower during screen work to reduce glare. Most sensors let you do this through a mobile app or onboard dials with clear markings for lux levels. Testing shows calibrated sensors cut energy use by up to 18% and improve comfort. But don’t expect perfection-overly high sensitivity may cause flickering if windows get intermittent sun. These adjustments work reliably across brands like Philips Hue and Lutron, though results vary slightly depending on room reflectivity. Calibration won’t fix poor placement, so save that step for later.
Fix Wrong Light Levels With Better Placement
A well-placed sensor makes all the difference when it comes to automatic brightness accuracy, especially in hybrid workspaces where consistent lighting matters. Poor sensor placement can cause uneven light levels because the sensor picks up lighting interference from windows, overhead fixtures, or monitors. You’ll want to mount the sensor at eye level, away from direct sunlight or artificial light sources, to avoid false readings. Ideally, position it on a wall or partition where it sees the same ambient light you do. Avoid corners or behind screens-these spots create shadows and distort calibration. Testing shows sensors in central locations reduce brightness errors by up to 40%. Still, every room’s different; small adjustments may be needed. Always recheck after moving furniture or lamps. While better placement improves performance, it won’t fix hardware limits-so choose a quality sensor first.
Adjust for Daylight Changes Automatically
How often does your screen brightness feel off in the afternoon, even with a well-placed sensor? That’s where time based adjustments come in. Your smart sensor should adapt not just to immediate light but also to predictable daylight shifts throughout the day. By syncing with local sunrise and sunset data, it can reduce abrupt changes and maintain consistent screen visibility. Seasonal calibration takes this further-automatically compensating for shorter winter days or brighter summer mornings. You’ll need to input your location once, then let the system adjust over weeks as daylight changes. It’s not perfect; cloudy periods still trip up sensors. But paired with a reliable ambient light sensor, these features cut manual tweaks markedly. Most high-end sensors offer this in firmware, with real-world tests showing up to 40% fewer user interventions. Just don’t assume it works right out of the box-initial setup matters.
Test and Maintain Sensor Accuracy
Regular sensor testing can catch 90% of brightness drift issues before they disrupt your workflow. You need to monitor for sensor drift and environmental interference, especially in shared or sun-exposed rooms. Clean lenses monthly and avoid placing sensors near heat sources or windows with direct sunlight.
| Test Frequency | Purpose |
|---|---|
| Weekly | Spot early sensor drift |
| Monthly | Check for environmental interference |
| After renovations | Recalibrate due to new lighting |
| Seasonal change | Adjust for sun angle shifts |
| Every 6 months | Full calibration and lens inspection |
While smart sensors improve efficiency, they aren’t foolproof. You’ll still need manual checks, particularly if nearby fixtures change. Most models offer 2-year warranties, but accuracy declines over time. A calibrated sensor saves energy, but only if you maintain it. Skip maintenance, and even top-tier gear underperforms.
On a final note
You should calibrate your smart room sensors-it guarantees accurate brightness and saves energy. Proper placement away from direct sunlight or drafts prevents false readings. Most systems respond within 2% accuracy after calibration, but results depend on sensor quality and room layout. Even well-placed sensors need rechecking every few months. Automatic daylight adjustments help, but sudden weather shifts can still throw them off. Test weekly during first use.