How to Align a Vertical Monitor Perfectly With a Horizontal Primary Display
Use an adjustable VESA arm with at least 6 inches of height adjustment and ±30° swivel to align the top edge of your vertical monitor with your horizontal display. Position both screens so the top third meets at eye level, reducing neck strain. Match bezel thickness and use portrait mode in display settings for smooth shifts. Test cursor movement across screens and secure cables to prevent drag. Keep in mind that gas-spring arms offer stability but need load testing to avoid wobble-your exact setup may require small tweaks for best alignment.
Notable Insights
- Align the top edge of the vertical monitor with the top of the horizontal display to minimize neck strain.
- Use a VESA arm with swivel and tilt adjustment to precisely position the vertical monitor.
- Set the vertical monitor to Portrait mode in your operating system’s display settings.
- Position the vertical screen adjacent to the primary display with a 1–2 inch gap for smooth transitions.
- Match screen heights using adjustable mounts with at least 6 inches of vertical range for fine-tuning.
Use Adjustable Stands to Align Monitor Heights
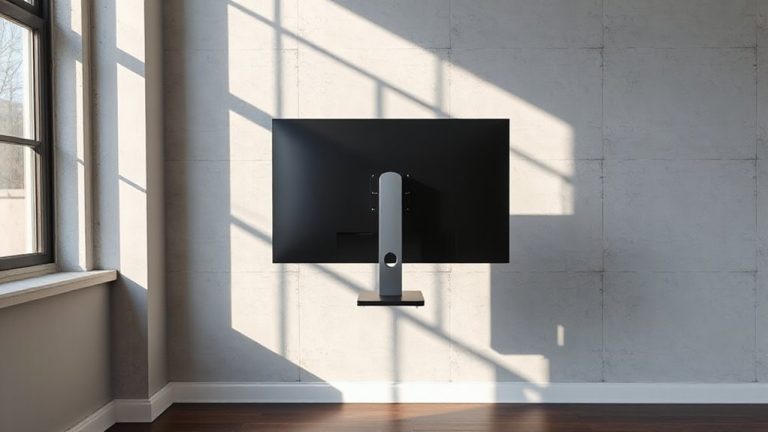
Most dual-monitor setups benefit from adjustable stands that let you match the top edge of your vertical monitor with the horizontal one, but not all stands deliver equal flexibility. You’ll want solid tilt adjustment and swivel control so both screens align cleanly without awkward neck turns. Look for VESA-compatible arms with at least ±30° swivel and 20° forward tilt-these specs give real-world precision when syncing display planes. Gas-spring arms work well, but test extension stability under load. Cheaper models often wobble or limit range, undermining alignment. Metal builds last longer and handle heavier monitors. Some brands offer five-year warranties, which is smart-you’ll likely keep the setup for years. Even with great hardware, tight clearance near walls can restrict swivel control. Always measure your desk depth and wall proximity first. A high-end arm’s flexibility means little if you can’t use its full motion. For reliable options, check reviews of the best monitor stands to ensure compatibility and performance.
Set Both Screens at Eye Level
With both monitors positioned correctly, setting them at eye level keeps your neck neutral and reduces strain during long work sessions. You’ll want the top third of each screen at or slightly below eye height to maintain proper posture. Achieving monitor symmetry helps create visual balance, making shifts between displays feel natural. Adjustable stands or desk mounts let you fine-tune height precisely-look for models with at least 6 inches of vertical range and solid tilt control. Even with different orientations, both screens should share the same eye-level baseline. Note that taller vertical monitors may require lower mounting points to align properly, which can limit desk space beneath. Test adjustments over a full workday to catch subtle discomfort. While perfect alignment improves ergonomics, don’t sacrifice desk functionality or cable management for ideal positioning-some trade-offs are inevitable. A high-quality monitor arm can simplify alignment and maximize workspace efficiency.
Match the Top Edges of Your Displays
Since your monitors are already set at eye level, aligning the top edges creates a seamless visual sweep that minimizes head movement when switching between screens. This edge matching enhances screen symmetry, making shifts feel more natural, especially during multitasking. You’ll want the top of your vertical monitor flush with the top of your horizontal one-this alignment keeps your focal plane consistent and reduces neck strain over time. Use a ruler or level app for precision, and double-check after mounting. Note that while this setup improves visual flow, it may leave unused space on one side depending on monitor sizes. Screen symmetry doesn’t require identical models, but matching bezel widths help reduce visual breaks. Be mindful: tall vertical displays can block rear ports or interfere with wall clearance. Always confirm VESA compatibility and arm load limits before finalizing position.
Configure Display Settings for Smooth Cursor Movement
Once your monitors are physically aligned, you’ll need to configure your display settings to guarantee the cursor moves smoothly between screens, matching your eye’s natural path. In your OS display settings, adjust the display orientation so the vertical monitor is set to “Portrait” and correctly positioned relative to your main screen. Drag the screen preview to match your physical setup-this guarantees the cursor shifts logically. Don’t assume default cursor speed is ideal; test slower or faster settings to reduce hand strain during cross-screen movement. Too high, and precision suffers; too low, and navigation feels sluggish. While most modern OSes handle multi-orientation setups well, some apps may render poorly in portrait. Always test after changes, using real workflows. Misaligned digital positioning causes more frustration than hardware gaps, so take time to fine-tune.
Optimize Desk Layout for Natural Screen Transitions
A well-organized desk layout makes a real difference when moving between vertical and horizontal screens, but nailing it requires more than just placing monitors side by side. Position your vertical monitor directly adjacent to your primary display, aligning the top edges to minimize eye and head movement. A gap of 1–2 inches prevents visual disconnect while allowing space for effective cable management-use braided sleeves or clips to keep wires tidy and out of view. Guarantee both monitors are within your central field of vision to reduce neck strain. Good ergonomic lighting is key; place a dimmable LED panel to the side or behind you to cut glare and screen reflections. Avoid backlighting that creates hotspots on the vertical screen. While frameless monitors improve visual continuity, bezels still disrupt flow. This setup works best on desks with at least 48 inches of width-smaller spaces may feel cramped. Consider adding a top folding office chair for flexible seating that supports ergonomic posture during long work sessions.
Test and Fine-Tune Your Monitor Alignment
How do you know your vertical and horizontal monitors are truly aligned? You test it in real use. Sit in your normal position and open a long webpage or document spanning both screens-text should flow smoothly across the seam without sudden jumps in size or alignment. Check that the top edges match if you’re side-by-side, or that centerlines align if stacked. Adjust tilt and swivel until glare from ambient lighting doesn’t create hotspots. Move your head side to side to catch misalignments you might miss straight on. Good cable management helps too-tangled wires can tug monitors out of position over time. Recheck alignment weekly, especially if you frequently adjust your setup. While most arms hold firm, micro-shifts happen. Even high-quality mounts need occasional tuning. The goal isn’t perfection under scrutiny-it’s seamless function during real work.
On a final note
You’ll get the best results by matching your vertical and horizontal monitor heights at eye level, using adjustable stands for precise alignment. Keep the top edges flush to minimize neck strain and set displays edge-to-edge in system preferences for smooth cursor movements. Test positioning with real tasks-typing, scrolling, dragging windows-before finalizing. Note that bezel width and screen depth may disrupt flow, especially with ultrawide or curved models.