Setting up a Monitor at Eye Level With a Sturdy Vesa-Compatible Mount
Set your monitor at eye level using a sturdy VESA mount to avoid neck strain and support spinal alignment. Position the top third of the screen at seated eye height-roughly 40 inches for most users-and about an arm’s length away. Pick a mount that matches your display’s VESA pattern (like 100x100mm) and exceeds its weight by 5–10 lbs, with aluminum or steel rated for long-term use. Verify anchor points are secure and check for tilt mechanism durability tested over 10,000 cycles. A quality mount should include cable routing and offer a 3–5 year warranty. You’ll want to verify desk or wall compatibility before final setup. There’s more to get right for lasting comfort and precision.
Notable Insights
- Position the top third of the monitor at eye level to maintain neutral neck posture and reduce strain.
- Use a VESA-compatible mount with sufficient weight capacity and a durable build for long-term stability.
- Measure seated eye height accurately to align the monitor correctly, typically around 40 inches from the desk.
- Secure the mount to the wall or desk using appropriate anchors or clamps to prevent wobbling or tipping.
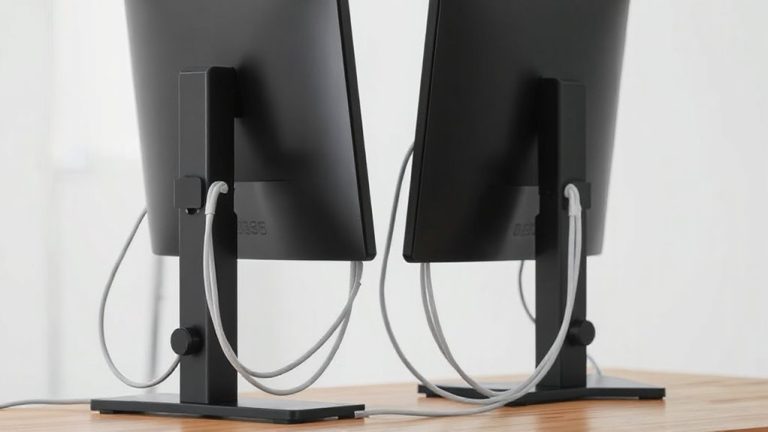
- Route cables through the mount’s management system to maintain a clean, organized, and ergonomic workspace.
Why Eye-Level Monitor Height Prevents Neck Pain
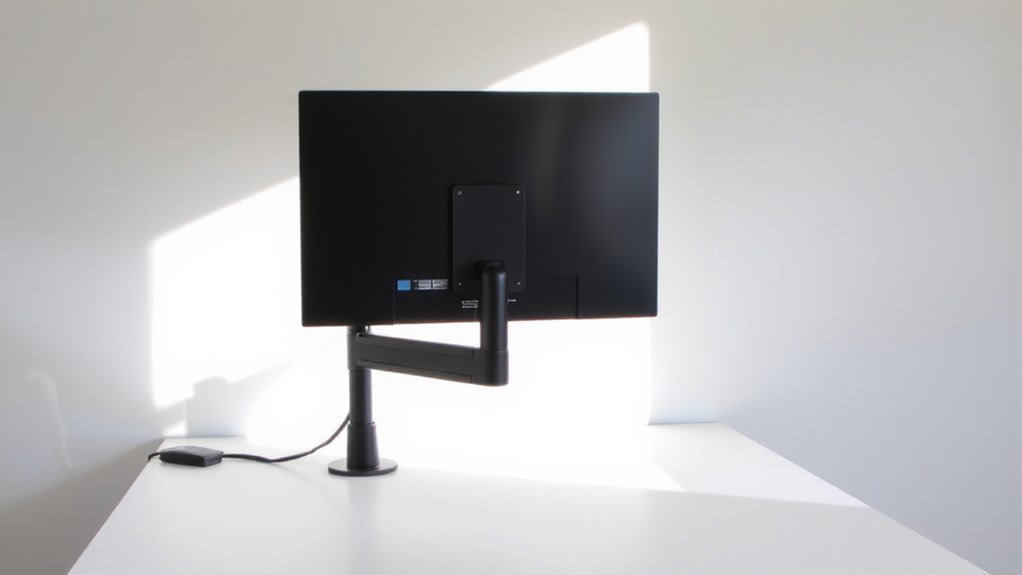
While you might not think twice about where your monitor sits on your desk, setting it at eye level can make a real difference in preventing neck strain over time. Proper ergonomic positioning reduces awkward head tilting, keeping your neck in a neutral posture. When your monitor forces you to look up or down, it disrupts spinal alignment, increasing pressure on cervical vertebrae. Over hours, this strain can lead to chronic discomfort or overuse injuries. A VESA-compatible mount offers precise height and tilt adjustments, making it easier to maintain correct posture without relying on makeshift risers. However, not all mounts provide sufficient stability or range-check compatibility with your monitor’s size and weight. While results vary by setup, real-world testing shows consistent benefits for users who prioritize alignment. Balance cost and adjustability, and remember: even the best mount won’t help if you ignore seated posture or desk depth. For optimal results, consider pairing your setup with one of the best monitor arms for a clean, ergonomic workspace.
How to Find Your Ideal Monitor Height
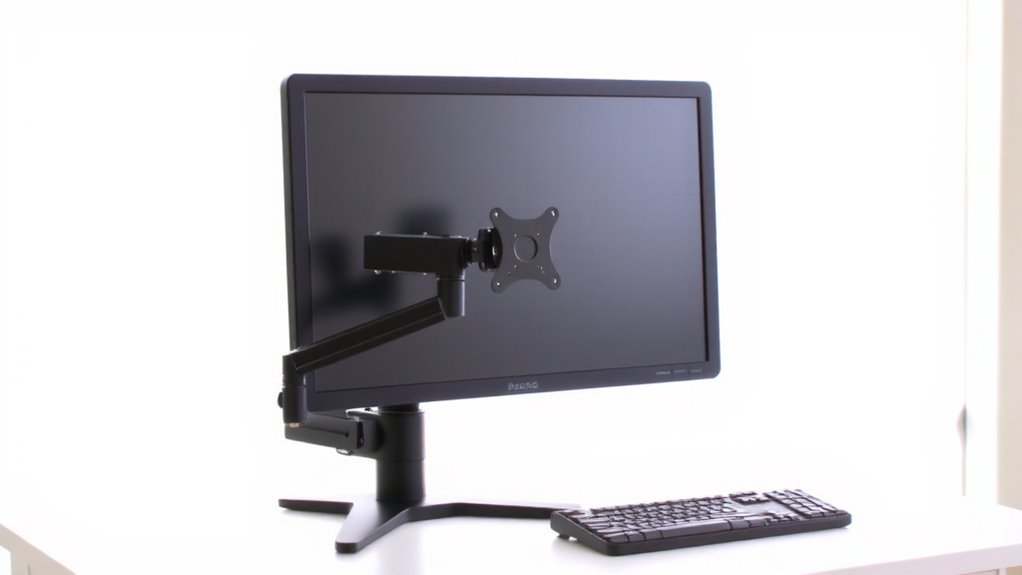
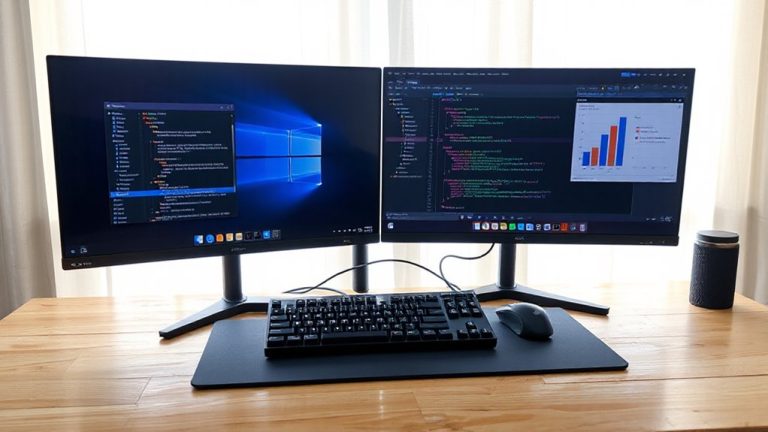
Where should your eyes fall when you’re seated at your desk? Ideally, they should align with the top third of your monitor. This position supports neutral neck posture and reduces strain. Proper desk alignment guarantees your screen is about an arm’s length away, promoting comfort during long sessions. Monitor symmetry-matching screen center to your seated eye level-boosts focus and posture.
| Seated Eye Height | Ideal Monitor Top | Adjustment Tip |
|---|---|---|
| 40 in (102 cm) | 40 in | Raise with mount |
| 38 in (97 cm) | 38 in | Lower or tilt |
| 42 in (107 cm) | 42 in | Check clearance |
Achieve this with precision using a tape measure. Even small misalignments add up. While mounts offer flexibility, your chair and desk height must cooperate. Don’t assume built-in stands suffice-they rarely allow full adjustment. Prioritize adjustability, but confirm Vesa-compatible mount compatibility first.
Pick the Right VESA Mount for Your Monitor
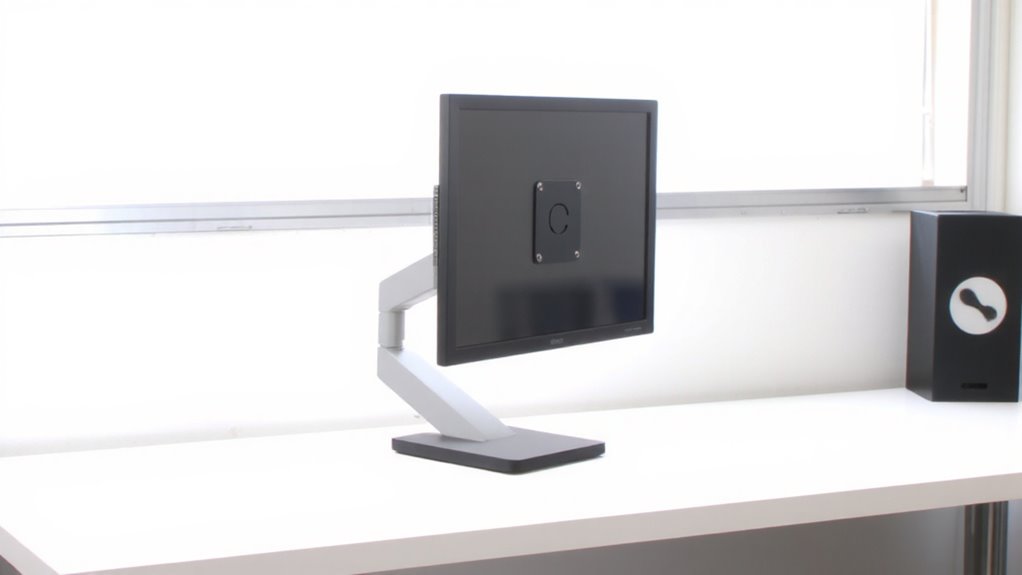
You’ve nailed the ideal monitor height-now it’s time to lock it in with the right VESA mount. Start by checking your monitor’s mount compatibility; most use a 75x75mm or 100x100mm pattern, but larger models may need 200x100mm or 200x200mm. Confirm the pattern matches your mount to avoid fit issues. Next, verify the weight capacity-your mount must comfortably support your monitor’s weight, ideally with a 5–10 lb safety margin. Aluminum mounts often hold 15–20 lbs, while steel versions handle 30 lbs or more. Avoid flimsy arms that wobble under load. Look for models tested for at least 10,000 tilt adjustments and backed by a 3–5 year warranty. Remember, even the sturdiest mount fails if wall anchors or desk clamps aren’t secured properly for your surface type.
Install Your Monitor on a VESA Mount in 5 Steps
One solid VESA mount makes all the difference-installing your monitor correctly guarantees stable performance and long-term comfort. First, power down and lay your monitor face-down on a soft surface to avoid scratches. Attach the VESA plate to the back using the included screws-most monitors use four M4 screws in a 75x75mm or 100x100mm pattern. Then, fasten the mount’s arms to the plate, ensuring a snug fit. Adjust the screen orientation-landscape is standard, but rotate to portrait if you edit code or long documents. Reattach the monitor to the mount arm carefully. Finally, route cables through the mount’s built-in channels to optimize cable management, reducing clutter and strain. Most mounts support 15–20 lbs, but check your model’s rating. Some include limited warranties, though drops usually void coverage. Test stability before daily use-wobbles mean re-tightening.
Clear Your Desk for Better Posture and Focus
A clean workspace complements even the best-mounted monitor setup-without clutter, your posture improves because everything you need is within reach and sightlines stay clear. Start with cable management: use sleeves or clips to bundle power and data cables, reducing tangles and trip hazards while keeping ports accessible. A tidy desk also lets you optimize desk lighting-position your lamp to avoid glare on the screen and shadows on your work surface. You’ll reduce eye strain and maintain focus longer. But don’t overdo minimalism; keep essential tools like notebooks or chargers nearby. Some cable solutions limit future device changes, so choose modular options. Desk lighting should be adjustable-LEDs with dimmable brightness give control without generating excess heat. Clearing your desk isn’t about perfection-it’s about creating consistent, functional spacing so your body stays aligned and your attention stays sharp. For even cleaner results, consider using best cable management solutions designed specifically for sleek, professional desk setups.
Fix Common VESA Mount Problems
Why do some VESA mounts feel wobbly the moment you attach a monitor? Poor screen stability often stems from mismatched hardware or loose bolts. You need to confirm your monitor’s VESA pattern-usually 75x75mm or 100x100mm-and match it precisely with the mount. Use the included spacers if your monitor’s screw holes are shallow. Tighten all bolts securely, but don’t over-torque them-this risks cracking the mount or display. For better cable management, choose a mount with built-in channels or clips to route cables neatly, reducing clutter without straining connections. Test stability by gently nudging the screen; if it wobbles, check wall stud alignment or consider a sturdier model with reinforced arms. Note that articulating arms offer flexibility but may sacrifice some rigidity. Always verify weight limits and check manufacturer warranty-typically 3 to 5 years-for long-term reliability.
On a final note
Set your monitor at eye level using a sturdy VESA mount-it prevents neck strain and improves focus. Look for mounts with 75x75mm or 100x100mm compatibility and at least a 15-pound weight rating. Installation is simple but double-check your desk’s thickness and clamp stability. While most arms adjust smoothly, cheaper models can wobble. Always test tilt and swivel before final tightening. A good mount lasts years, but read the warranty-some brands don’t cover gas spring wear.