How to Build a DIY Office Nook With Pre-Fabricated Acoustic Panels
Pick a quiet, naturally lit corner away from foot traffic and install 2’x4’ fabric-wrapped fiberglass panels with an NRC of 0.6 or higher for effective noise control. Use construction adhesive or heavy-duty tape, align with a laser level, and allow 24 hours for full adhesion. Pair with an adjustable desk and ergonomic chair, keeping cables managed and lighting task-focused. Avoid overly thick panels or dim spaces like basements that can cause fatigue. The right balance of acoustics, light, and comfort makes a real difference-just how much depends on your setup choices.
Notable Insights
- Choose a quiet, well-lit corner away from traffic and noise for your office nook setup.
- Select pre-fabricated acoustic panels with an NRC of 0.6 or higher for effective sound absorption.
- Use fabric-wrapped fiberglass 2’x4’ panels for optimal performance and easy, flexible installation.
- Prepare walls by measuring, marking stud locations, and clearing obstructions before panel mounting.
- Install panels with adhesive or mounting tape, aligning them with a level for a secure, straight fit.
Choose the Perfect Spot for Your Office Nook
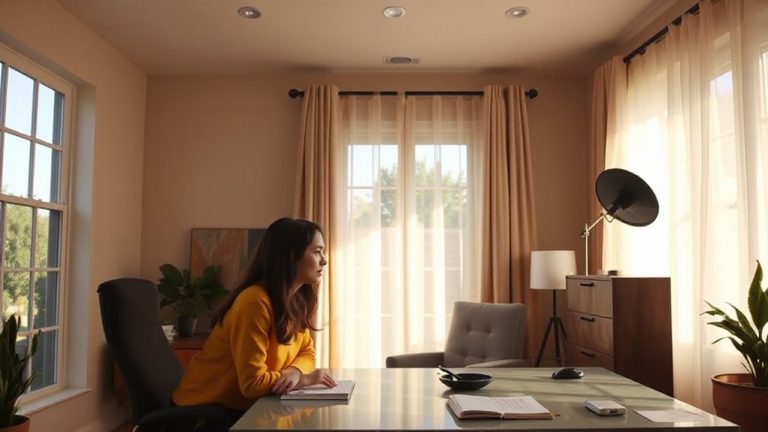
Where should you set up your office nook? Choose a quiet corner with strong natural light-near a window is ideal, but avoid direct glare on your screen. You’ll stay alert and reduce eye strain, which matters during long work sessions. This spot should also let you add personal decor without crowding the space-think small plants, framed photos, or a calming color scheme that suits your focus style. Avoid high-traffic zones like hallways or next to noisy appliances. While basements or unused closets can work, they often lack fresh air and light, making fatigue more likely. A bedroom or living room nook might be better, as long as you can maintain boundaries. Be honest about distractions. Even the best acoustic panels won’t fix a poorly chosen location. Prioritize function first, then comfort. Your productivity depends on both.
Pick the Right Acoustic Panels for Your Space
How do you cut down on noise without turning your office nook into a cave? You pick acoustic panels that balance sound absorption and noise reduction without overdoing it. You’ll want panels with an NRC (Noise Reduction Coefficient) of 0.6 or higher-they absorb mid to high frequencies well, which cuts down on echo and improves speech clarity. Foam panels are affordable but less effective for low-frequency noise; fabric-wrapped fiberglass panels perform better across a wider range. Most pre-fabricated panels mount easily and come in standard 2’x4’ sizes, making layout simple. Check the manufacturer’s warranty-reputable brands offer 5+ years. Avoid overly thick panels (over 2”) unless you’re in a very noisy space; they can deaden sound too much, making your nook feel unnatural. Test one panel first to judge real-world results before buying a full set.
Prepare Your Space for Installation
Before you mount a single panel, clear your workspace and map out your layout-this saves time and avoids costly placement mistakes. Proper space clearance guarantees panels fit without obstruction, while surface leveling guarantees secure, flush mounting. Uneven walls lead to gaps and reduced acoustic performance, so use a spirit level and fix irregularities first. Measure wall dimensions and mark stud locations if you’re using fixed brackets.
| Step | Purpose | Tool Needed |
|---|---|---|
| Clear area | Guarantee space clearance | Tape measure |
| Check wall flatness | Confirm surface leveling | Spirit level |
| Mark layout | Prevent rework | Pencil, graph paper |
Work on a clean, uncluttered floor to protect panels during prep. Don’t skip checking for outlets or baseboard constraints-modifications may be needed. While pre-fab panels save labor, poor prep compromises results.
Install Panels in Four Easy Steps
You’ve cleared the space and mapped your layout-now it’s time to get those panels on the wall. Start with adhesive selection: use heavy-duty mounting tape for light panels or a construction adhesive for larger, denser units-always check the manufacturer’s guidance. Apply evenly to avoid sagging. Press each panel firmly into place, holding for 30 seconds. Next, focus on panel alignment; use a laser level to guarantee straight rows, especially across corners or uneven walls. Misalignment disrupts both sound absorption and visual flow. Work top to bottom, overlapping seams slightly if needed. Allow 24 hours for full bond strength before adjusting. While most kits include hardware, adhesive-only setups look cleaner but make future repositioning harder. Test adhesion on drywall first-some surfaces require prep. Done right, this step drastically tames echo.
Set Up a Comfortable, Functional Workspace
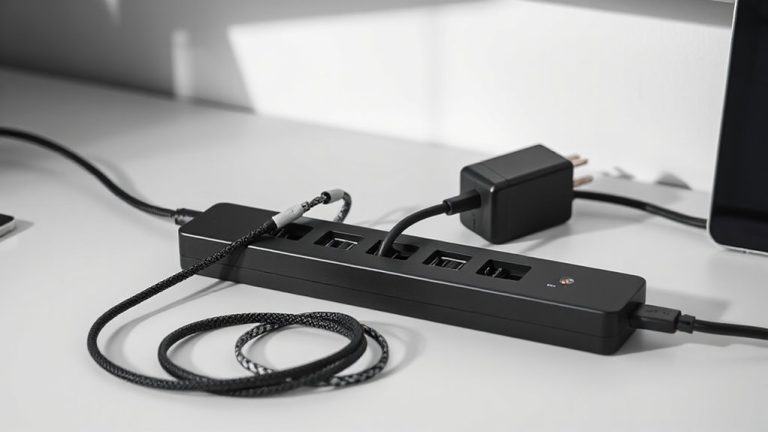
While acoustic treatment handles the room’s sound, your desk and seating make or break daily comfort-invest in ergonomics that work for long sessions. An adjustable desk at elbow height reduces strain, especially when paired with ergonomic seating that supports your lower back and promotes upright posture. Look for chairs with lumbar adjustment and breathable fabric; they’re costlier but cut fatigue during multi-hour stretches. Don’t overlook cable management-use braided sleeves or under-desk trays to keep power and data lines tidy, reducing clutter and tripping hazards. Poor organization leads to constant tangles and lost productivity. Test chairs in-person if possible, since online reviews can’t capture long-term comfort. Desks with grommet holes simplify cord routing. Remember, even the best gear fails if poorly arranged-align your monitor at eye level and leave 20 inches of viewing distance. Balance function with budget: a $300 chair may last 10 years, but only if your posture stays consistent. For long-term support, consider models highlighted in guides on the best ergonomic chairs.
Add Storage and Lighting to Stay Focused
A well-organized workspace starts with smart storage and thoughtful lighting-both keep distractions low and focus high. Smart storage keeps essentials within reach without cluttering your surface. Use wall-mounted shelves or slim cabinets to save floor space. For task lighting, pick adjustable LED bars with a color temperature of 4000–5000K; they reduce eye strain and boost alertness. Avoid overly bright or warm fixtures-they can make you sluggish. A well-designed shelving system, such as best desktop shelves, can enhance both accessibility and aesthetics in your office nook.
| Benefit | Feature | Real-World Impact |
|---|---|---|
| Focus | Task lighting | Fewer errors during long work |
| Calm | Smart storage | Less mental fatigue |
| Control | Dimmable LEDs, labeled bins | Easier shifts between tasks |
Mount lights to the desk or wall to save space, and test dimming levels at different times of day. Not all LEDs last equally long-check for 25,000-hour warranties.
On a final note
You’ll get a quiet, focused workspace by installing pre-fabricated acoustic panels in your nook-just pick panels with at least 2″ foam or fabric-wrapped fiberglass for real sound control. Mount them at ear level and near reflective surfaces to cut echo. But don’t expect studio silence; these tame noise, not eliminate it. Most brands offer 3–5 year warranties, and panels last years if not exposed to direct sunlight or moisture.