Mapping Full Cable Runs From Wall Outlet to End Device for Maintenance
Use a tone generator and probe kit to map each cable run from wall outlet to device-connect the tone to the outlet end, then follow the signal with the probe to trace hidden paths through walls. Confirm devices are unplugged first, since active networks or nearby power lines can distort results. Check continuity if the signal drops, and test individual segments if blocked by patch panels. Label both ends clearly with permanent tags like “Room 205-W1” and log cable type, length, and performance in a shared map-this cuts troubleshooting time considerably when issues arise. Updating this record after changes keeps maintenance fast and accurate. You’ll learn how to handle tricky spots like metal conduits and interference-heavy zones next.
Notable Insights
- Use a tone and probe kit to trace cable continuity from wall outlet to end device efficiently.
- Disconnect devices before tracing to prevent signal interference and ensure accurate results.
- Follow audible beeps from the probe to track hidden cable runs through walls or conduits.
- Label each cable and port consistently to simplify future maintenance and troubleshooting.
- Verify and document every cable run with a tester, noting type, length, and performance characteristics.
How to Trace a Cable From Wall Outlet to Device
A tone and probe kit is your best bet for quickly tracing a cable from a wall outlet to a connected device, especially when dealing with bundled Ethernet or coax lines in walls or under floors. You’ll rely on cable continuity to verify the connection path-each tap or short on the tone generator sends a detectable signal. The probe picks this up, guiding you to the right port. But watch for signal interference from nearby power lines or active networks, which can distort readings or create false positives. Most kits work best on isolated cables, so unplug devices first. Choose a model with adjustable sensitivity and a headphone jack for noisy environments. While efficient, these tools can struggle through thick walls or long distances. They’re affordable and reliable, usually backed by 1–2-year warranties, but they won’t replace full network testing-just mapping.
Use a Tone Generator and Probe to Find Hidden Runs
How do you locate a cable buried behind drywall or running deep through a crawlspace? Use a tone generator and probe-it’s the most reliable way to trace hidden runs without guesswork. Connect the tone generator to the outlet end, then scan with the probe to follow the signal. You’ll hear audible beeps that grow stronger near the cable. But watch for cable interference from nearby electrical lines, which can distort readings. Signal attenuation over long runs or through metal conduits may also reduce detection range.
| Location | Sound Strength | Interference Risk |
|---|---|---|
| Open wall cavity | High | Low |
| Near electrical | Medium | High |
| Through metal | Low | Medium |
| Long cable span | Weakened | Moderate |
Fix Common Issues While Tracing Network Cables
You’ve traced the signal and still can’t find the cable-now what? Start by checking for cable continuity using a basic cable tester; a broken or crossed wire will stop your signal dead, even if the path seems clear. If continuity is solid but the signal’s weak or dropping, look for signal interference from nearby power lines, fluorescent lights, or motors-these can corrupt data without fully killing the connection. Use shielded Ethernet cables (like STP) in high-interference areas, and avoid running network cables parallel to power lines. While tone generators help, they’re not foolproof-some couplers or patch panels can block the tone. Test each segment individually to isolate faults. Never assume a wall jack is good just because it looks intact-many are miswired. Verify every run end-to-end, especially in older buildings where changes lack documentation.
Label Every Connection for Faster Troubleshooting
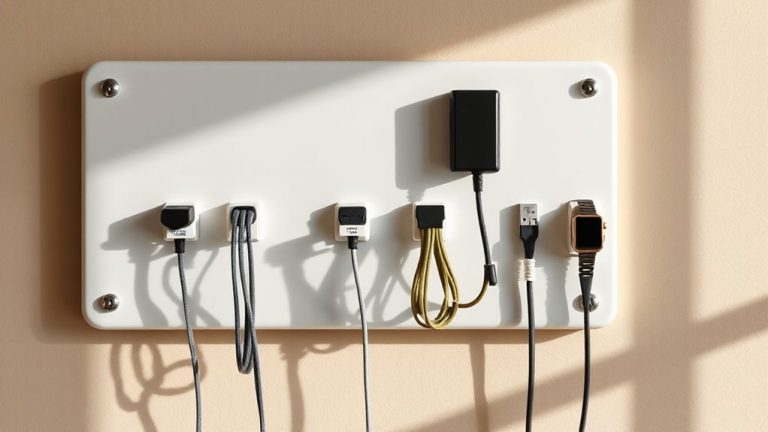
Don’t underestimate how much time you’ll save when every port, patch panel, and patch cable is clearly labeled-this simple step turns chaotic troubleshooting into a streamlined process. Cable labeling eliminates guesswork, letting you trace failures in minutes instead of hours. Use consistent connection tagging across walls, switches, and devices to maintain accuracy. Print legible labels with permanent ink or use color-coded vinyl tags that resist fading and wear. While handwritten tags might work short-term, they often smudge or peel, leading to confusion later. Standardize label formats-like “Room 205-W1” or “Patch-Panel-Port 12”-to guarantee anyone on your team can follow the system. Keep label sizes uniform so they fit neatly in port channels without blocking adjacent connections. Though setup takes time, the payoff shows during outages: you’ll isolate problems faster and reduce downtime. Just remember-labels only help if they’re accurate, so update them whenever cabling changes.
Verify and Document Your Full Cable Map
Once you’ve labeled every connection, it’s time to verify and document your full cable map-this step turns a well-labeled setup into a truly reliable system. Test each run with a cable tester to confirm continuity and check for issues like cable impedance mismatches that could lead to signal degradation over long distances. Documenting isn’t just sketching lines on paper; it’s creating a living record that helps you-and others-diagnose problems fast. Below is a simple way to log key details:
| Cable Run | Notes |
|---|---|
| Wall Outlet A → Switch Port 3 | Cat 6, 15 ft, tested for 1 Gbps |
| Wall Outlet B → Desk Jack | Cat 5e, 30 ft, minor signal degradation |
| Server → Patch Panel | Cat 6a, 10 ft, low cable impedance |
| Conference Room → AP | Cat 6, 25 ft, PoE+ compatible |
| Storage Closet → Modem | Shielded, 20 ft, no interference |
Update this map whenever changes occur.
On a final note
You’ll save time and avoid confusion by mapping every cable run from outlet to device. A tone generator and probe make tracing reliable, especially inside walls. Always label both ends and verify connections with a network tester. While the process takes effort upfront, it pays off during outages or upgrades. Just remember: cheap tools can give false readings, so invest in a trusted model with a warranty.