Building a Floating Desk With Integrated Cable Channels for a Minimalist Look
You’ll love the clean look of a floating desk with built-in cable channels, but only if you anchor it securely to at least two wall studs using 3-inch coarse-thread screws. Position hidden aluminum tracks underneath to route power and data cables neatly, ensuring bends aren’t too tight. Use a 4-foot level during mounting to prevent twist, and finish plywood edges before installing. It saves space and looks sharp, though changes later can be tricky-plan every connection now.
Notable Insights
- Build a floating desk to maximize floor space and achieve a clean, minimalist aesthetic.
- Secure the desk frame directly to wall studs for stable, long-term support and safety.
- Integrate hidden cable channels using dado cuts or aluminum tracks to conceal wires underneath.
- Use snap-on or paint-matched covers to blend cable channels seamlessly into the desk design.
- Plan cable routing early and test fit wires to ensure accessibility and prevent future issues.
Why Build a Floating Desk With Cable Channels?
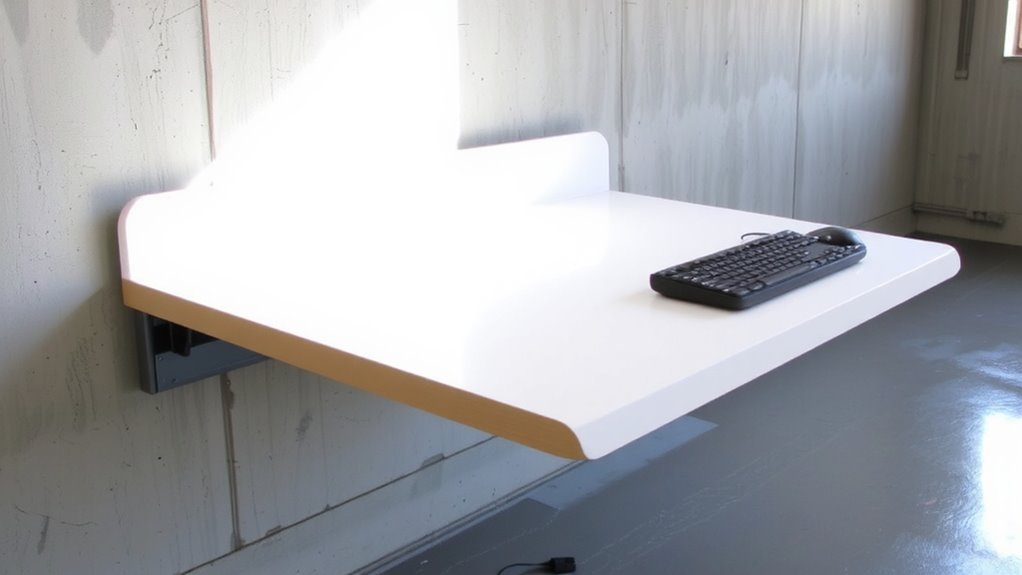
There’s a good chance you’ve struggled with tangled cords and limited space in your home office, and that’s exactly why building a floating desk with built-in cable channels makes so much sense. You gain serious space efficiency-no legs or bulky frames eating up floor area-freeing up room to move or add storage. The desk looks clean, too, thanks to its aesthetic appeal; concealed cables mean no messy wires trailing down walls or across surfaces. You’ll appreciate how it keeps your setup looking intentional and uncluttered. But don’t expect perfection-routing all cables neatly takes planning, and access for changes later can be tricky. You also lose under-desk mounting options for accessories. Still, if you value a minimalist look and smarter use of tight spaces, this build delivers-just measure twice, confirm wall constraints, and accept that convenience trades off with modularity. For optimal results, consider pairing your build with the best cable management solutions to maintain long-term tidiness and functionality.
Find Studs and Secure Your Wall Frame
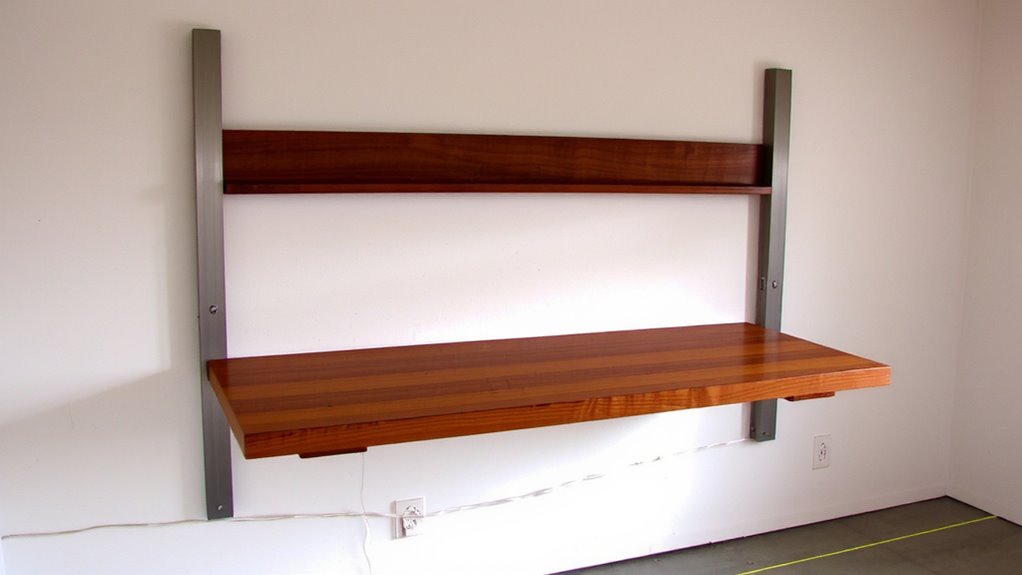
You’ll want to nail your wall frame into studs-doing so keeps the desk stable and able to handle daily loads without risking drywall anchors failing over time. Studs serve as your primary anchor points, typically spaced 16 inches apart and found using a magnetic or electronic stud finder. Mark each stud’s edges to confirm width and guarantee your frame aligns with at least two, preferably three. This direct attachment supports heavy use far better than wall anchors alone. While wall anchors can work in a pinch, they’re not ideal for long-term load-bearing-especially near edges where stress concentrates. Over time, anchors may loosen, especially with frequent sitting or leaning. Always pre-drill pilot holes to prevent wood splitting and use coarse-thread drywall screws for secure metal-to-wood connections. Confirm depth and placement before final tightening. Stability hinges on solid anchor points, so double-check positioning-even slight misalignment can compromise support.
Gather Tools and Materials for a Clean Build
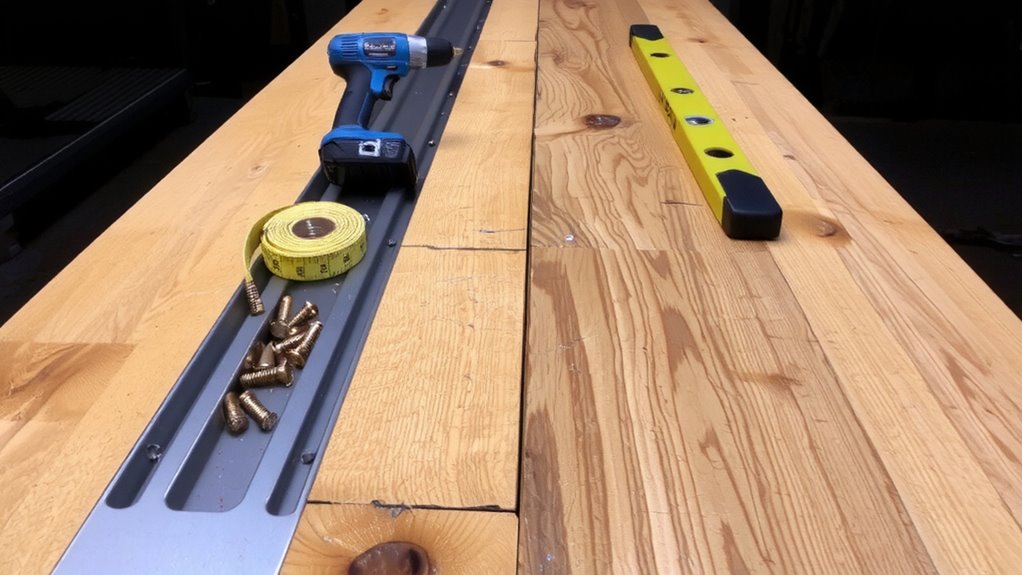
Now that your wall frame is anchored securely to the studs, you’re set to move forward with the tools and materials that’ll shape the rest of the build. Proper tool selection and thorough material prep are critical for a clean, professional result. Using the right tools minimizes errors and saves time, while pre-cutting and sanding components early guarantees a smooth assembly. Below is a quick reference for essential items:
| Tool/Material | Purpose |
|---|---|
| Circular saw | Clean, straight plywood cuts |
| Orbital sander | Smooth edges and surfaces |
| 120- and 220-grit | Progressive material prep |
| Clamps | Secure joins during drying |
Always verify tool condition before starting-dull blades cause splintering. Pre-finish wood edges now to avoid touch-ups later. Though some improvisation works, skipping proper prep risks alignment and finish quality.
Build and Install the Hidden Cable Channels
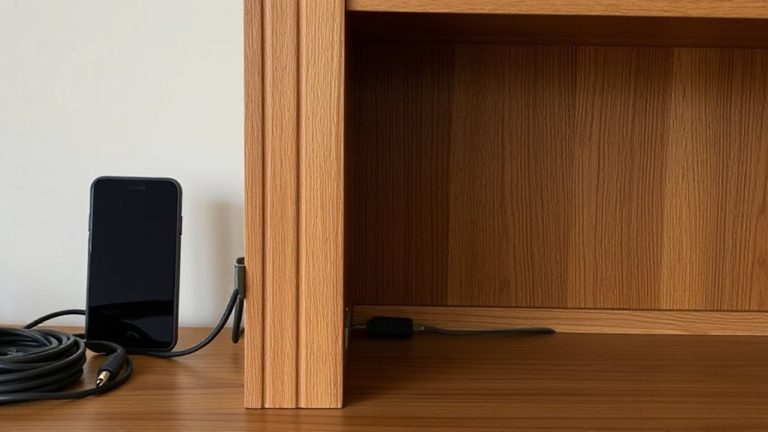
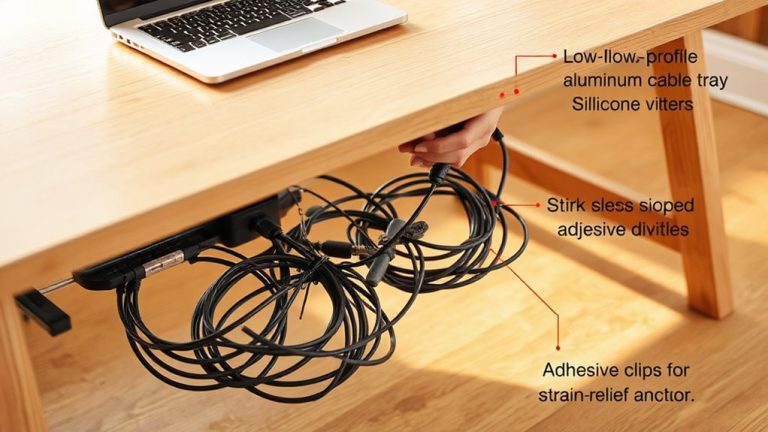
If you want a clutter-free workspace without sacrificing accessibility, building hidden cable channels into your floating desk is a smart upgrade-just don’t expect seamless results without careful planning. Start by routing channels along the underside of the desktop using dado cuts or pre-made aluminum tracks, ensuring a clean cable management aesthetics that stays out of sight but easy to access. A well-executed hidden conduit design means cables run neatly from monitors to outlets without snags or strain. Use snap-on covers or paint-matched trims to blend the channels into the desk surface. Keep bends gradual to avoid damaging cords over time. Test fit all cables before final attachment. While concealment boosts visual cleanliness, poorly placed channels can limit future device changes. Balance form and function-this isn’t just about looks, it’s about lasting usability. For optimal results, consider incorporating best cable management solutions tailored for minimalist desk setups.
Mount the Desk Frame Level and Strong
Though getting the frame perfectly aligned might seem minor, mounting it level and secure is what separates a sturdy, long-lasting desk from a wobbly afterthought-your entire build depends on this step. Use a stud finder to locate wall studs, and secure the frame directly into them whenever possible. If you’re anchoring into drywall between studs, heavy-duty wall anchors are essential-they must support the frame’s load without pulling out. Check bracket alignment with a 4-foot level to prevent twisting or uneven weight distribution. Even a 1/8-inch variance can throw off the desktop fit later. Tighten all bolts gradually, alternating sides to maintain balance. Remember, over-tightening can strip threads or crack drywall. Most tested setups fail not from poor materials, but from rushed mounting. Take your time here, and the rest will follow. Choosing the right workspace solution can enhance both comfort and productivity, making best home office desks a valuable reference when planning your build.
Attach the Desktop and Finish Edges Smoothly
A well-attached desktop makes all the difference when turning a floating frame into a reliable work surface-skip the shortcuts here and you’ll end up with a seamless, durable desk that handles daily use without creaking or shifting. Secure your desktop using countersunk screws or a strong construction adhesive to guarantee a rigid bond with the frame. Then, focus on edge sanding to eliminate splinters and create smooth shifts between surfaces-start with 120-grit paper, then move to 220-grit for fine refinement. After sanding, apply a quality finish coating like polyurethane or water-based lacquer to protect against wear and moisture. Two to three thin, even coats work better than one thick layer, each lightly sanded between applications. Poor adhesion or uneven finish coating leads to peeling and an unprofessional look, so prep thoroughly. Edge sanding and finish coating aren’t glamorous, but they’re critical for longevity and a clean, modern appearance.
Route and Hide Cables Like a Pro
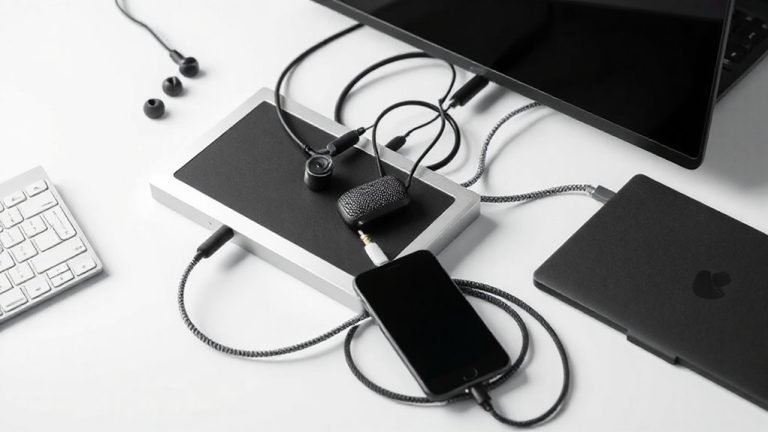
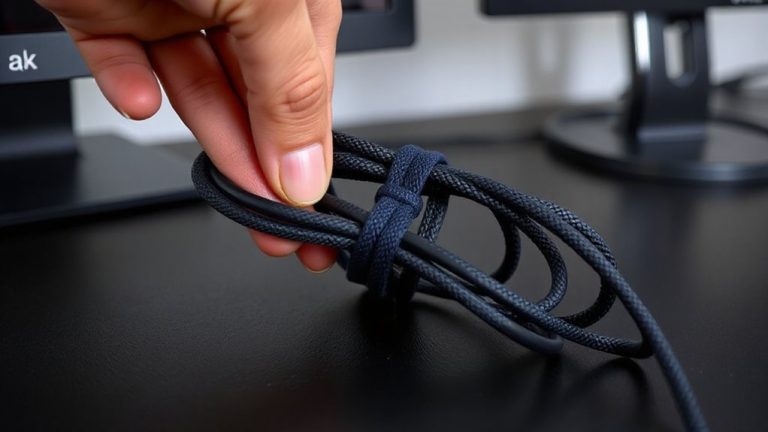
While a clean cable setup won’t boost your CPU speed, it does make your workspace feel more organized and professional-so don’t treat it as an afterthought. Good cable management isn’t just neatness-it’s about efficiency and safety. Start by grouping power, data, and display cords with velcro ties, not zip ties, so you can adjust easily later. Use the desk’s built-in channels to guide cords along the wall side, keeping them out of sight but accessible. For cord organization, install a low-profile cable raceway behind the desk to route everything to your outlet strip. Choose one with a snap-on cover for quick access. Avoid stuffing too many thick cords in narrow paths-they can pinch or overheat. Test all connections before sealing anything. While channels reduce visual clutter, they limit quick swaps, so plan device placement carefully. Label each cord. It’ll save time when troubleshooting.
On a final note
You’ll love the clean look and smart cable management this desk offers, especially if you value space and order. Built right, it holds up to 200 lbs and stays sturdy when anchored into studs. The channels keep cords accessible but hidden, cutting clutter fast. Just measure twice-misaligned mounts mean gaps or stress points. Not for renters, and drywall anchors won’t cut it. Finish well to avoid splinters.