Inspecting Coaxial Cables for Compression Fitting Damage in Home Theaters
Check your coaxial cables for loose, cracked, or over-tightened compression fittings-these often cause pixelation, signal loss, or slow speeds in home theaters. Look for gaps between the connector and cable jacket, frayed shielding, or a center conductor that moves when tugged. Use a signal meter to confirm drops below -20 dBmV. Replace damaged fittings with a proper coax stripper and compression tool, ensuring correct dielectric and braid lengths. A secure crimp shouldn’t rotate or pull off. Keep testing each connection, especially in multi-room setups-consistency matters. There’s more to get right where installation meets performance.
Notable Insights
- Check for loose or rotating compression fittings, as they compromise signal integrity and indicate poor connection.
- Inspect for gaps between connector and cable jacket that expose insulation, increasing risk of moisture ingress.
- Look for frayed shielding or damaged center pins, which degrade signal quality and cause intermittent outages.
- Test for signal loss below -20 dBmV, especially with pixelation or audio dropouts linked to fitting issues.
- Replace damaged fittings using proper tools and correct stripping dimensions to ensure a secure, functional connection.
Spot the Signs of Bad Compression Fittings
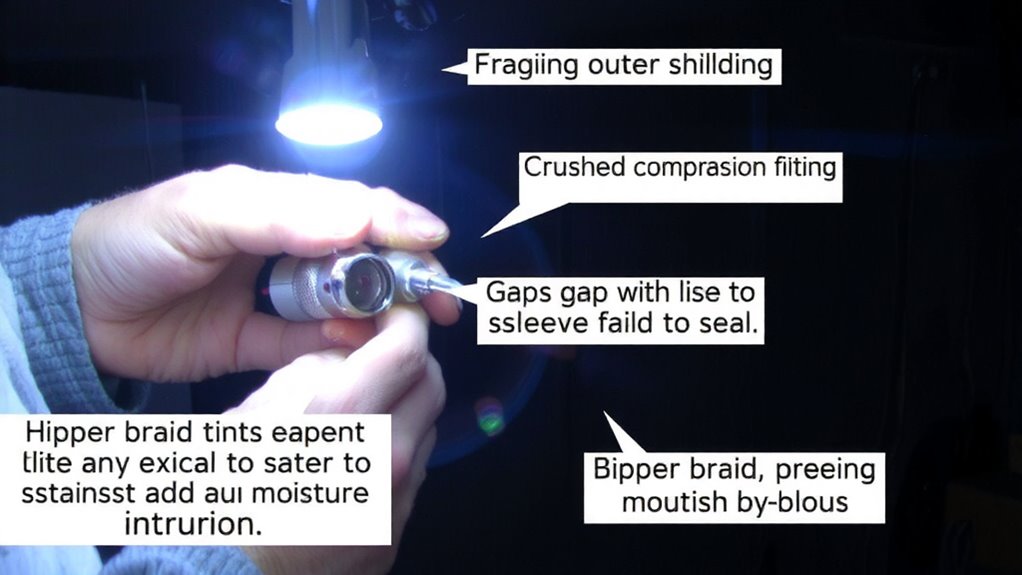
A loose or damaged compression fitting can quietly ruin your signal quality before you even realize there’s an issue. You might notice pixelation or intermittent dropouts, especially during heavy streaming or video calls. Check for frayed insulation near the connector-this often means the cable’s been bent too much or twisted during installation, compromising both performance and safety. Loose connectors won’t form a secure seal, letting moisture in and weakening the signal over time. Compression fittings should be snug, with no gap between the connector and the cable jacket. A properly crimped fitting won’t rotate or pull off easily. While tighter seals improve reliability, over-tightening can damage the center conductor. Always use the correct compression tool-barrel connectors require specific dies. If you spot frayed insulation or loose connectors, replacement is faster and more reliable than repair.
Inspect Your Coaxial Connections for Damage
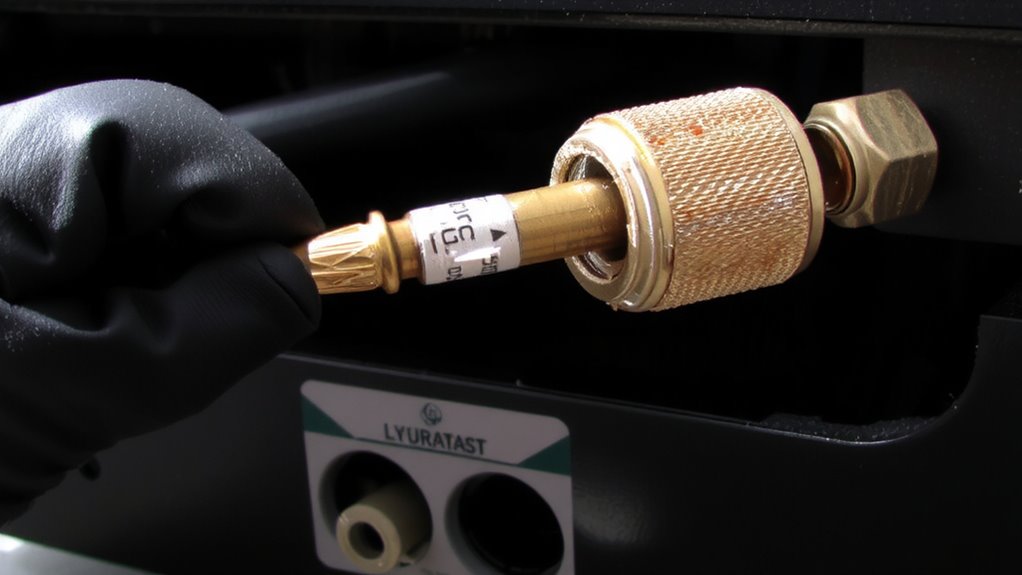
Start your inspection at the connection points-those are usually where problems show up first. Look closely at each coaxial connection, especially where the compression fittings meet the device or wall plate. If you spot frayed shielding, bent center pins, or cracked insulation, those are red flags. Loose connectors are a common culprit behind signal degradation, so give each one a gentle twist to confirm it’s snug but not over-tightened. Don’t rely on appearance alone-dirt or corrosion on the connector can also weaken performance. Check both ends of every cable, since damage in one spot can affect the whole line. While compression fittings typically offer better durability than crimp ones, improper installation still leads to issues. Even high-quality RG6 cables won’t help if connections are faulty. Address physical damage early to maintain consistent signal integrity-waiting only increases the risk of ongoing signal degradation.
Test Your Signal for Fitting Issues
How’s your signal holding up after inspecting those compression fittings? It’s time to check for signal interference or connection loss that could disrupt your home theater experience. Connect a signal meter to the coaxial line and measure the output-look for drops below -20 dBmV, which often indicate problems. If you’re noticing pixelation, audio dropouts, or slow speeds, damaged fittings might be the culprit. Compression fittings should maintain a tight seal; even slight gaps introduce signal interference, especially in high-frequency bands. Verify connectors are fully seated and not over-tightened, which can deform the center pin and worsen connection loss. Test each run after reseating fittings. While most issues resolve with proper installation, persistent signal degradation suggests deeper line faults. Always double-check tools-using the wrong compression tool can create false confidence in a weak joint.
Replace a Damaged Compression Fitting
That damaged compression fitting should be replaced immediately-intact connections depend on a precise fit, and even minor deformities compromise signal integrity. You’ll need a coax stripper, compression tool, and a new connector for proper compression replacement. Start by cutting the cable cleanly just behind the old fitting-this gives you fresh insulation and shield to work with. Strip the coax to the correct depth: usually ¼” for the center conductor and ⅜” for the braid. Slide the new compression fitting on before crimping, ensuring it’s fully seated. Use a compatible die in your tool to complete the fitting repair. A poorly crimped connector can cause intermittent signals or total failure, so test after installation. Not all tools work with every connector-check manufacturer specs. Quality fittings have brass bodies and gold-plated contacts, often backed by a 10-year warranty.
Install Compression Fittings the Right Way
Getting the job done right means installing compression fittings with consistency and care-whether you’re replacing a damaged connector or setting up a new line. Start by stripping the coaxial cable precisely: expose about 1/4 inch of center conductor, then align the dielectric evenly before sliding on the compression sleeve. Proper alignment guarantees the connector seats flush on the cable, preventing gaps that weaken the signal. Use a compression tool rated for your connector type-RG6 or RG59-so it crimps evenly and securely. Avoid over-tightening; improper fitting torque can deform the connector or damage the cable shield. A properly compressed fitting should feel snug but not forced, creating a weatherproof, low-loss connection. Test each link with a signal meter if possible, especially in multi-room setups. While quality connectors and tools cost more upfront, they reduce long-term maintenance. Still, even top-tier parts fail if applied poorly-technique matters most.
Avoid Common Coaxial Fitting Mistakes
Even when using the right tools, skipping small steps during installation can undermine an otherwise solid coaxial connection. Avoid common coaxial fitting mistakes like cable mismatch and improper crimping, which lead to signal loss or intermittent performance. Always match your connector type to the cable’s specs-RG-6 for high-bandwidth runs, not RG-59. Use a compression tool calibrated for your connector size to prevent weak or over-crimped joints.
| Mistake | Risk | Fix |
|---|---|---|
| Cable mismatch | Signal degradation | Verify RG type and impedance |
| Improper crimping | Loose, unreliable fit | Use proper compression tool |
| Overtightening | Damaged center conductor | Hand-tighten, then ¼ turn |
| Poor strip length | Exposed shield issues | Use precision stripping tool |
Double-check each step-precision guarantees lasting, high-quality connections.
On a final note
You should replace damaged compression fittings promptly to maintain signal integrity in your home theater. Properly installed RG6 connectors with a quality crimp provide reliable, low-loss connections. While compression tools cost more upfront, they deliver consistent results. But avoid over-tightening-this deforms the center conductor. Always test with a signal meter; even small reflectance issues cause pixelation. Warranties rarely cover user error, so practice first.