How to Arrange Monitors for a Virtual Assistant Managing Multiple Clients
Set up two or three monitors, placing your main screen directly in front at eye level to avoid neck strain. Use one monitor per client to stay focused and keep sensitive info separate. Match resolution and scaling-like 1920×1080 at 100% or 2560×1440 at 125%-to prevent cursor jumps and window distortion. Mount screens 20–30 inches away, tilted slightly back to reduce glare. Use snap layouts for quick window alignment, but test older apps-they might not cooperate. You’ll find setup tips that make balancing efficiency and ergonomics easier.
Notable Insights
- Position the main monitor directly in front at eye level to prevent neck strain during long tasks.
- Use separate monitors for each major client to enhance focus, privacy, and workflow customization.
- Place all screens at arm’s length, 20–30 inches away, with tops aligned at or below eye level.
- Match resolution and scaling across monitors to avoid cursor jumps and maintain seamless app movement.
- Use app snapping tools and task grouping to organize client-specific workflows efficiently on each screen.
Pick 2 or 3 Monitors for Your VA Work
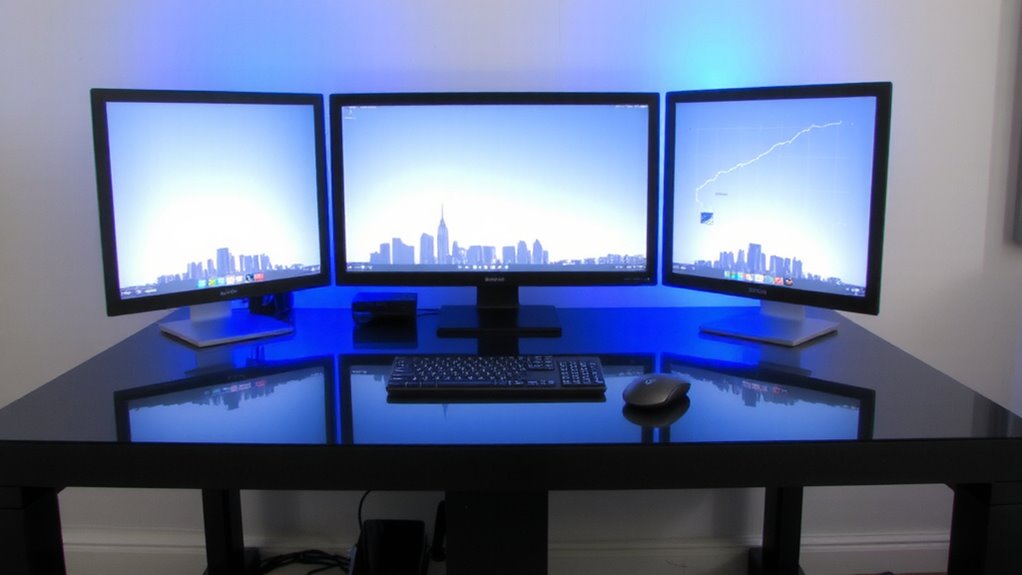
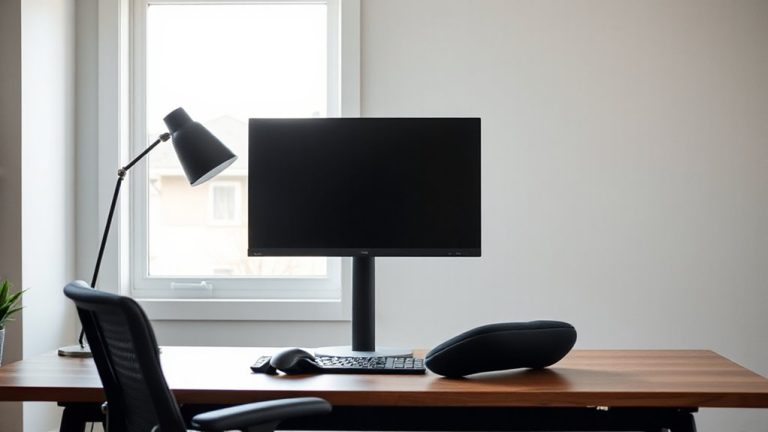
A pair of monitors often strikes the right balance for virtual assistant work-enough screen space to multitask efficiently without overcrowding your desk. You might consider adding a third if you regularly manage multiple clients across email, calendars, and project tools, but don’t assume more is better. Dual 24-inch IPS panels give solid color accuracy and viewing angles, supporting ergonomic positioning when placed at arm’s length and aligned top-to-bottom with your eye level. Screen brightness should be adjustable to match ambient light, ideally with matte finishes to reduce glare. While curved monitors can enhance immersion, they may distort alignment across multiple screens. Mounts with VESA compatibility offer flexibility, but built-in stands work fine if properly adjusted. Overextending your setup can lead to eye strain and inefficient head movement. Always prioritize adjustability and comfort over sheer size or number.
Place Your Main Screen to Avoid Neck Strain
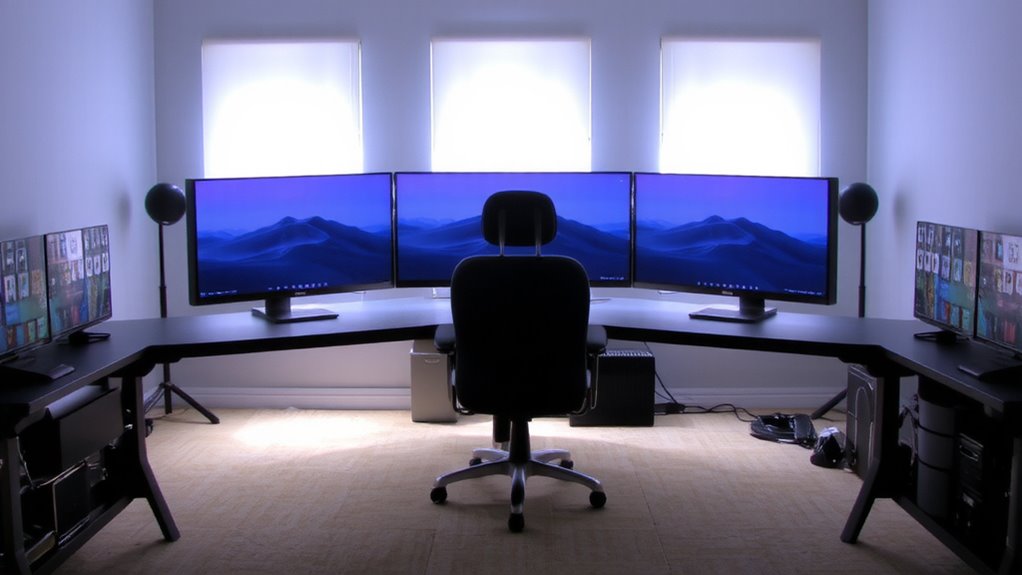
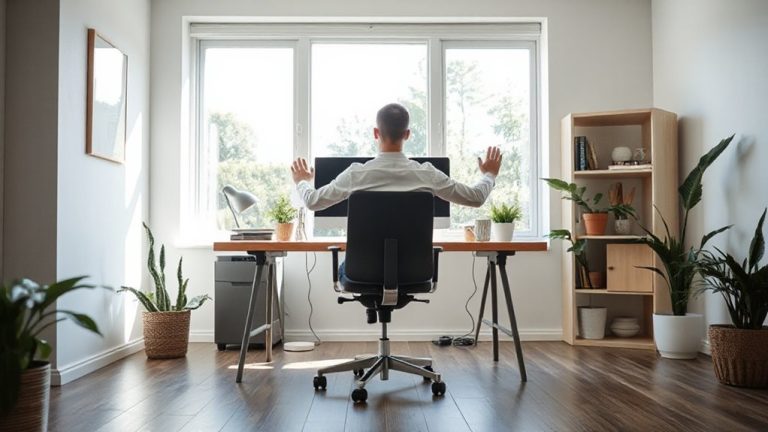
Since neck strain often comes from poor screen alignment, position your main monitor directly in front of you with the top edge at or slightly below eye level-this keeps your gaze angled slightly downward, reducing stress on your cervical spine. Proper ergonomic positioning prevents long-term discomfort and improves focus during back-to-back client hours. Aim for a distance of 20–30 inches between your eyes and the screen, adjusting based on monitor size and resolution. Tilting the screen slightly backward (10–20 degrees) can further refine screen alignment and reduce glare. Use a monitor arm or riser for precise height adjustments, but guarantee stability. While built-in stands work, they often limit flexibility. Not all desks offer ideal depth, so measure your space before committing. Poor setup risks fatigue, even with premium gear. Ergonomic positioning isn’t one-size-fits-all-test small tweaks over time for best results. For greater adjustability and space efficiency, consider a monitor arm from a top-rated mount list.
Give Each Client Their Own Monitor
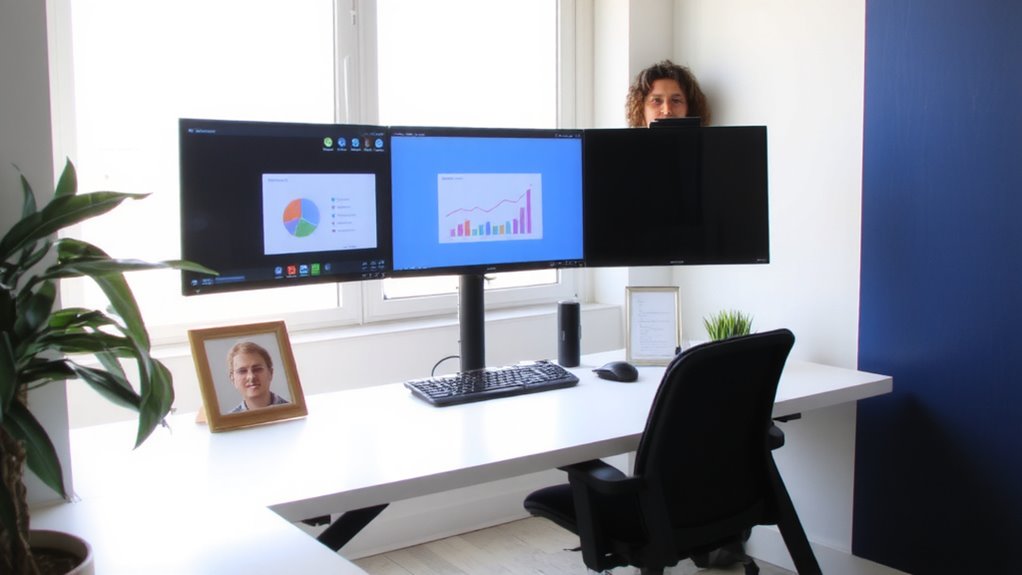
You’re already positioning your main screen to reduce neck strain-now extend that same level of intention to how you organize your work across clients. Assigning each client their own monitor boosts focus and strengthens client privacy, since sensitive tabs or documents aren’t mixed on a shared display. It also allows precise screen customization-adjust brightness, zoom, or app layouts per client without constant reconfiguration. This setup works best with at least three monitors: one dedicated per major client and your primary screen for cross-tasking. However, it demands more desk space and increases hardware costs. Be mindful of visual clutter; label each screen discreetly to avoid mix-ups. While not every VA needs this separation, those handling confidential projects or complex workflows often find the investment justified. Use software like display managers to switch profiles quickly, ensuring efficiency doesn’t come at the cost of security. A stable and spacious setup is essential for maintaining this workflow, so consider investing in a high-quality triple monitor stand to support your multi-display arrangement.
Match Resolution and Scaling Across Screens
Nearly every multi-monitor setup suffers when screens don’t share matching resolution and scaling settings-mismatched displays cause cursor jumps, stretched windows, and eye strain from inconsistent text size. For screen uniformity and visual consistency, match both resolution (like 1920×1080) and scaling (100% or 125%) across all monitors. This reduces friction when switching between client workspaces. Here’s a quick comparison:
| Monitor Size | Resolution | Recommended Scaling |
|---|---|---|
| 24″ | 1920×1080 | 100% |
| 27″ | 2560×1440 | 125% |
| 32″ | 3840×2160 | 150% |
You’ll gain smoother navigation and fewer distractions, though higher resolutions may require stronger GPU support. While mixing hardware is possible, matching specs closely guarantees more reliable daily performance without constant adjustment.
Use Window Tools to Speed Up Your Workflow
When your monitors are properly aligned and scaled, the next step to true efficiency is mastering window management tools that keep your workflow fluid and intentional. You can save time by using app snapping to lock programs into screen halves, quarters, or custom zones across monitors-Windows 11’s Snap Layouts and macOS’s Split View make this easy. Pair this with task grouping, where related apps (like email, calendar, and task lists for one client) open together, so switching between projects feels seamless. These tools reduce clutter and help maintain focus, but they only work well if your displays match in resolution and scaling. Some apps don’t snap cleanly, especially older or fullscreen programs, so you’ll need to test them in your actual workflow. Built-in OS features are free and reliable, while third-party tools like Magnet or DisplayFusion offer more precision but come at a cost.
Keep Cables Neat and Your Desk Clear
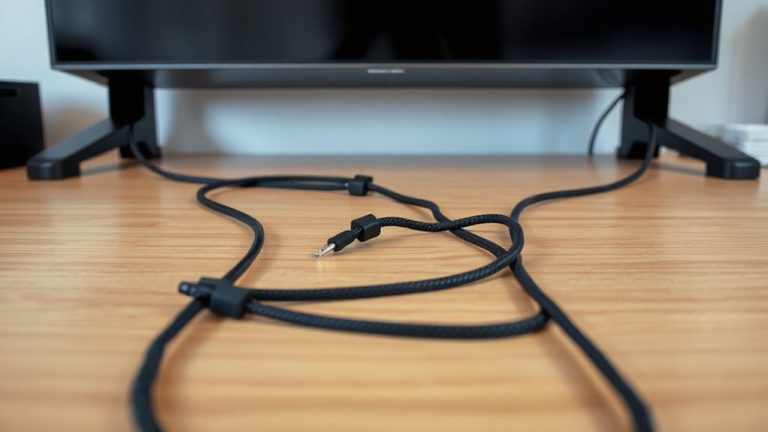
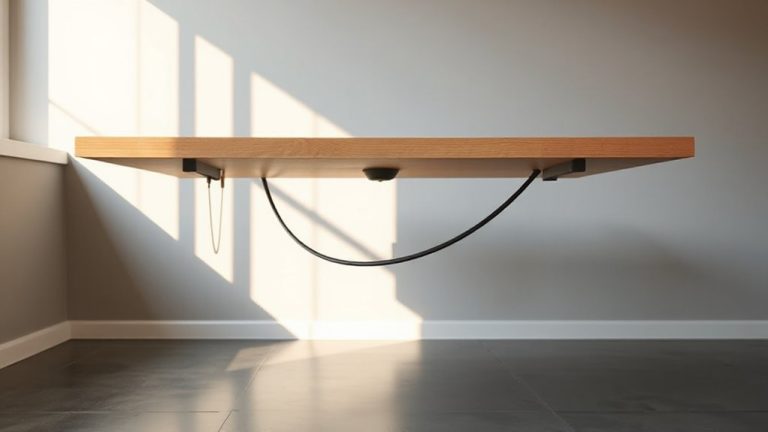
A clean desk starts with managing what’s underneath it-cables. Good cable management reduces clutter and boosts safety, while smart desk organization improves focus during long client sessions. Use braided sleeves or velcro ties to group cords neatly, and route them through grommets or clips to keep power strips and adapters off the floor. Best Cable Management Solutions can make a significant difference in maintaining both aesthetics and functionality.
| Benefit | Trade-off |
|---|---|
| Tangled-free cords | Upfront setup time |
| Easier troubleshooting | Limited port access with some trays |
| Professional look | Cost of quality organizers |
| Cooler device temps | Overuse of ties can damage cables |
Mounting power strips under desks saves space, but make certain they’re UL-certified. Avoid daisy-chaining. Since most monitors use USB-C or HDMI, label each cable. While cable trays help, they can limit airflow if overfilled. Balance function and neatness-your workflow depends on both.
On a final note
You’ll work faster and with less strain using two or three monitors, especially when switching between client tasks. Position your main screen at eye level and about 20–30 inches away to prevent neck pain. Matching resolution-like two 1080p or two 1440p screens-reduces eye fatigue. Tools like Windows Snap boost speed, but tangled cables can slow setup. Use cable sleeves and monitor stands, though larger multi-monitor rigs may limit desk space. Test setups for a week before finalizing.