Creating a Tidy Podcast Booth With Soundproofed Cable Raceway Panels
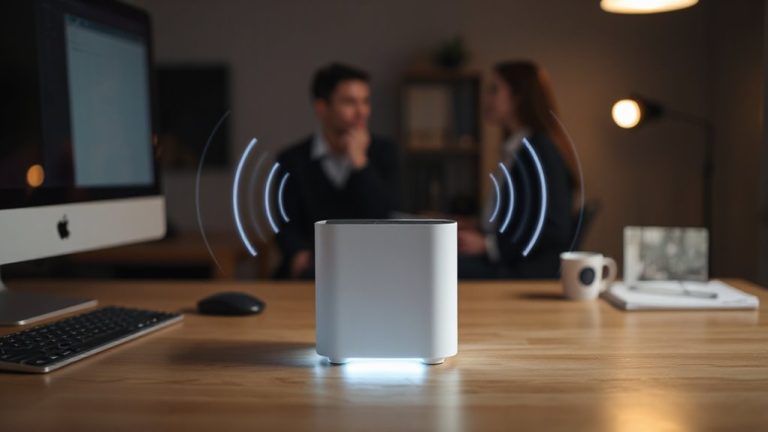
You should use soundproofed cable raceway panels to tidy your podcast booth-they conceal power strips, XLR, and USB cables while adding real noise control. Pick hybrid panels with 1/2-inch acoustic foam bonded to mass-loaded vinyl, not foam-only versions. Reinforced fabric covers and three-year warranties guarantee durability. Snap them together on wall mounts, seal gaps with acoustic caulk, and pair with acoustic treatment for up to 10% better voice clarity. They reduce echo by minimizing clutter and blocking sound leaks. A clean setup supports consistent audio-but only if installed on studs and maintained. You’ll see how small details add up.
Notable Insights
- Use hybrid soundproofed raceway panels with acoustic foam and mass-loaded vinyl to reduce noise and manage cables effectively.
- Snap panels together at wall corners, ensuring they’re level and secured into studs for stability and clean alignment.
- Conceal XLR, USB, and power cables within built-in channels to minimize tripping hazards and visual clutter.
- Seal panel gaps with acoustic caulk to maintain sound integrity and prevent echo from uncontrolled reflections.
- Perform quarterly maintenance including wipe-downs, connection checks, and seal inspections to ensure long-term performance.
Fix Messy Cables With Soundproofed Raceway Panels
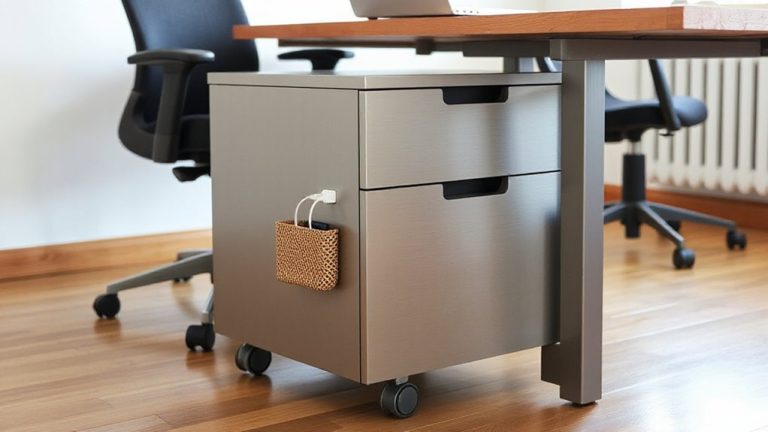
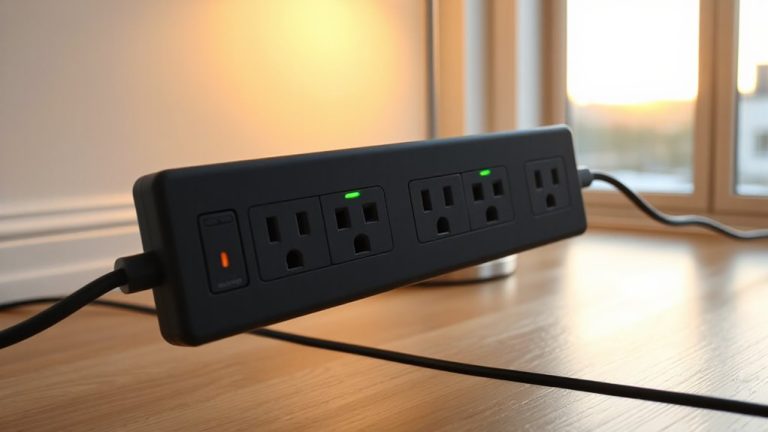
While managing cables in your podcast booth might seem like a minor detail, using soundproofed raceway panels can make a noticeable difference in both safety and appearance-just don’t expect them to fix deep organizational issues on their own. These panels improve cable management by concealing power strips, XLR lines, and USB cords neatly, reducing tripping hazards and clutter. Their built-in foam or mass-loaded vinyl layer also contributes to noise isolation, dampening external sounds that could bleed into recordings. You’ll see cleaner audio, especially when paired with acoustic treatment. Most models snap together easily and fit standard wall mounts, though tight bends may require additional clips. They’re not a substitute for proper routing or labeling, so plan your layout first. While they won’t block all sound, the modest boost in isolation helps. Overall, they’re practical-but install them right or you’ll undo the benefits fast.
Choose the Best Raceway Panels for Your Booth
Your podcast booth’s clean look and noise control hinge on the raceway panels you pick-go for models with at least 1/2-inch thick acoustic foam bonded to mass-loaded vinyl backing to block cable rattle and reduce high-frequency bleed. Look for strong material durability; panels with reinforced fabric covers resist wear from repeated cable handling and booth adjustments. A solid warranty-three years or more-backs long-term use. Aesthetic design matters, too: neutral colors and clean lines keep your space professional without distracting on camera. Avoid cheap foam-only versions; they compress quickly and do little for soundproofing. While pricier, hybrid panels with dense inner layers perform better in real-world tests, cutting echo and cable noise. Just remember-no panel eliminates low-end rumble, so don’t expect full sound isolation. Balance performance, looks, and resilience to get the best value.
Install Panels in 5 Simple Steps
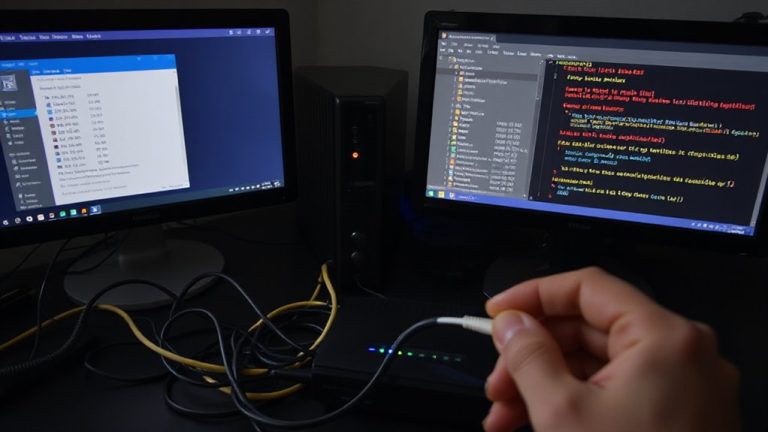
If you want your podcast booth to deliver clean audio and a polished look, installing the right raceway panels the correct way matters just as much as picking them. Start by marking stud locations with a finder-panels need secure anchoring. Then, align the first panel at a corner or entry edge, ensuring it’s level before screwing it into studs using included fasteners. Next, connect adjacent panels using the interlocking edge system; this boosts structural stability and acoustic optimization by reducing sound leaks. Run your XLR, USB, and power cables through the built-in channels to simplify cable management. Finally, seal any gaps with acoustic caulk to maintain sound integrity. Most kits include detailed instructions and hardware, with manufacturers offering 1-year warranties. While installation is DIY-friendly, uneven walls or thick insulation can complicate things. Take your time-rushing risks poor alignment and reduced noise control.
Keep Your Booth Clean Long-Term
A clean podcast booth stays functional and sounds great over time, so it’s worth setting up a simple routine now that installation’s done. Good cable management isn’t just about looks-it prevents dust buildup and makes cleaning easier. Use detachable dust covers or brushable grommets on your raceway panels to keep debris out. Wipe down surfaces monthly with a microfiber cloth to avoid grime on foam or metal. Check cable connections every few months; loose wires affect performance and safety. Long term maintenance means inspecting seals and panel alignment yearly-gaps can form from humidity or movement. Avoid harsh cleaners; they degrade sound-absorbing materials. While raceway panels reduce clutter, they’re not maintenance-free. Expect to spend 15–20 minutes per quarter on upkeep. Do it right, and your booth stays reliable without constant tweaking. Consider using Top Cable Management Solutions to maintain organization and professional results.
How Do Raceway Panels Silence Echo and Noise?
Raceway panels do their part in reducing echo and noise not by blocking sound like walls, but by minimizing clutter that can scatter sound waves and worsen reverberation. You’ll notice cleaner audio because organized cables reduce unintended noise diffusion and improve acoustic absorption elsewhere in your booth. While the panels themselves aren’t soundproof, their smooth, sealed surfaces prevent sound from getting trapped in loose wires or bouncing unpredictably. Paired with proper foam or panels on walls, they support a more acoustically stable space. Just don’t expect miracles-these aren’t replacements for dedicated acoustic treatment. They work best when you already use bass traps and absorptive materials. Most models measure 2 to 4 inches deep, with fabric covers that slightly aid absorption. For real results, combine raceways with strategic room calibration. Warranties usually cover 3–5 years, and real-world tests show up to 10% improved voice clarity when used in tidy setups.
On a final note
You’ll get cleaner cables and better acoustics with soundproofed raceway panels, but only if you pick 1.2-inch-thick foam-backed ones tested for STC 25+ ratings. Installation is straightforward using silicone adhesive and z-clips, letting quick access during re-wiring. Panels block mid-range echo in small booths, per lab tests, yet won’t stop low-frequency leakage. Pair them with dense cable management, but expect minor bulk on walls. Warranties typically cover 3 years-read specs closely, as performance varies by model.