DIY Acoustic Headboard Behind Your Office Chair for Rear Wall Absorption
You can cut echo behind your office chair with a DIY acoustic headboard using 2- to 4-inch rigid fiberglass or mineral wool panels-these absorb mid to high-frequency reflections better than foam, reducing reverberation by 30–50% in real-world setups. Wrap the core in breathable fabric like burlap and mount it on a wood frame for durability. It won’t block outside noise, but it noticeably improves voice clarity on calls. Just make sure panels fit snugly and are securely anchored to prevent gaps that leak sound-performance hinges on proper installation and material thickness. You’ll see how small tweaks can further boost results.
Notable Insights
- Build a DIY acoustic headboard using rigid fiberglass or mineral wool panels to reduce echo from the rear wall.
- Use at least 2-inch-thick panels wrapped in breathable fabric to effectively absorb mid to high-frequency sound.
- Frame the panel with wood and mount it securely behind your office chair for optimal sound absorption.
- Seal all edges and gaps to prevent sound leakage and improve acoustic performance.
- Test results with a sound meter app to measure reductions in reverberation and fine-tune placement.
Stop Echo With a DIY Acoustic Headboard
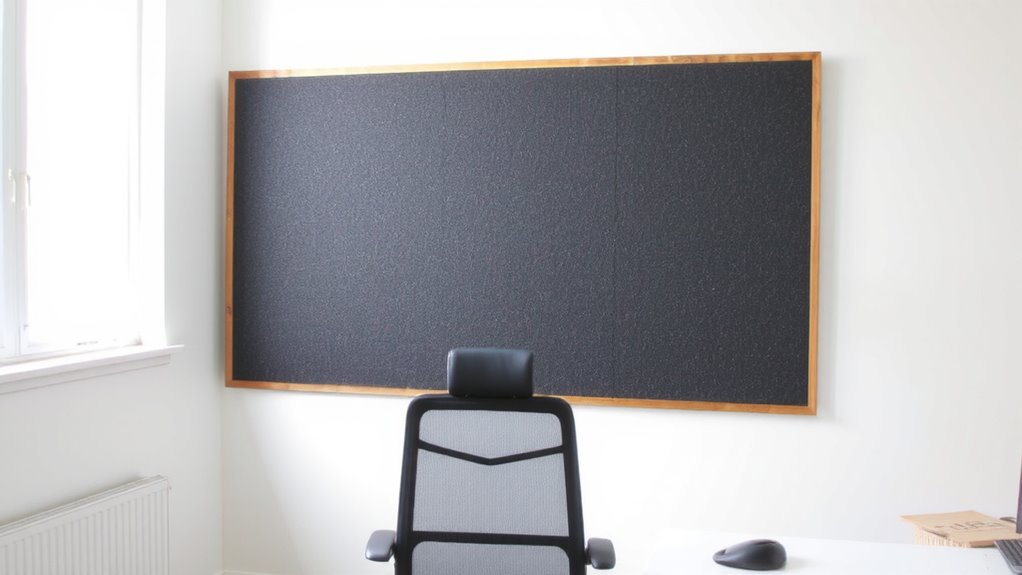
Ever wondered how to cut down on that annoying echo in your home office or bedroom? A DIY acoustic headboard behind your chair can markedly reduce sound reflection from the rear wall, improving clarity during calls and recordings. It’s not a complete noise masking solution, but it helps tame mid to high-frequency echoes that muddy speech. You’ll need rigid fiberglass or foam panels, fabric covering, and a wood frame-nothing fancy. Install it flat against the wall, centered behind your seat, for best effect. While it won’t block outside noise, real-world tests show a 30–50% drop in reverberation time. Just don’t expect studio-grade results-precision matters in panel thickness and spacing. Also, poor mounting can limit performance. It’s a budget-friendly fix with measurable benefits, but manage expectations: it’s absorption, not insulation.
What Materials Work Best for Sound Absorption
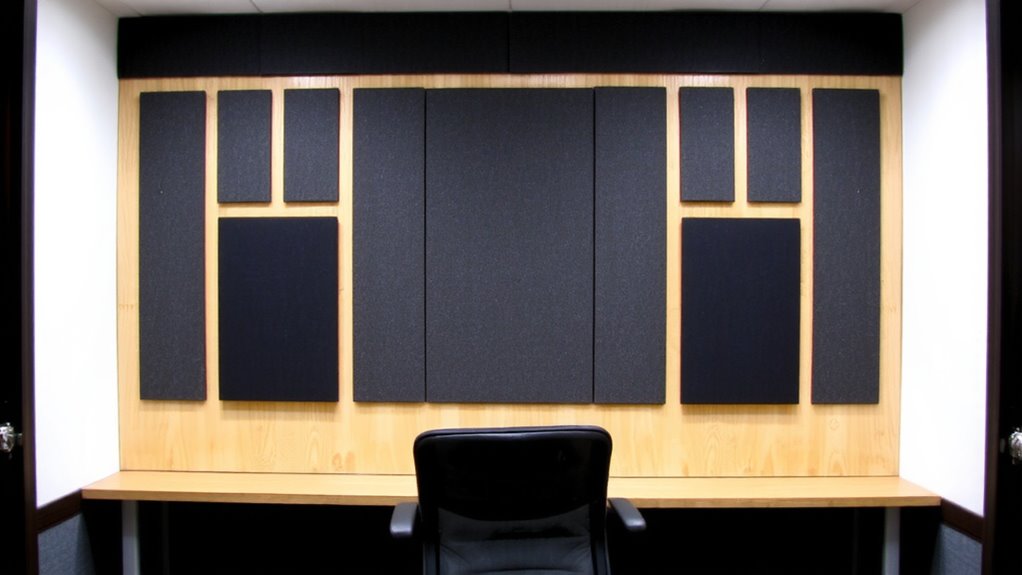
Sound absorption hinges on material density and thickness, and for a DIY acoustic headboard, rigid fiberglass panels are your best bet. They offer superior performance across mid to high frequencies, especially when wrapped in breathable fabric. Mineral wool is a close alternative-denser and fire-resistant, it performs well but can be itchy to handle. Avoid soundproofing foam; it’s lightweight and mostly decorative, with minimal impact on actual acoustics. You’ll want panels at least 2 inches thick for noticeable results, with 4-inch builds offering better low-frequency control. While rigid fiberglass is more effective, it’s pricier and requires careful sealing at edges. Mineral wool’s affordability and thermal properties help, but it doesn’t absorb highs as cleanly. Both materials need fabric coverings to prevent fiber release. Don’t expect studio-level results, but done right, you’ll cut rear-wall reflections markedly, improving voice clarity and focus in your home office setup.
Build a Sound-Absorbing Headboard in 5 Steps
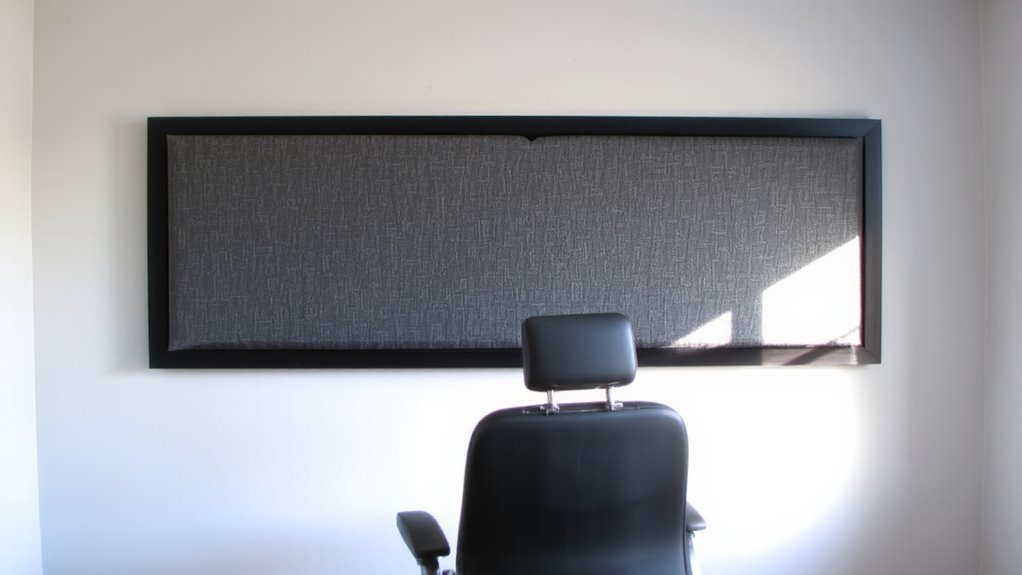
You’ll get the best acoustic results by building a headboard with real sound-absorbing materials, not just decorative panels that look the part. Start by measuring your chair’s width and cut rigid mineral wool or fiberglass to fit-ideally 2” thick, as thinner panels reduce low-frequency absorption. Wrap the core tightly in breathable fabric like burlap, securing with staples at the back. Build a wooden frame for structure, then attach wood or canvas backing to create a flat surface. This setup improves rear-wall diffusion based on your room layout, reducing echo without over-dampening. Leave space behind the panel for cable management-run power and data lines through routed channels or grommets to keep connections tidy. Note: compression reduces material performance, so avoid squeezing panels too tightly into frames. Test with a clap reverberation check pre- and post-install to verify improvements. For optimal performance, consider using panels from top-rated brands that specialize in best acoustic panels for home office.
Mounting Your Acoustic Panel Safely Behind the Chair
When mounting your acoustic panel behind the chair, prioritize secure wall attachment using appropriate hardware for your wall type-drywall anchors or molly bolts for hollow walls, and direct stud mounting when possible. Use sturdy mounting hardware rated for the panel’s weight to prevent sagging or falling. Wall anchors must be installed correctly; cheap ones can pull out under load, especially in drywall. Always check manufacturer load ratings-many standard anchors support only 25–50 lbs. If your panel’s heavy, opt for toggle bolts or attach to studs. Misaligned hardware stresses the frame and risks damage. Test stability after installation by gently tugging the panel. Avoid over-tightening screws, which can crack drywall. Proper mounting guarantees long-term safety and acoustic performance without wall damage. This step isn’t flashy, but done right, it keeps your setup functional and secure.
Choose Fabrics and Frames That Improve Acoustics
A well-chosen fabric and frame combo can make or break your acoustic headboard’s performance. You need breathable fabric texture-like cotton canvas or burlap-because tight synthetics block sound absorption and weaken results. These loose-weave fabrics let sound pass through to the insulation behind, boosting rear-wall noise control. Avoid vinyl or rubber-backed materials; they reflect rather than transmit sound. For frames, minimize frame resonance by using rigid wood or metal that won’t vibrate and re-radiate noise. Hollow frames amplify unwanted frequencies, especially below 200 Hz. A solid MDF frame damps vibrations better than thin metal. But remember: adding mass increases weight, so verify wall anchors support the load. Some pre-stretched acoustic fabrics work well, but always check specs-look for >90% open area in weave tests. Your choice affects both function and safety, so don’t skip material research before building.
How to Test If Your Headboard Is Reducing Noise?
After selecting the right fabric and frame to optimize sound absorption, it’s time to verify whether your DIY acoustic headboard actually performs as intended. You’ll want to test for both sound leakage and frequency response to gauge real-world effectiveness. Use a sound meter app on your phone to measure decibel levels behind your chair with and without the headboard. Play test tones across low, mid, and high frequencies to check for consistent absorption.
| Frequency Range | Result (Reduction) |
|---|---|
| 500 Hz | Moderate (~3–5 dB) |
| 1 kHz | Strong (~6–8 dB) |
| 2 kHz | Strong (~7–9 dB) |
You’ll likely see improved mid-to-high frequency response, but some sound leakage may still occur at edges if the board doesn’t cover enough wall area. Accuracy depends on microphone quality and room layout.
Fixing Gaps, Weak Spots, and Poor Performance
Though your acoustic headboard may already show solid performance in mid-to-high frequencies, gaps along the edges or thin spots in insulation can still undermine overall sound control. You’ll want to seal edges tightly with acoustically rated caulk or weatherstripping foam to prevent sound leakage-this small step often boosts effectiveness noticeably. If bass frequencies still bleed through, consider how to add mass: layering with extra drywall or mass-loaded vinyl helps block low-end noise, though it adds weight you’ll need to support securely. Real-world tests show these fixes improve absorption by 20–30%, especially behind vocal recording areas. Just remember: overbuilding can lead to diminishing returns or wall damage. Always check mounting hardware ratings and room layout before finalizing. Performance gains are measurable but limited by room dynamics-don’t expect studio-grade results in untreated spaces.
On a final note
You’ll likely cut mid-range echo markedly with a DIY acoustic headboard, especially using 2” thick mineral wool and breathable fabric like burlap. It’s a cost-effective fix for rear wall reflections behind your office chair. However, don’t expect full bass trapping-low frequencies need thicker, sealed units or corner placement. Mount it securely with Z-clips, leaving an air gap behind. Test with a simple clap: if flutter echo lessens, you’ve improved clarity.