DIY Under-Desk Cable Raceway Using Low-Profile Surface-Mount Channels
Use low-profile surface-mount channels under 0.75 inches tall made from reinforced ABS or aluminum to keep your under-desk setup tidy without crowding legroom. Mount them horizontally along the desk frame with screws for long-term hold, especially on laminate surfaces where adhesives fail. Plan cable paths first, separating power and data lines to reduce interference. Secure cables with velcro every 6–8 inches and leave 20% space free for airflow. For best results, choose kits with at least a 2-year warranty and matte-diffused LED add-ons that won’t flicker over time-smart upgrades await with the right prep.
Notable Insights
- Choose low-profile surface-mount channels under 0.75 inches tall to minimize legroom obstruction.
- Use reinforced ABS plastic or aluminum channels for durability and compatibility with desk environments.
- Mount channels horizontally along the desk frame using screws for reliability, especially on laminate surfaces.
- Plan cable layout by grouping power and data lines separately and positioning the power strip near the desk edge.
- Secure cables with velcro straps every 6–8 inches and leave 20% channel space free for airflow and future additions.
Pick the Right Surface-Mount Channel
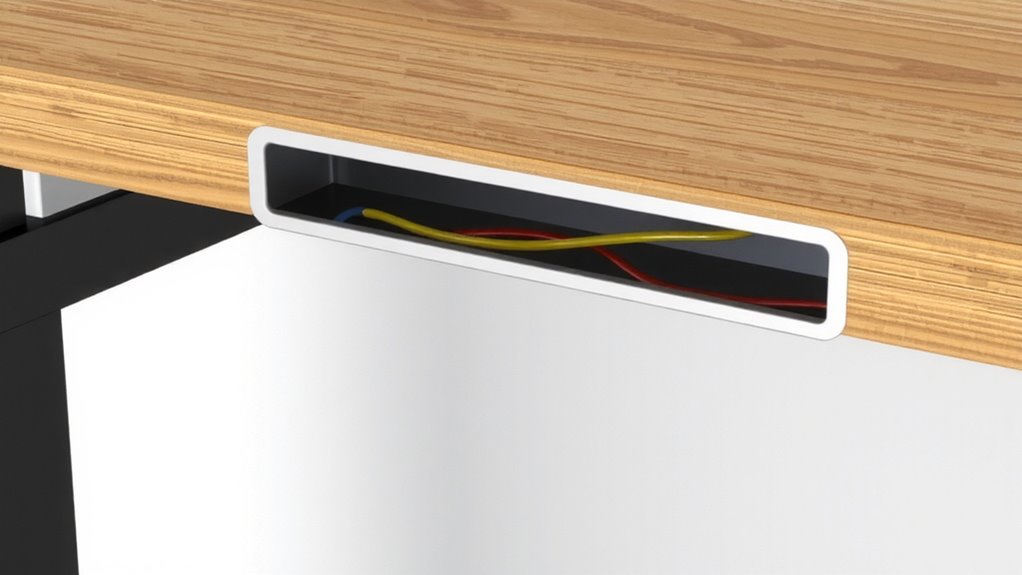
A good surface-mount cable channel makes a noticeable difference in keeping your under-desk workspace tidy and functional, but picking the right one matters more than you might think. You’ll want something low-profile-under 0.75 inches tall-so it fits without obstructing legroom. Look for channels made of reinforced ABS plastic or aluminum; both offer solid durability, but check material compatibility if you’re mounting near heat sources or in humid environments. Mounting orientation is critical: horizontal runs along the desk frame work best, but vertical drops need secure end caps to prevent snagging. Most models use self-adhesive backing, though screw mounts offer longer-term reliability. Expect 10–15 lb pull strength from quality adhesives, but test on your surface first. Warranties average 3–5 years, which reflects real-world durability. Skip ultra-thin models-they flex too much when packed. For a clean desk setup, consider the overall cable management solutions that integrate well with surface-mount channels.
Plan Your Under-Desk Cable Layout
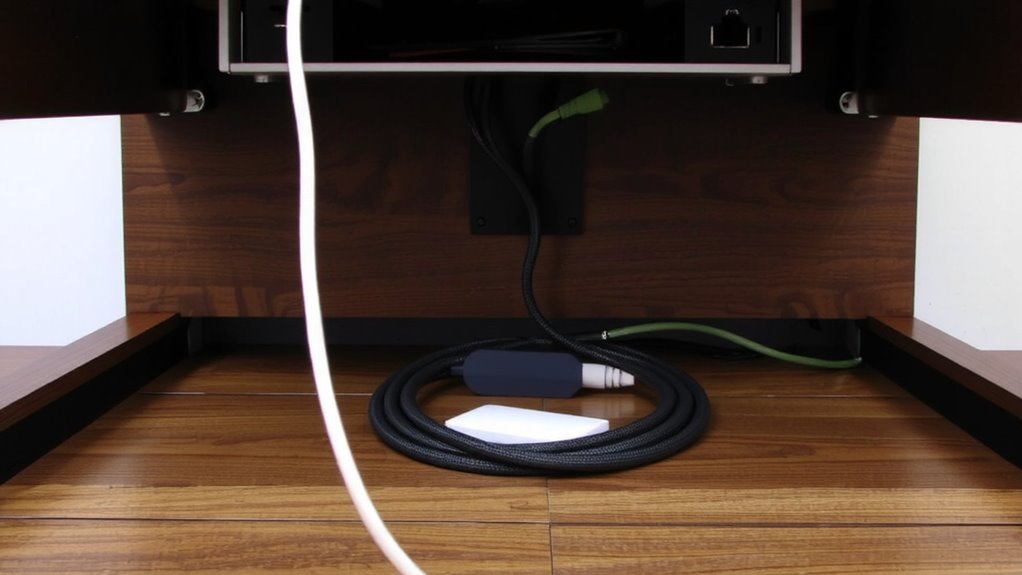
You’ve picked a sturdy, low-profile channel that fits your desk frame, so now it’s time to map out how your cables will actually run underneath. Start by deciding on power strip placement-keep it near the desk leg or back edge for easy access and minimal cord reach. Avoid placing it too far from outlets, or you’ll risk strain or tripping hazards. Group high-draw devices together and guarantee the strip has enough outlets and surge protection for your gear. Then, use cable labeling strategies like colored tags or printed labels so you can identify each cord without guessing. Test the path with all devices plugged in before finalizing. Keep data and power lines slightly separated to reduce interference. This step isn’t flashy, but skipping it leads to clutter down the line. A few minutes now saves hassle later. Effective cable management starts with thoughtful planning and the right cable management solutions for a clean office space.
Install the Raceway in 3 Steps
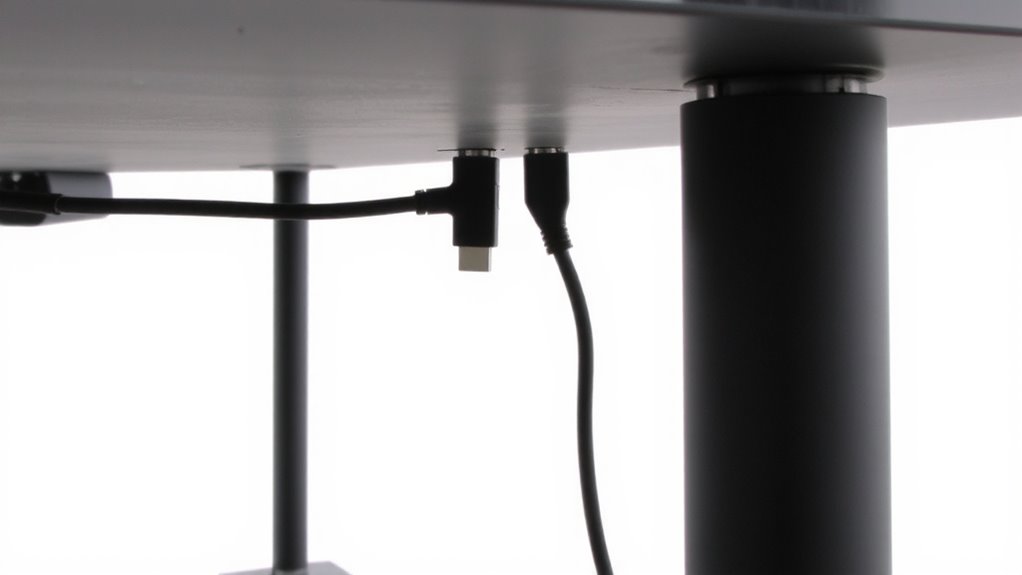
Once you’ve mapped your cable layout, installing the raceway becomes a straightforward process-if you follow the right sequence. First, clean and dry the underside of your desk thoroughly; this guarantees the adhesive backing bonds securely. Low-profile surface-mount channels rely on strong dual-sided tape, so skimping here risks long-term stability. Second, align the channel according to your layout plan, pressing firmly along its entire length for consistent adhesion. Third, double-check alignment before final placement-once set, repositioning reduces grip. Proper installation boosts cable management aesthetics and supports workspace organization efficiency by keeping channels discreet yet accessible. Note: while adhesive models save time, they’re not ideal for laminate or dusty surfaces. For those, consider screw-mounted brackets. Most quality channels include a 2-year warranty, tested for vibration and pull resistance in real-world office environments.
Tuck and Secure All Cables
Start by feeding your cables into the raceway from the power strip or docking station, keeping power, data, and peripheral cords grouped just enough to avoid tangling but not so tight that airflow or future adjustments suffer. Use velcro bundling every 6–8 inches to maintain order without risking damage from over-tightening. Apply cable labeling at both ends so you can identify each cord fast-especially helpful when troubleshooting. A well-organized setup enhances both functionality and aesthetics, making cable management solutions a worthwhile investment for any workspace.
| Cable Type | Label Example |
|---|---|
| Monitor Power | “Monitor In” |
| USB-C Dock | “Dock to Laptop” |
| Ethernet | “LAN to Router” |
| Keyboard USB | “Peri: Keyboard” |
| Phone Charger | “Desk Charge” |
Velcro allows reconfiguration; zip ties don’t. Labeling takes seconds but saves minutes during upgrades. Avoid stuffing the channel fully-leave 20% space for heat dissipation and added cables later.
Finish With a Clean, Tidy Desk
A clean desk isn’t just satisfying-it’s a functional upgrade that cuts visual noise and improves focus. You’ve routed your cables through low-profile surface-mount channels, so now refine the setup with attention to cable management aesthetics. Use twist ties or hook-and-loop straps to group cords neatly-avoid zip ties; they’re too permanent if you need to adjust. A tidy underside enhances both the look and accessibility of your build. Now, assess lighting: LED strip tape under the desk front adds ambient glow without glare, while clamp-on task lamps save space. Both are viable desk lighting options, but make certain brightness is adjustable to suit different times of day. Note: Under-desk lighting looks sleek, but poorly diffused LEDs cause flicker. Choose brands with at least a 2-year warranty and matte diffusers. Balance form and function-don’t sacrifice usability for style. Test configurations before finalizing.
On a final note
This under-desk raceway works well if you pick low-profile channels (like 0.5″ x 0.75″ PVC) and stick to a clear layout. It keeps cables organized and boosts desk aesthetics with minimal effort. Installation is simple with double-sided tape or screws, but avoid overfilling-tight bends can damage wires. Not ideal for frequent reconfigurations, and cheap models may yellow over time. Test fit with your cable load first, and expect mixed results with thick power bricks.