How to Position Your Webcam on Top of a Dual Monitor Setup Without Tipping
Mount your webcam on a shared monitor arm with a built-in clip to keep it centered and stable, reducing the risk of tipping. Choose an arm rated for 2–8 kg with VESA 75/100 support and confirm it has a webcam mount on the head for synchronized adjustments. Attach the camera securely using the 1/4″-20 thread or accessory slot, and route cables through the arm to minimize clutter. Test for wobbling with light pressure, and add a 2–4 lb weighted base if your desk allows 5 cm rear clearance-this combo boosts stability, especially on slick surfaces. Just be sure to check the arm’s load limits before locking everything in place. You’ll want to take into account lighting and framing once the setup holds firm.
Notable Insights
- Center the webcam above the primary monitor to maintain balanced eye-level framing and prevent skewed angles.
- Use a shared monitor arm with an integrated webcam mount to ensure stability and synchronized adjustments.
- Attach the webcam to a VESA-compatible arm or use a secure 1/4″-20 threaded mount to avoid imbalance.
- Ensure all mounts and arms are within weight limits and test for wobbling after installation.
- Add weighted bases and anti-slip pads to prevent tipping, especially in dual-monitor configurations with extended arms.
Fix Poor Webcam Angles in Dual Monitor Setups
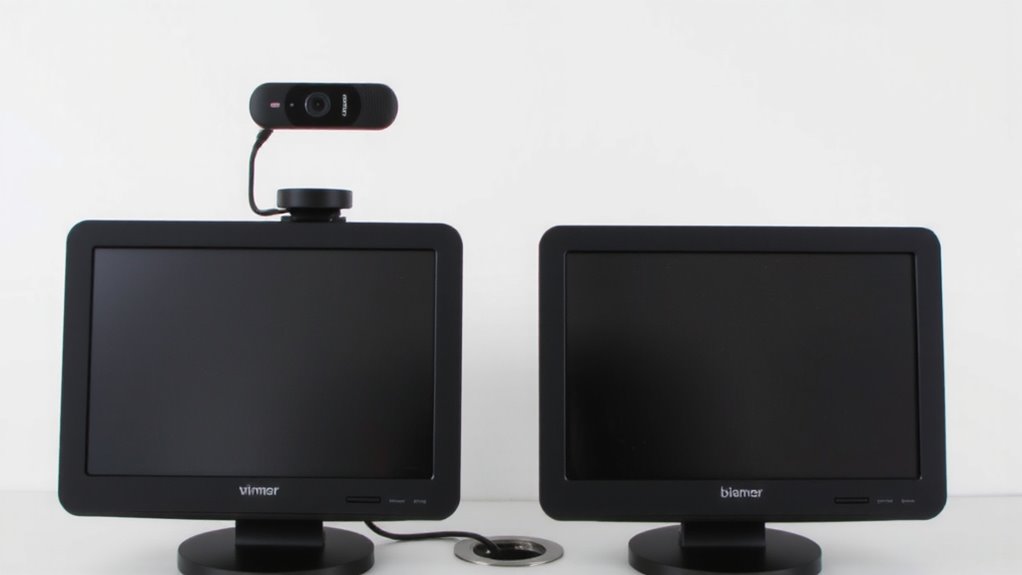
Why does your video call setup still feel off, even with two monitors? Poor webcam angles are often the culprit, especially when your camera perches on one monitor, creating a lopsided, unflattering view. You need a centered, eye-level position, which means rethinking desk organization and monitor symmetry. Mounting the webcam above your primary screen-ideally the center one if aligned-gives a balanced perspective. Tilted monitors or off-center cams skew your gaze, making you look distracted. Good cable management matters here; loose cords from elevated setups can strain ports or pull monitors. Secure cables with clips or sleeves to maintain stability. While a centered mount improves framing, it may require a longer HDMI or USB extension, adding complexity. Adjusting desk organization early prevents clutter and structural risks. Test stability with gentle pressure-some stands wobble under combined monitor and webcam weight. Results? Clearer visuals, but only if balance and wiring are taken seriously. A sturdy solution is using a best webcam stands to ensure secure, flexible positioning across dual displays.
Use a Shared Mount for Monitors and Webcam
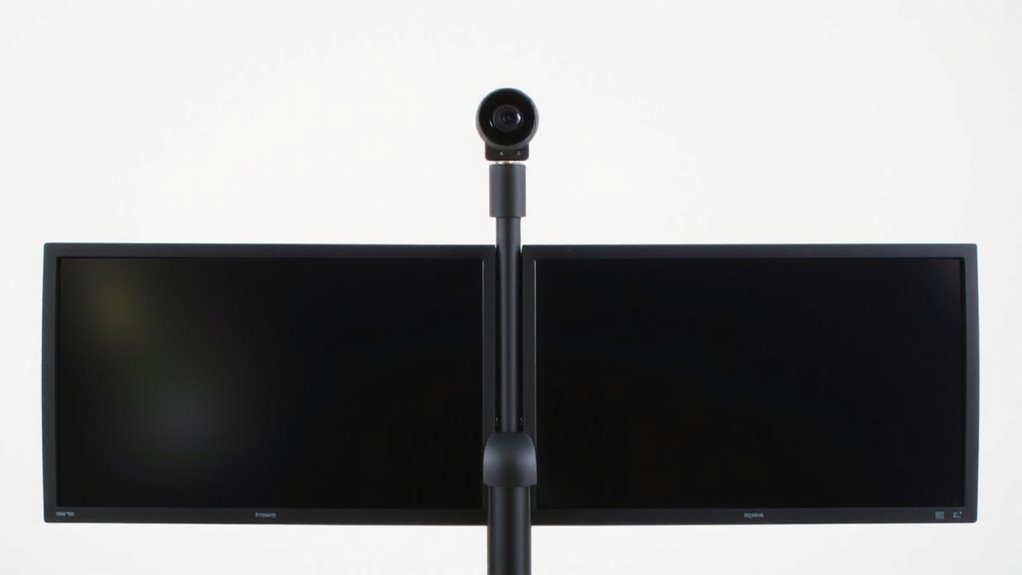
Mounting your webcam and monitors on a single shared arm saves desk space and aligns your camera perfectly with your line of sight, which fixed stands often fail to do. You gain shared stability-the whole setup resists wobbling, especially when adjusting monitor angles-reducing unwanted camera shake during calls. The integrated design lets you route cables once through the arm, keeping clutter low and adjustments seamless. Look for arms rated for at least 2–8 kg and with VESA 75/100 compatibility to support most dual-monitor combos. Some models include a webcam clip on the arm’s head, ensuring the lens stays level even when you tilt the screens. But be cautious: not all arms support wide ultrawides or heavy displays, and assembly errors can void warranties. You’ll need a sturdy desk with at least 5 cm of rear clearance.
Attach Webcam to Monitor Arm
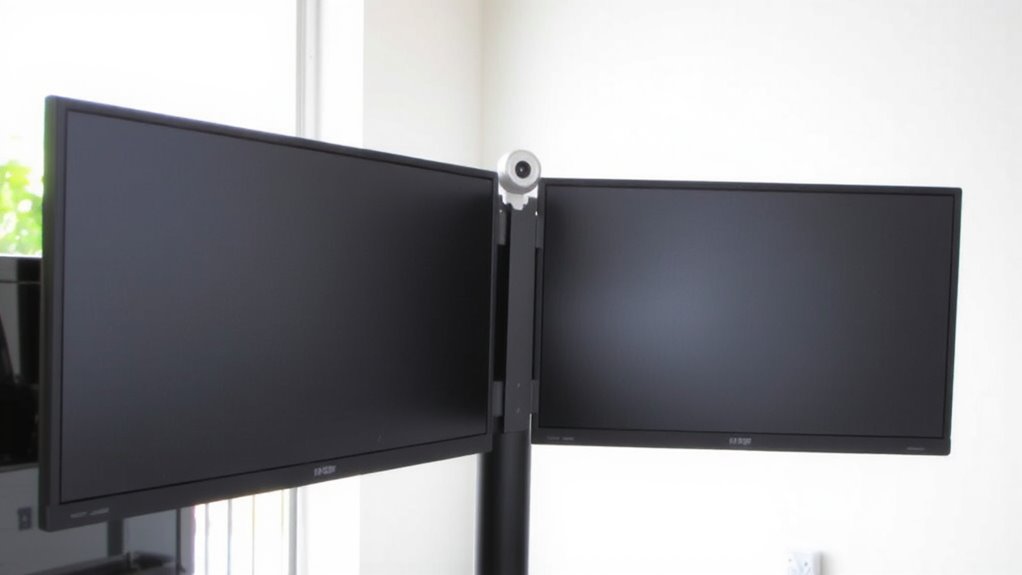
How do you keep your webcam steady and at eye level without cluttering your desk? Attaching it directly to a monitor arm is a smart move-if your arm supports it. Many modern arms include built-in mounting solutions like VESA-compatible accessory slots or 1/4″-20 threaded mounts, perfect for webcams. Check arm compatibility before buying: not all arms offer this feature, and cheaper models may wobble under added weight. You’ll want a solid connection that won’t shift during use. This setup reduces desk clutter and keeps your camera aligned with your screen. But be cautious-adding a webcam can affect balance, especially on single-arm mounts. Test stability after installation. If your arm lacks mounting options, consider a small clamp-on adapter, though it may limit adjustability. Always confirm load limits and fit before relying on it for daily calls.
Keep Webcam at Eye Level Safely
While getting your webcam at eye level improves video quality and interaction, doing it safely means balancing stability with adjustability. You need a secure placement that won’t wobble or fall during use, especially on a dual monitor setup where added weight can shift重心. Aim for a mount or arm with a solid clamp and rubber padding to protect your desk or monitor. Check the webcam balance-too much weight on one side can cause drift or tipping over time. A gooseneck or articulated arm lets you adjust height and angle without compromising safety. Avoid overloaded monitor tops; instead, use a separate tripod base or desk mount tested for long-term use. Even high-quality gear can fail if improperly fitted, so test stability weekly. Always follow the manufacturer’s weight limits and warranty terms to stay protected. For reliable options, consider one of the best webcam mounts recommended for durability and ease of adjustment.
Stabilize Monitors When Mounting Webcam
If your monitors aren’t steady, adding even a small webcam can throw off their balance-especially on dual stands with slim bases or extended arms. To prevent tipping, use weighted bases or secure your setup with anti slip pads under each monitor. Weighted bases add low-center mass, improving stability without altering your desk layout. Models with 2–4 pound bases typically handle minor webcam weight, but check your stand’s load limit. Anti slip pads work best on smooth desks, gripping both the monitor base and surface to resist shifts. Combine both for maximum security, especially if your arms or stands are fully extended. Just remember: too much weight on one side can still cause wobble. Test gently by nudging the screen. While these fixes are low-cost and effective, they won’t compensate for poorly mounted arms or overloaded brackets. Always prioritize structural balance over convenience.
Test Webcam Angle and Lighting
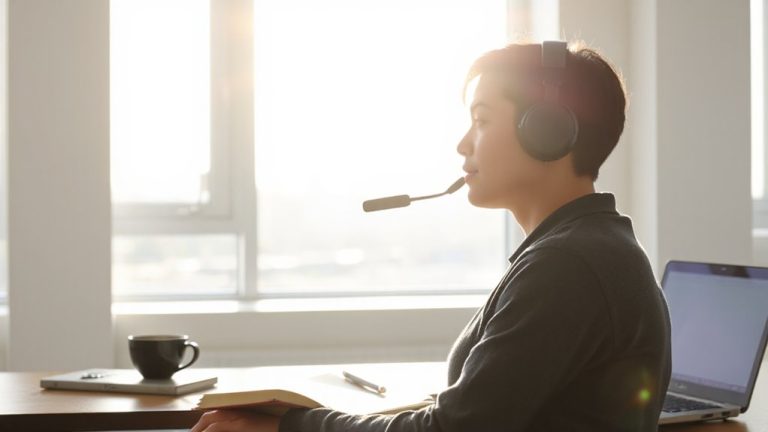
Since getting seen clearly on camera matters just as much as sounding professional, start by positioning your webcam at eye level or slightly above so the lens captures a flattering, direct angle-this minimizes unflattering up-angles and gives you natural eye contact with viewers. Good webcam placement isn’t just about height; lighting plays an equal role. Face a window when possible to use natural lighting, avoiding harsh overhead lights or backlighting that shadows your face. Test your setup using your video conferencing app’s preview feature. Adjust until your face appears evenly lit and your background stays neutral.
| Lighting Condition | Result on Camera |
|---|---|
| Front-facing natural light | Clear, balanced |
| Backlit room | Silhouetted, dark |
| Overhead artificial light | Harsh shadows |
| Side natural light | Soft, dimensional |
Even small shifts improve image quality-just don’t sacrifice monitor stability.
On a final note
You’ll get the best webcam angles by mounting it on a shared arm, aligned with your eye level across both screens. This keeps framing natural and reduces neck strain. Just make sure the arm supports the camera’s weight-cheap clips can loosen over time. Balance stability with adjustability, and test lighting daily; overhead lights often cast harsh shadows. Dual setups need extra care to avoid tipping, so secure all mounts firmly.