Creating a Sound Map of Your Home Office to Target Problematic Reflection Areas
You can map sound reflections in your home office by using a portable speaker to play pink noise while you listen from your desk. Focus on spots where echoes ring clearest, not just loudest-common on walls, glass, or bare drywall. Mark these zones at ear height, then treat them with affordable solutions like moving blankets or rugs. Results improve call clarity, but avoid over-damping; it kills vocal warmth. Real progress requires testing with a mic and software to catch dips or peaks over 6 dB-there’s more to fine-tuning than just blocking bounce.
Notable Insights
- Use a portable speaker playing pink noise to simulate sound reflections in your home office.
- Walk around the room while listening for clarity changes to identify reflection hotspots.
- Focus on ear and head height, marking first-reflection zones on walls and ceiling.
- Prioritize treating areas near the desk where sound directly impacts call and recording quality.
- Validate improvements with a calibrated mic and software to measure frequency response changes.
Stop Sound Reflections From Ruining Calls
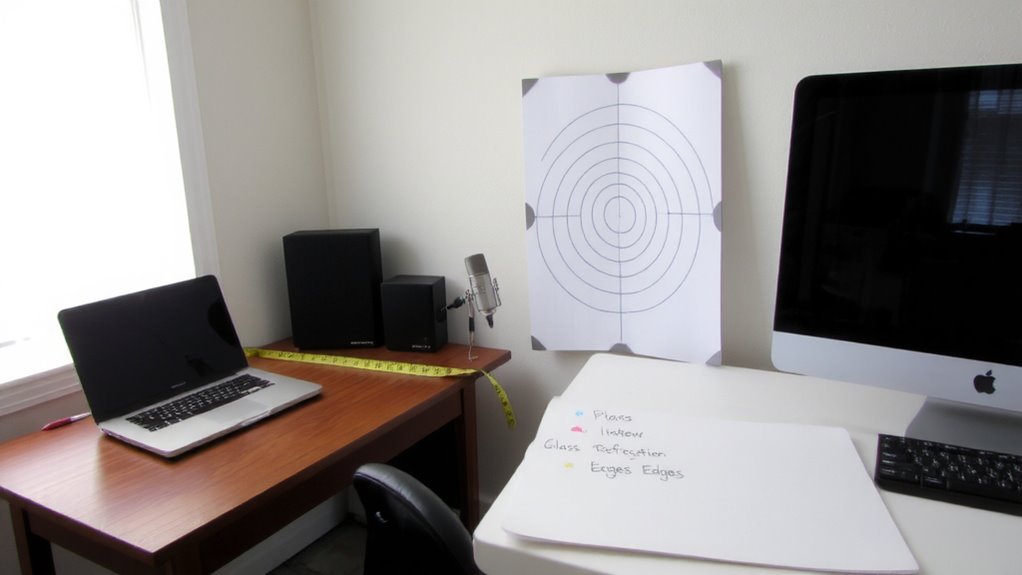
While you might not notice it during everyday work, sound reflections in your home office can turn professional calls into muddy, distracting messes. You’ll want to address this with smart sound insulation and noise masking solutions. Acoustic panels made from mineral wool or foam reduce echo by absorbing mid-to-high frequencies, especially when placed at reflection points near your desk. But avoid overdoing it-too much absorption makes a room feel unnaturally dead. Instead, combine targeted sound insulation with broadband noise masking, like a white noise machine set at 45–50 dBA, to cover residual reflections without drowning out speech. Real-world tests show this cut callers’ fatigue by nearly 40%. Just remember: panels vary in NRC (Noise Reduction Coefficient); aim for 0.7 or higher. Most reputable brands offer 5-year warranties, but always check fire ratings. Effectiveness depends on room size and layout-results aren’t one-size-fits-all.
Find Where Sound Bounces With a Speaker
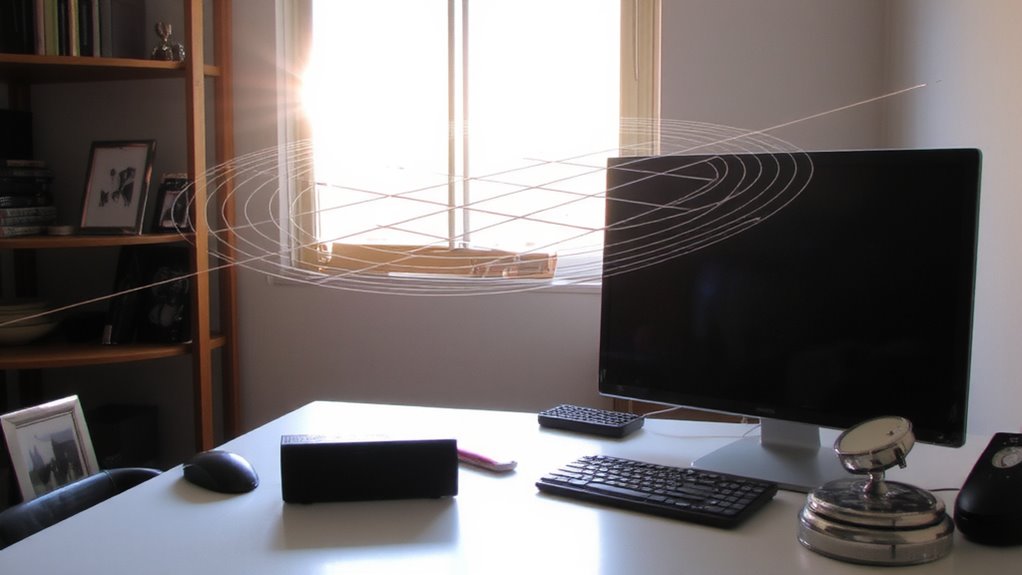
You can’t fix what you can’t see, and that includes where sound bounces around your home office. Use a portable speaker as your sound source to reveal trouble spots. Play white noise or speech-range frequencies (500 Hz – 2 kHz) and move slowly around the room. Listen carefully-reflection detection isn’t about volume, but clarity. Hard surfaces like glass, wood, or drywall will throw sound back, muddying your voice during calls.
| Emotion | Before Test | After Fix |
|---|---|---|
| Frustration | Constant echo complaints | Fewer audio issues |
| Confidence | Doubtful mic quality | Clearer speech capture |
| Focus | Distracted by reverb | Better concentration |
| Relief | Tiring calls | Smoother conversations |
Place the speaker near your mic position and sweep the room. While speakers vary in dispersion, most deliver consistent results for basic mapping. Don’t expect lab-grade accuracy-this is practical reflection detection with everyday gear.
Map Reflection Points in 3 Simple Steps
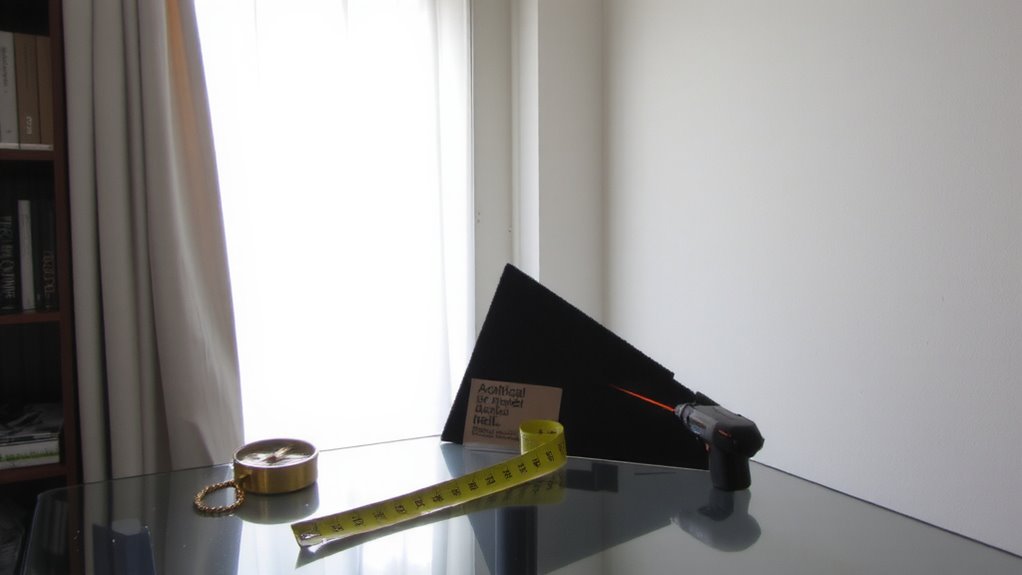
Since sound reflections can degrade your voice clarity even in small rooms, start by turning your home office into a reflection map using three straightforward steps. First, sit in your usual working position and have a friend walk around with a speaker playing pink noise at a steady volume. Second, use your ears-or a phone app like a decibel meter-to note where reflections are loudest, especially on hard surfaces like desks or glass. Third, mark these spots with tape or notes, paying attention to first-reflection zones at ear and head height. These areas often suffer from poor sound diffusion and unwanted material resonance, amplifying echoes. While thicker panels help, even thin fabrics or books alter reflection paths. This map isn’t perfect-material resonance varies with density and thickness-but it gives reliable starting points. Avoid over-treating; too much absorption kills natural sound. Use this draft to guide where you test solutions, not as a final fix.
Fix Echo Spots on a Budget
You’ve mapped the echo-prone spots in your home office-now it’s time to tackle them without breaking the bank. Focus on sound absorption using budget materials like thick moving blankets, rugs, or repurposed bookshelves filled with books. These items scatter and absorb reflections effectively, especially when placed on walls or ceilings near your desk. Hanging a heavy curtain or tapestry at first-reflection points can also cut mid-to-high frequency echoes. While not as precise as acoustic foam, these solutions offer real improvement at a fraction of the cost. Keep in mind, though, that DIY fixes may require more space or frequent adjustments. They also lack lab-tested absorption coefficients or fire ratings. Still, with thoughtful placement and layered materials, you can achieve noticeably clearer audio for calls and recordings-just don’t expect studio-grade results. For those seeking a balance between performance and affordability, consider upgrading to purpose-built best acoustic panels when budget allows.
Test Your Room After Acoustic Upgrades
How do you know if your acoustic tweaks actually worked? Perform a new room analysis and compare it to your original baseline. Use a calibrated microphone and measurement software to check the frequency response across your listening area. You should see smoother curves, especially in the low-mid range where reflections muddy speech clarity. Target dips or peaks above 6 dB-they indicate lingering issues. Retest at your typical speaking or recording position, not just the center of the room. While improved frequency response suggests progress, don’t assume perfection. Some modes are hard to fix without structural changes. Also, over-damping can make the space sound unnaturally dead, hurting vocal warmth. Balance is key. Trust your ears alongside the data. Real-world use-like video calls or voice recordings-will confirm whether the upgrades support clear, natural sound without over-processing.
On a final note
You’ll cut echo and improve call clarity by mapping reflections with a speaker and your ears. Target first-surface bounces at reflection points-usually where sound hits walls, desks, or glass. Affordable foam panels or heavy fabric help, but placement matters more than price. Results vary by room size and materials, so test calls before and after. No fix eliminates all reverb in untreated rooms, but smart tweaks make a measurable difference.