How to Adjust Chair Lumbar Support for Optimal Spine Alignment in Video Calls
Position your lumbar support at waist level, between your belt line and two inches above, to match your spine’s natural inward curve. Adjust firmness so it supports without forcing your back forward-too much pressure causes discomfort, too little leads to slouching. Align the pad with your standing spinal curve for balanced posture. During video calls, check that your lower back isn’t rounding or over-arched. Mesh-back chairs often offer better shape and camera-friendly profiles. For best results, reset your posture every 20 minutes and verify alignment from the side.
Notable Insights
- Align the lumbar support at waist level to match the lower back’s natural inward curve for optimal spinal alignment.
- Adjust the pelvis to a neutral position before setting lumbar support to avoid overcorrection and maintain proper spine curvature.
- Set lumbar firmness to provide contact without over-arching, ensuring comfort and support during long video calls.
- Match the chair’s lumbar contour to your standing spinal curve to replicate natural posture while seated on camera.
- Verify alignment by recording a test clip, ensuring your lower back isn’t rounded or strained in the video frame.
Find Your Lower Back’s Natural Curve
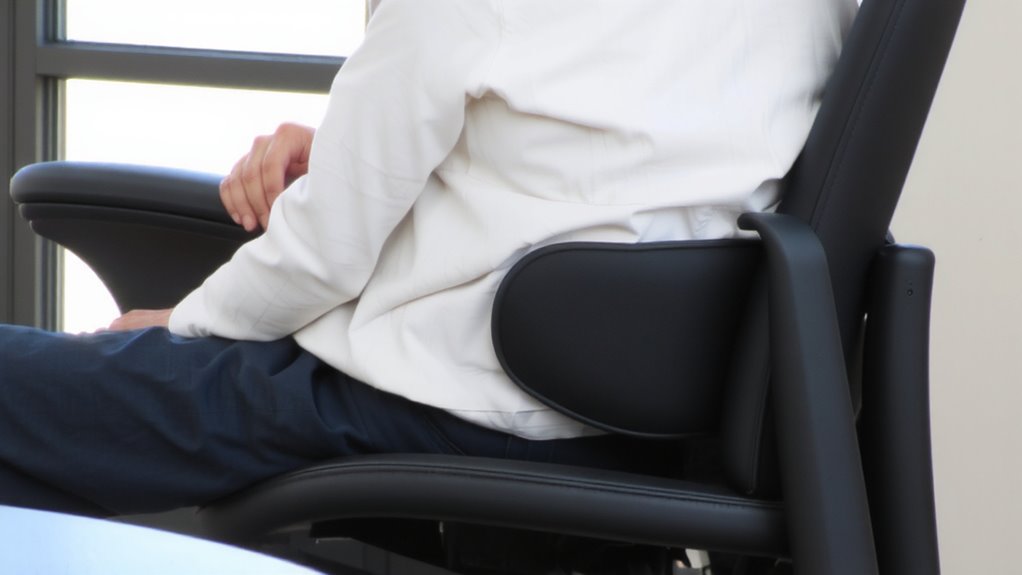
Your spine’s natural S-curve matters most when sitting for long stretches on video calls. To maintain spinal awareness, you need to find your lower back’s natural curve without relying on excessive support. Sit fully back in your chair and check your pelvic tilt-your pelvis should be neutral, not tucked or overly arched. A forward tilt often flattens your lower back, straining discs over time. Adjust your posture first before touching lumbar settings; many chairs overcorrect if you’re already slouching. You’ll feel the difference within minutes: less fatigue, sharper focus. However, even well-designed chairs won’t fix poor sitting habits. Build spinal awareness by pausing every 20 minutes to reset. No lumbar adjustment replaces body literacy. Test any setup for at least 30 minutes across multiple calls. Results vary based on clothing, chair material, and movement style, so stay open to tweaks. Top ergonomic chairs provide customizable lumbar support settings to match your spine’s unique alignment.
Place Lumbar Support at Waist Level
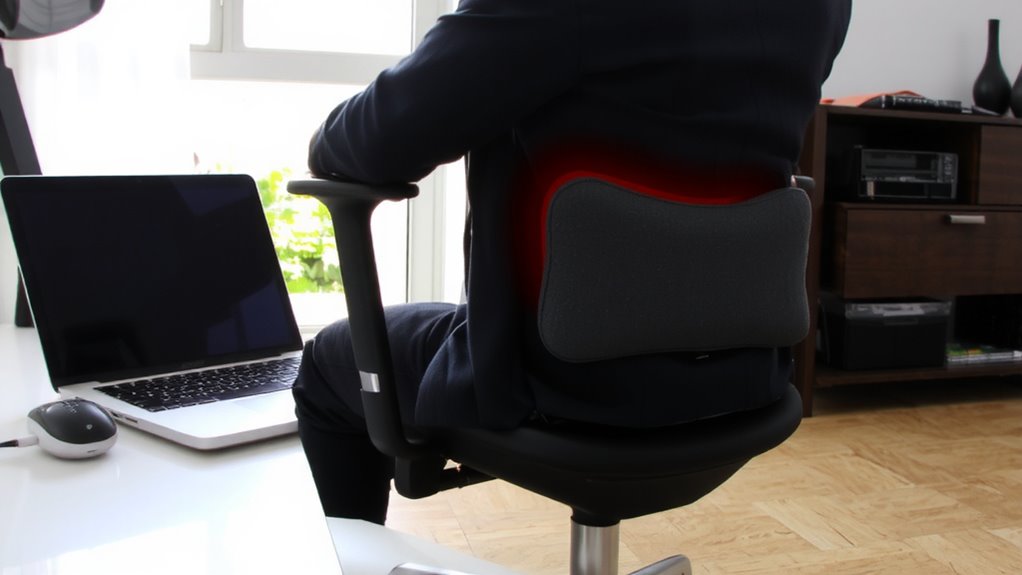
One size doesn’t fit all when it comes to lumbar placement-positioning the support at waist level aligns best with the natural curve of most spines. You’ll want the center of the lumbar pad to hit right at your lower back’s inward curve, usually between the belt line and two inches above-this is ideal waist positioning. Adjusting the support height guarantees it doesn’t press into your ribs or miss the curve entirely. Most ergonomic chairs let you move the support up or down by several inches; test each setting while sitting upright. If the pad is too high or low, it’ll force poor posture, especially over long video calls. Proper support height promotes endurance, but remember: even the best placement won’t fix a poorly designed backrest. Always verify adjustability range before buying-some models offer just 2–3 inches, limiting customization. For enhanced comfort during extended use, consider incorporating a lumbar support cushion into your seating setup.
Set the Right Pressure Level
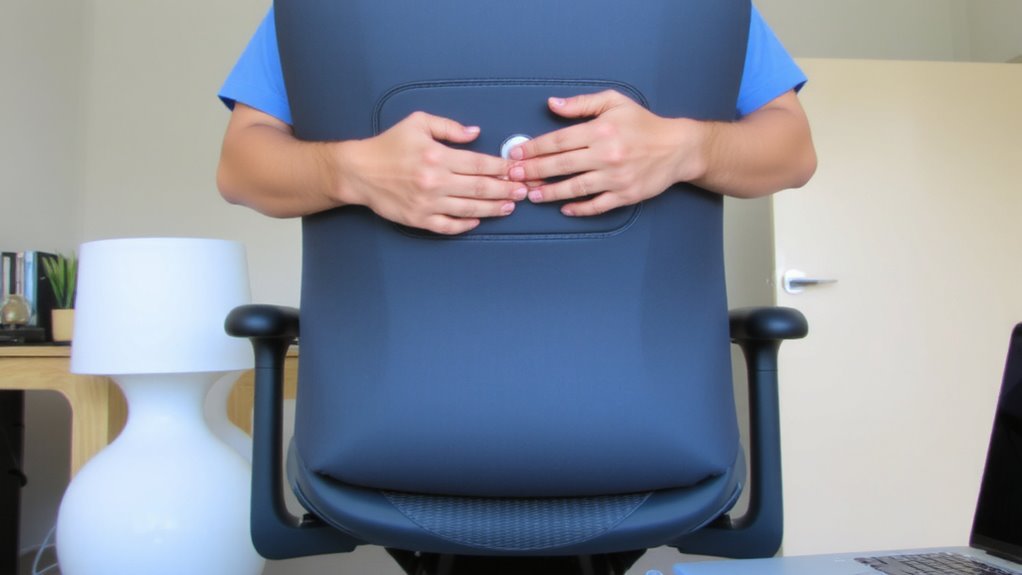
Most lumbar supports let you adjust firmness, and getting the pressure right makes a noticeable difference during long video calls. You’ll want to set the pressure level so it supports your lower back without forcing it forward. Too much support firmness can push your spine into overarch, causing discomfort after just 20 minutes. Too little, and you’ll slump, straining your neck and shoulders. Aim for firm but forgiving pushback-like a handshake, not a vise. If your chair has an air bladder, inflate it just until you feel even contact along your lumbar curve. Memory foam models offer consistent support firmness but can’t be fine-tuned. Always test during a mock call, leaning slightly forward and back. Remember, ideal pressure level varies with posture and clothing thickness-tight waistbands or stiff fabrics may require minor recalibration.
Match Support to Your Standing Curve
The shape of your spine matters-especially where support meets backbone. To match your chair’s lumbar support to your standing spinal contour, stand barefoot against a wall and note the natural curve in your lower back. That inward dip is your baseline spinal contour-your chair’s lumbar support should mirror it. Most adjustable lumbar systems let you shift the support pad up or down and sometimes in or out. Position the pad so it fits snugly into that curve without overextending your spine. This alignment promotes postural balance, reducing fatigue during long video calls. But don’t assume more support is better; excessive pressure can strain muscles or distort posture. Test adjustments over 15-minute intervals, moving around to guarantee consistent contact. Keep in mind: even high-end chairs vary in range and precision, so check return policies before locking in a purchase.
Fine-Tune Lumbar Support for Camera Angles
You’ve matched your lumbar support to your spine’s natural curve while standing-now it’s time to check how that setting holds up when the camera’s rolling. Proper camera alignment means your spine should stay neutral without leaning, so adjust the lumbar pad height and depth to maintain your curve while seated upright for video. If your back visibility is poor-like if your chair blocks your spine or forces a slouch-tweak the support lower or reduce its protrusion. Too much curve exaggeration causes a hunched look on camera, even if it feels good off-camera. A mesh-back chair often balances support and back visibility better than padded ones. Test adjustments by recording a short clip: if your lower back looks rounded or strained, fine-tune the support gradually. Most ergonomic chairs allow millimeter-level changes; use them. Don’t sacrifice spinal health for aesthetics-poor alignment shows over long calls. Best ergonomic office chairs provide adjustable lumbar systems that support both posture and on-camera presence.
Check Your Posture Mid-Meeting
How often do you catch yourself slumping halfway through a video call? It happens to everyone, but making regular posture checks can prevent strain. Set a subtle timer every 20–30 minutes to prompt mid call adjustments without disrupting the conversation. Sit back fully in your chair so the lumbar support fits snugly into your lower back’s natural curve-about two inches above your beltline. If your chair has adjustable depth or height on the lumbar panel, use those settings to match your spine, not the other way around. Even the best ergonomic chairs can lose alignment over time, so these small corrections matter. Just don’t overcorrect: sudden shifts can do more harm than good. Built-in mechanisms vary, but most tested models allow safe micro-adjustments while seated. Consistency beats perfection-small tweaks beat one big fix.
Avoid These Lumbar Support Mistakes
Slumping during calls isn’t just bad for your back-it often means your lumbar support is set wrong or not used at all. Inadequate positioning, like placing the support too high or too low, disrupts your spine’s natural curve and leads to discomfort over time. You’ll want it aligned with the small of your back, about waist to hip level, to maintain alignment without strain. Avoid excessive pressure by adjusting depth carefully; too firm can dig into your lower back, causing fatigue, not relief. Even premium chairs with adjustable paddles or inflatable lumbar systems need fine-tuning-what works for one person might not suit another. Don’t assume built-in support fits you perfectly out of the box. Test adjustments mid-call, sit upright, and check for even contact. Remember, support should encourage posture, not force it. Poor setup risks numbness or long-term strain, so take 60 seconds to get it right.
On a final note
You should adjust your chair’s lumbar support to match your spine’s natural curve, placing it at waist height for proper alignment. Use firm, targeted pressure without over-tightening-too much can cause discomfort. Match the curve to your standing posture for consistency. During calls, slight reclines of 100–110 degrees often improve camera angles and spinal support. Check your form every 20 minutes. Avoid cheap, non-adjustable pads; they lack durability and precision.