How to Build a DIY Vocal Booth for Recording Voiceovers Between Meetings
Pick a quiet interior corner away from doors and windows to set up your DIY vocal booth. Build a stable 4’x4′ frame using 1×2 pine or steel studs, then line it with 2” rigid fiberglass insulation like Owens Corning 703-don’t compress it. Cover with breathable fabric to create removable acoustic panels that reduce reverb. You’ll need 2” thick Class A fire-rated acoustic foam at reflection points. Seal gaps with acoustic caulk if you hear leaks. This setup won’t fully block sound escape, but it will tame reflections for cleaner voiceovers between meetings. Results improve noticeably when you position the mic correctly and test different placements.
Notable Insights
- Choose a quiet interior corner or closet away from foot traffic and doors to minimize sound interference during voiceover recordings.
- Build a lightweight, modular frame using 1×2-inch pine or steel studs for quick assembly and stability between meetings.
- Install 2-inch thick rigid fiberglass insulation inside the frame to absorb vocal frequencies and reduce echo effectively.
- Cover insulation with breathable fabric-faced acoustic panels to protect materials and enhance sound diffusion safely.
- Seal gaps with acoustic caulk and use zippered vinyl flaps at entry points to prevent sound leaks and enable quick access.
Choose The Best Spot For Your DIY Vocal Booth
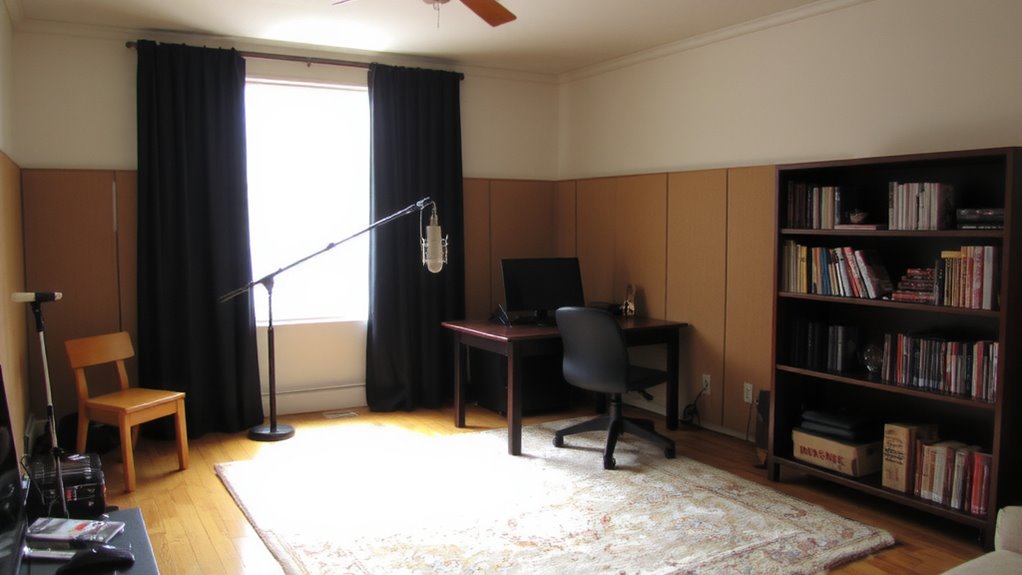
Where should you set up your DIY vocal booth? Pick a quiet interior room with minimal foot traffic and no windows if possible. Room corners are ideal-they naturally trap sound and give you a solid base to build your enclosure. Avoid placing your setup near door gaps, since those let in sound leaks that ruin vocal clarity. A closet or alcove works well, but only if you can seal gaps around the frame. Make sure the space is big enough to fit your microphone, pop filter, and reflection filter without crowding. Keep your computer and monitors outside the booth to reduce noise. While corners boost low-end buildup, they can also exaggerate muddiness-so test recordings before finalizing placement. This spot won’t eliminate all noise, but it cuts down interference efficiently. It’s a practical compromise between performance and space limits in most home offices.
Gather Affordable Soundproofing Supplies
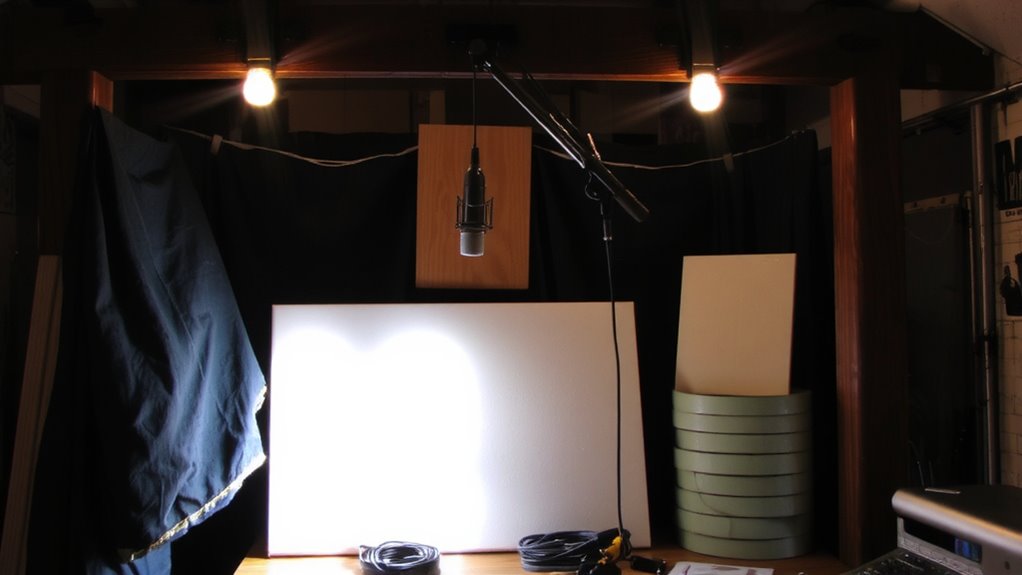
You’ve picked a quiet corner or enclosed space-now it’s time to stock up on materials that’ll keep sound where you want it. Acoustic foam panels, typically 2” thick and made of open-cell polyurethane, help reduce echo and mid-to-high frequency reflections. They’re affordable and easy to install with adhesive, but won’t block outside noise. Pair them with fabric wraps-tight-weave cotton or burlap stretched over foam or frames-to improve diffusion and give a clean look. Look for Class A fire-rated foam if safety’s a concern. Mass-loaded vinyl is more effective for true soundproofing, but it’s costly and heavy. Stick to budget-friendly combinations: foam on walls, fabric-covered panels at reflection points. Keep in mind, most DIY setups manage reverb, not sound leakage. Manage expectations-this isn’t a professional isolation booth, but it’s a practical fix for clear voiceovers between calls.
Build A Simple Frame In 30 Minutes
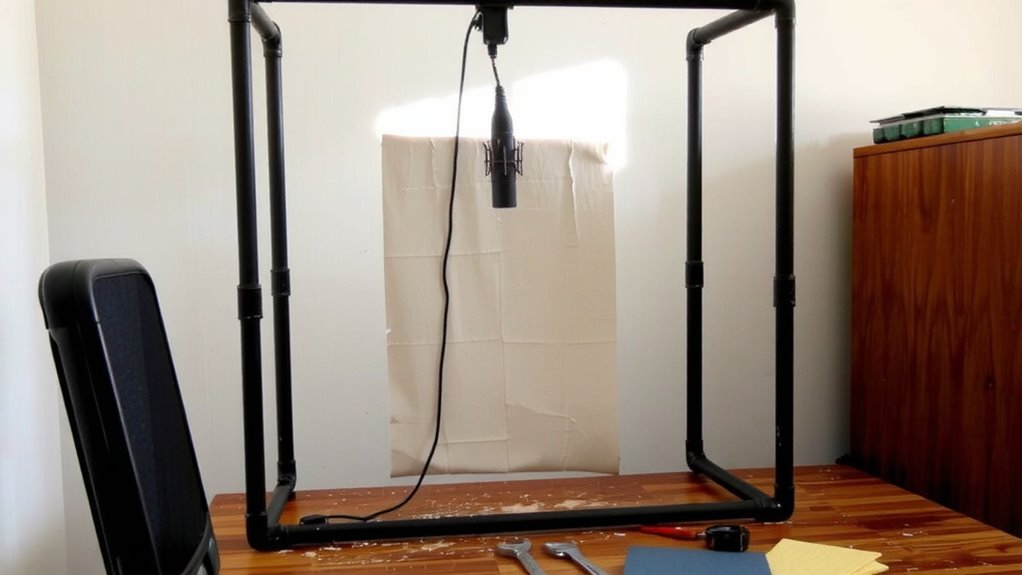
A single afternoon is all it takes to assemble a sturdy, functional frame for your DIY vocal booth using basic tools and materials. Focus on frame stability and material durability to guarantee long-term use without warping or wobbling. Use 1×2-inch pine boards or lightweight steel studs-both offer solid support while remaining easy to cut and connect. Secure joints with wood screws or corner braces to enhance rigidity. Keep dimensions modular (e.g., 4′ x 4′ x 6′) so the booth fits in small home offices. Anchoring the base prevents tipping during use.
| Material | Stability Rating | Durability (Years) |
|---|---|---|
| Pine Wood | 7/10 | 3–5 |
| Steel Stud | 9/10 | 5–7 |
| PVC Pipe | 5/10 | 1–2 |
Avoid flimsy connectors; metal brackets outperform plastic ties. Test the frame by gently shaking it-minimal movement means good frame stability.
Add Insulation And Acoustic Panels To Block Noise
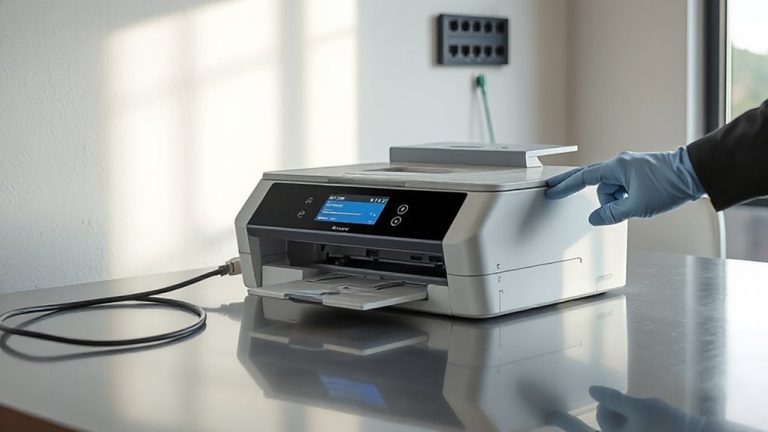
Start by lining the interior of your frame with rigid fiberglass insulation, like Owens Corning 703, which offers superior sound absorption in the vocal range-aim for 2-inch thickness to effectively reduce mid and high frequencies without excessive bulk. This layer is key for echo reduction, trapping sound waves before they bounce back into your recordings. Cover the insulation with breathable fabric over a wooden or metal frame to create removable acoustic panels. While these won’t block outside noise completely, they greatly improve vocal clarity by minimizing room reflections. Be honest: this setup won’t match a professional studio, but for voiceovers between meetings, it’s practical and effective. Make certain panels fit snugly and avoid compressing the insulation, which reduces performance. Always wear gloves and a mask during installation-fiberglass can irritate skin and lungs. With proper placement, you’ll get measurable improvements in sound absorption and echo reduction. For even better results, consider using best acoustic panels designed specifically for home office environments.
Position Your Mic For Clear Voice Recordings
Mic placement makes or breaks vocal clarity-positioning your microphone correctly guarantees clean, consistent recordings while minimizing unwanted noise and plosives. For ideal mic alignment, place the mic 6 to 8 inches from your mouth, just off-center to avoid plosive blasts. Angle it slightly upward toward your mouth to capture sound evenly without harsh consonants distorting. Use a boom arm to maintain precise positioning and reduce desk vibrations. A pop filter mounted close to the mic helps preserve vocal clarity by breaking up air pressure from plosives like “p” and “t” sounds. Avoid placing the mic directly in front of reflective surfaces to prevent phase issues. While condenser mics offer sensitivity and detail, they also pick up more ambient noise-making correct placement even more critical. Even the best gear won’t fix poor technique, so prioritize consistent mic alignment every session. Consider using a best microphone for voice-over that matches your recording environment and vocal tone for optimal results.
Test Audio Quality And Fix Sound Leaks
How do you know your DIY vocal booth is actually working? Record a test clip with your voice and listen critically. Check for any echo or outside sounds-your booth should deliver solid echo cancellation by absorbing reflections. Play it back on headphones and speakers to evaluate the frequency response; it should sound balanced, not boomy or thin. If you hear flutter or ringing, seal gaps with acoustic caulk or add mass-loaded vinyl at seams. Even small sound leaks around zippers or panels can compromise clarity. While DIY solutions won’t match professional studios, they can offer meaningful improvement for voiceovers. Just remember: materials like foam blankets help mid-to-high frequencies but may not fully control low-end rumbles. Test multiple microphone positions and settings to fine-tune results. Performance varies based on room acoustics, so real-world testing matters more than specs.
Stop Background Noise With Your DIY Vocal Booth
Your DIY vocal booth can markedly reduce background noise, but only if it’s properly sealed and layered to block airborne distractions like HVAC hum, traffic, or household activity. Use dense insulation boards and tightly fitted acoustic panels to improve echo cancellation and capture cleaner room tone. Gaps around seams leak sound, so seal joints with acoustic caulk and overlap materials by at least two inches. A heavy moving blanket over the entrance helps, but isn’t airtight-consider a zippered vinyl flap for better isolation. While DIY solutions won’t match professional studios, they substantially lower ambient noise when built with mass and decoupling in mind. Avoid placing the booth near noisy appliances or exterior walls. Test recordings at different times to evaluate real-world performance. Results vary based on room acoustics and materials used, so prioritize thickness and coverage over aesthetics.
On a final note
You’ll get cleaner voiceover recordings with this DIY vocal booth, especially if you position it in a quiet corner and seal gaps well. It blocks mid-frequency noise effectively, but don’t expect full studio silence-low-end rumble may still sneak in. Use a reflexion filter and a dynamic mic like the Shure SM7B for best results. Panels with 2″ mineral wool outperform foam. Test audio with your actual workload to catch leaks early.