Adjusting Lumbar Support Position Based on Spinal Curve for Maximum Comfort
You’ll get maximum comfort by aligning your chair’s lumbar pad with your spine’s natural inward curve, just above the waist. Place the support between your belt line and ribcage, adjusting height so it hits lower back-typically 16–22 inches from the seat. Use depth settings to gently fill the curve without pushing your spine forward. Avoid overly firm pressure or high placements that cause discomfort. Test positions over 15–20 minutes as posture shifts, and consider inflatable or foam pads if your chair lacks adjustability. Proper alignment reduces disc load, but needs occasional tweaking for lasting fit. Fine-tuning based on your body’s feedback leads to better long-term support.
Notable Insights
- Locate your natural lumbar curve by sitting tall and leaning forward to find where your spine rounds.
- Position the lumbar pad just above the belt line, aligning it with the inward curve of your lower back.
- Adjust the support height so it targets the lower third of your back if under 5’4″, waist level if 5’4″–5’10”, or upper lumbar if over 5’10”.
- Set pad depth to gently fill the space behind your spine without forcing it forward or causing pressure.
- Avoid placing the pad too high or over-tightening; ensure even contact and recheck alignment as posture changes.
Find Your Lower Back’s Curve for Proper Lumbar Support
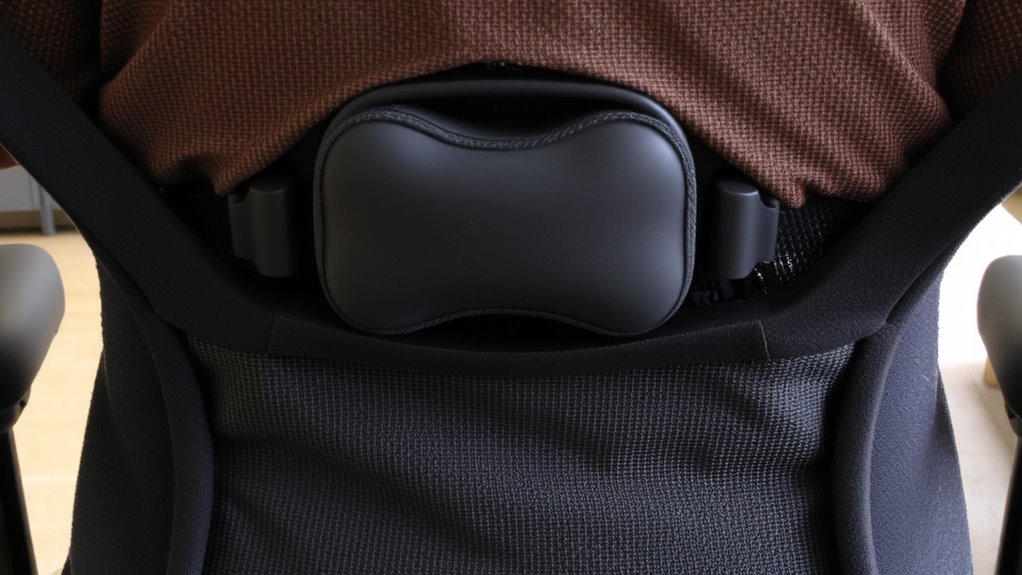
Where does your lower back naturally curve? It’s usually just above your waist, where spinal anatomy creates a gentle inward “C.” Getting this right is key-lumbar support that’s too high or low can cause strain. Start with a posture assessment: sit tall in your chair, then slowly lean forward. The spot where your back begins to round is your natural curve’s base. That’s where support should sit. Most adjustable chairs let you move the pad vertically, so align it there. But don’t assume more pressure is better-over-support flattens the curve, increasing disc load. Real-world testing shows ideal firmness supports without pushing. Look for units with depth and height adjustments, tested over weeks, not minutes. Warranty matters too-10 years suggests durability. Still, comfort varies. What works for an office may not suit long home sessions. Always test in your environment.
Align the Lumbar Pad With Your Spine’s Natural Curve
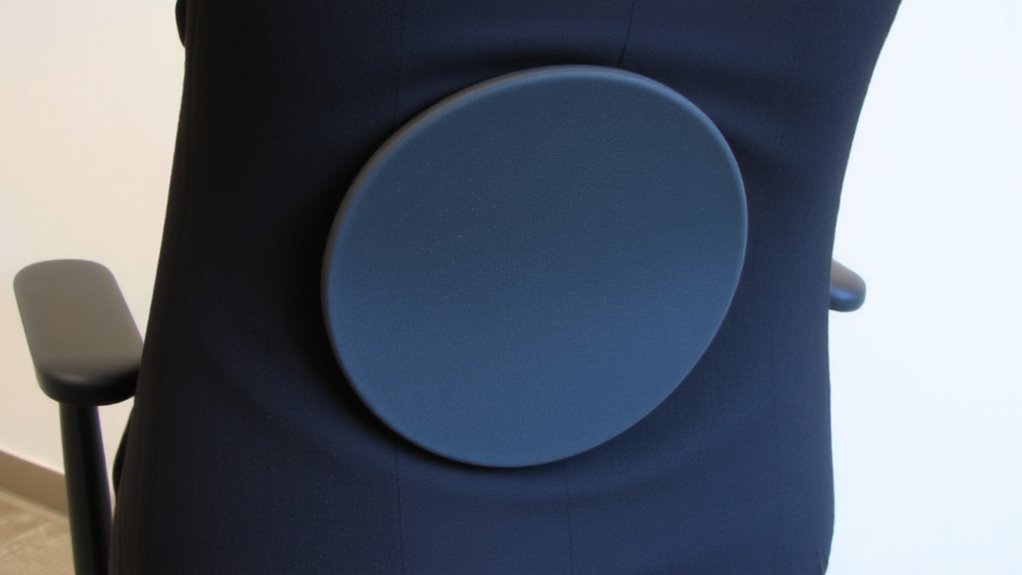
You’ve already found your lower back’s natural curve-now it’s time to match that spot exactly with your lumbar pad. Proper support placement means centering the pad just above your belt line, where your spinal curvature creates a slight inward bend. This alignment helps maintain natural posture without overcorrecting. Most adjustable lumbar supports let you move the pad horizontally or depth-adjust it-use those settings to fine-tune contact. If the pad sits too high or low, it can create pressure points or fail to support your curve effectively. While some office chairs integrate lumbar systems well, aftermarket cushions offer flexibility if your current seat lacks adjustability. Keep in mind: even the best support won’t fix poor sitting habits. Test the fit by sitting upright-your lower back should rest gently against the pad, with even pressure and no gaps. Real comfort comes from precision, not padding. For those seeking customizable support, consider exploring top-rated options like the best lumbar support cushions.
Adjust Lumbar Support Height for Lower Back Alignment
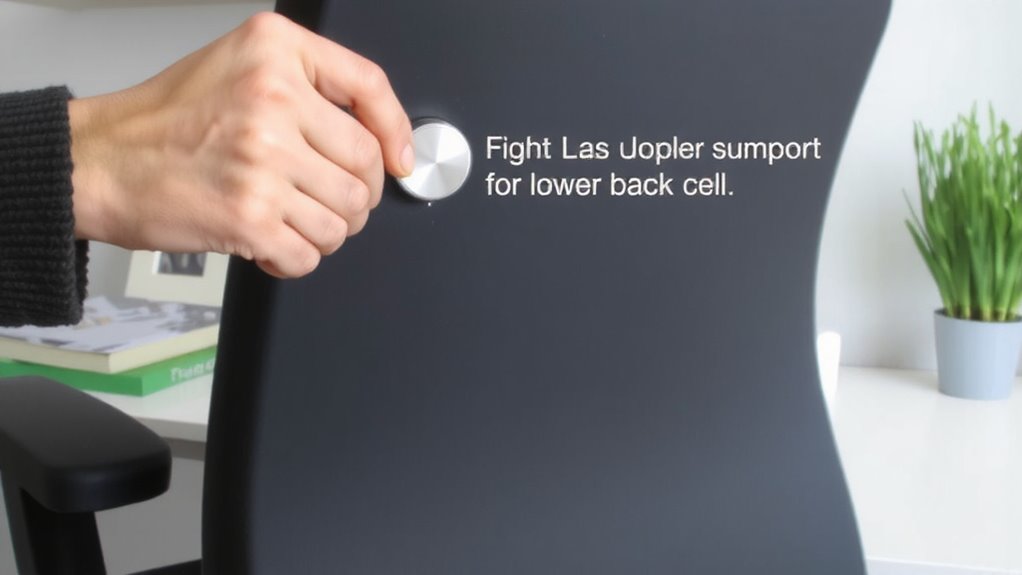
Though proper lumbar support starts with pad placement, getting the height just right makes all the difference in maintaining spinal alignment. You need to match the support to your lower back’s natural inward curve to reduce lumbar pressure and promote spinal balance. Too high, and it presses into your mid-back; too low, and it won’t support the curve at all. Most adjustable chairs let you move the pad up or down by 2–4 inches. Use a quick visual or hand check: sit back and feel for even contact. Ergonomic office chairs are specifically designed to offer this kind of customizable support for long-term comfort.
| Your Height | Suggested Pad Height | Common Chair Adjustment Range |
|---|---|---|
| Under 5’4″ | Lower third of back | 16–18 inches from seat |
| 5’4″–5’10” | Waist level | 18–20 inches from seat |
| Over 5’10” | Upper lumbar area | 20–22 inches from seat |
Even small height changes improve comfort-just don’t expect perfection from basic mesh backs.
Set the Right Depth for Effective Lumbar Support
Getting the height of your lumbar pad right sets the foundation, but dialing in the depth guarantees the support actually follows your spine’s curve instead of just poking into your back. You want the pad to press gently into your lower back, filling the space without forcing your spine forward. Too deep, and you’ll feel pressure; too shallow, and the support won’t hold your natural curve. Adjust the depth so it complements your pad firmness-softer pads need less depth, firmer ones can go deeper. This balance helps maintain comfort over long support duration, reducing fatigue during extended sitting. Make small tweaks and sit for a few minutes each time to test. Keep in mind, ideal depth varies with posture shifts and clothing thickness. There’s no universal setting, so prioritize spine alignment over sensation.
Ensure Your Chair Allows Lumbar Adjustment
A well-designed lumbar adjustment system isn’t a luxury-it’s a necessity for maintaining spinal alignment during long workdays. You need a chair that offers vertical and depth adjustment so you can match the support to your spine’s natural curve. Look for models with ergonomic design that integrate seamlessly with your body, not force you to adapt to them. Adjustable lumbar support helps reinforce good posture training by giving consistent feedback to your lower back. Don’t settle for fixed pads-they often sit too high or too low. Test chairs with at least two inches of vertical range and firm but compressible padding. While premium models offer memory foam and mesh, even mid-tier options can deliver if they include stable mechanisms and solid warranties. Some adjustment systems wear out fast, so check for durability ratings. A good fit today might not last if the mechanism fails. For reliable options, consider checking the Best Lumbar Support Picks.
Skip Common Lumbar Adjustment Mistakes
When adjusting your lumbar support, setting it too high is one of the most frequent errors-position the pad at the small of your back, roughly between your belt line and the bottom of your ribcage, to match your lumbar spine’s natural inward curve. Avoid over tightening support; excessive pressure can restrict movement and cause muscle fatigue over time. You’ll want firm contact without compression-think snug, not squeezing. Ignoring posture changes throughout the day is another pitfall; your spine shifts whether you’re leaning forward or sitting back, so static settings may stop supporting effectively. Adjustable foam pads or inflatable lumbar options let you adapt without discomfort. Fixed supports work if your posture stays consistent, but most people shift positions, demanding flexibility. Always prioritize adjustability and responsiveness over trendy designs or rigid builds. Comfort isn’t universal-what feels right now might not hold up after an hour.
Test and Refine Your Lumbar Support Position
You’ve set your lumbar support in the right zone and avoided over-tightening, but that doesn’t mean it’s dialed in yet-fine-tuning takes active testing. Spend 15–20 minutes in your chair while doing real tasks, then assess for lumbar fatigue or shifts in posture tracking. Adjust height, depth, or firmness slightly and retest. Small changes make big differences in spinal alignment.
| Test Cycle | What to Check |
|---|---|
| 1 | Lower back contact, seat depth |
| 2 | Hip alignment, shoulder slouching |
| 3 | Tingling or pressure after 30 min |
| 4 | Natural spine curve retention |
| 5 | Post-use lumbar fatigue signals |
Use posture tracking apps or quick mirror checks to verify alignment. No single setting works all day-reassess during long sessions. Support should feel enabling, not intrusive.
On a final note
You should adjust your lumbar support to match your spine’s natural curve for real comfort. Position the pad just above your waistline, about 2–3 inches deep, so it gently fills the lower back’s inward curve. Make sure your chair allows height and depth changes-fixed supports often fail midday. Test sitting upright for 10 minutes; if pressure builds, readjust. Not all backs fit one design, so prioritize adjustable, well-built mechanisms over premium labels.