Positioning Monitors to Accommodate a Tablet for Digital Annotation
Position your monitor just above and slightly behind the tablet, leaving 6–8 inches of clearance for hand movement while annotating. Align the screen’s top third with your eye level to reduce neck strain, and place the tablet beside your keyboard-right for right-handed, left for left-handed-so your arm moves naturally. Use a low-profile riser if needed, but avoid excessive height. A vertical monitor orientation helps with long documents, but only if your display supports 90° pivoting. Keep cables tidy with clips or sleeves routed behind the setup to maintain stability and reduce clutter. The next steps show how small adjustments can make a big difference in precision and comfort.
Notable Insights
- Position the tablet just below or beside the primary monitor for seamless hand movement during annotation.
- Align the monitor centrally behind the tablet, leaving 6–8 inches of clearance for comfortable hand access.
- Use a riser or stand to keep the tablet level with the desk and within easy reach of the keyboard.
- Rotate the monitor vertically if annotating long documents to mimic a natural writing experience.
- Manage cables with clips or sleeves to reduce clutter and maintain a smooth, uninterrupted workflow.
Map Your Desk for Natural Tablet Access
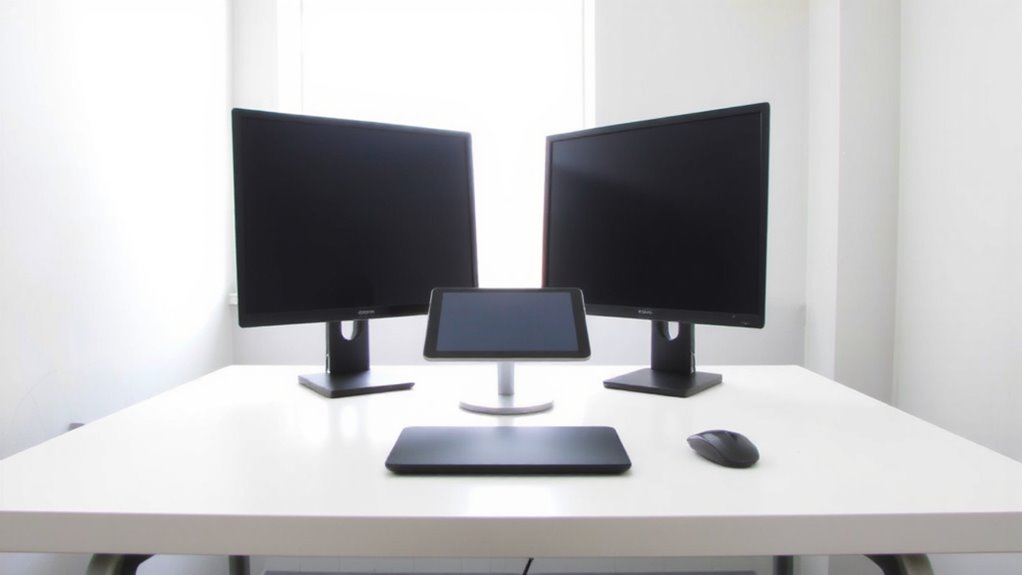
Where should you actually place your tablet for seamless annotation? Position it just below or beside your primary monitor, aligned with your keyboard’s outer edge for ergonomic alignment. This setup supports a natural arm movement, reducing strain during long sessions. You’ll maintain a seamless workflow by minimizing hand travel between devices. For right-handed users, place the tablet to the right; left-handed users, favor the left. Guarantee the tablet surface is level with your desk-use a low-profile stand if needed-to avoid wrist extension. Test placement by hovering your hand over the tablet while typing; it should move easily between tools without shifting your torso. Avoid mounting it too far forward, which disrupts posture. There’s no one-size-fits-all position, but consistency in positioning improves muscle memory. Reassess every few weeks, adjusting for comfort. Most manufacturers don’t specify placement, so rely on real-world testing, not guidelines.
Position Monitors to Clear Your Annotation Zone
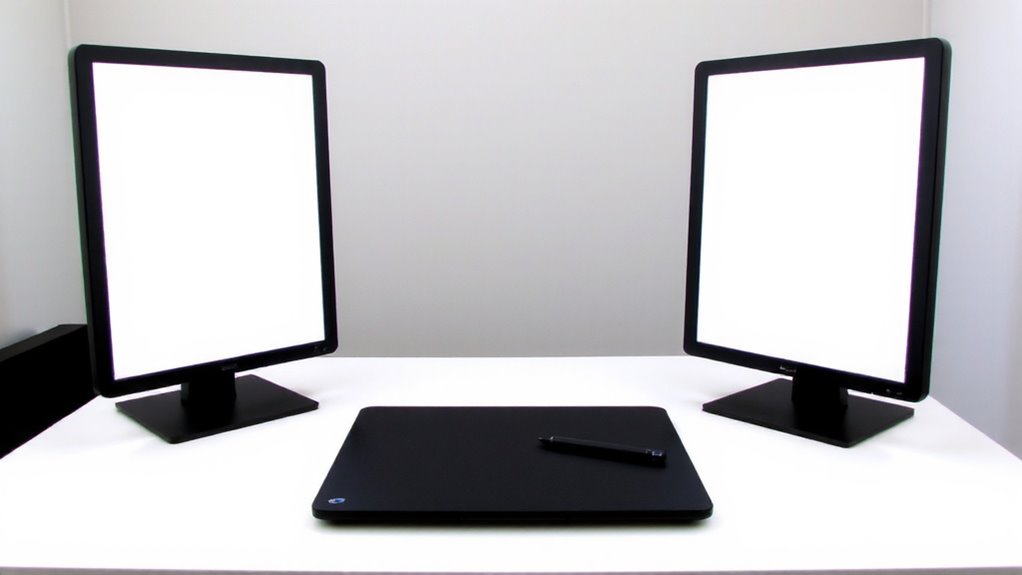
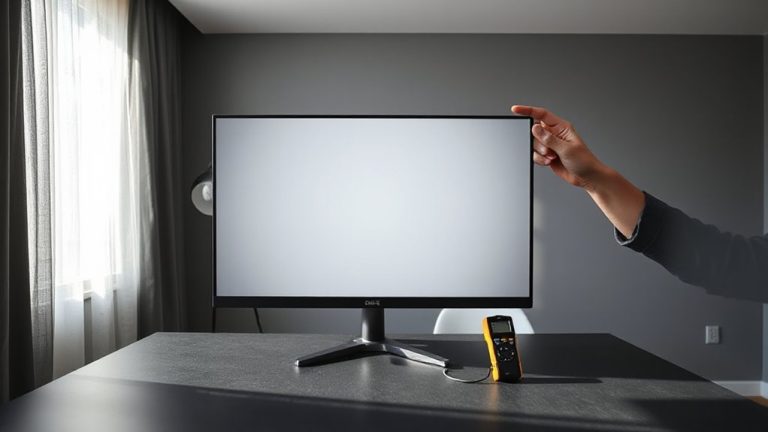
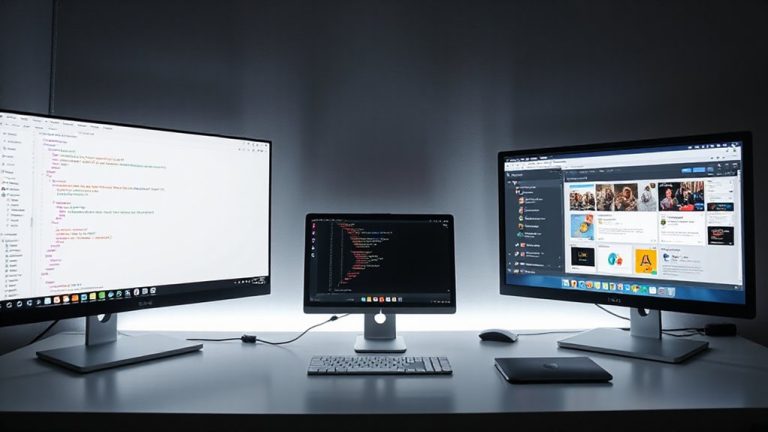
Once you’ve positioned your tablet for easy access, shift your focus to adjusting your monitor setup so it doesn’t interfere with your annotation workflow. Position your monitor arm or stand to create ample hand clearance, ensuring your wrist isn’t cramped when writing. You’ll want at least 6–8 inches between the tablet and monitor base to avoid collisions during use. Align the screen so your eyes stay level with the top third of the display-this supports ergonomic alignment and reduces neck strain. Tilt the monitor slightly upward if needed, but avoid excessive angles that disrupt viewing. Most users find a central position directly behind the tablet works best, though dual monitor setups may require shifting one display sideways. Be mindful: moving monitors too far can limit desk space or cable reach. Test movement before finalizing. This balance of visibility and space boosts comfort, but requires precise placement-measure twice, adjust once. For optimal flexibility and stability, consider using a high-quality monitor mount that supports full range of motion and easy height adjustment.
Raise Your Setup With Tablet-Friendly Risers
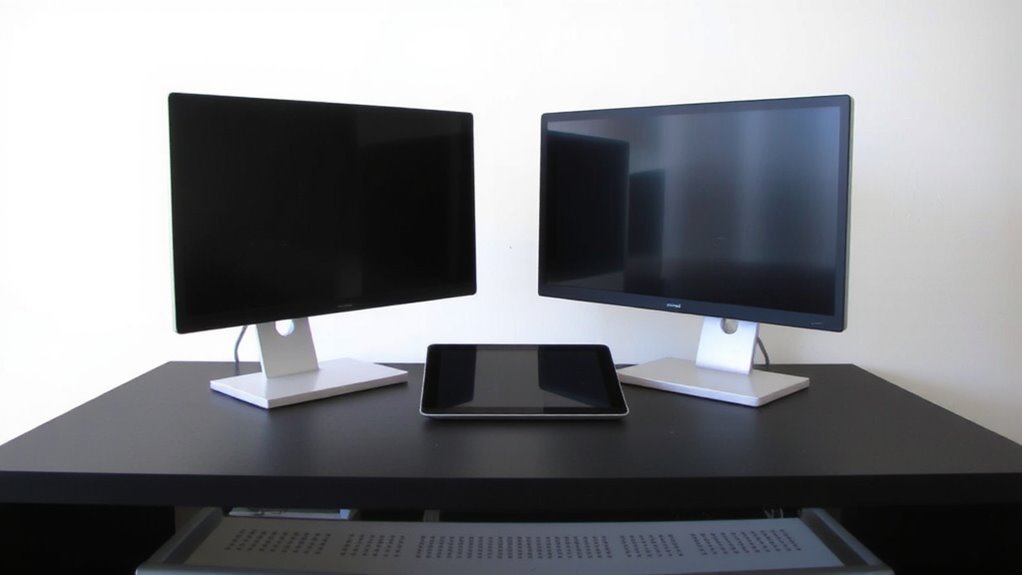
A solid riser can make all the difference in aligning your tablet and monitor for long annotation sessions. You’ll want one that guarantees tablet stability, keeping your device secure during frequent stylus use. Look for riser materials like reinforced aluminum or high-impact plastic-they’re durable without adding clutter. Most quality risers lift your tablet 6 to 10 inches, helping match it with your monitor’s viewing height. This reduces neck strain and keeps your workflow natural. Some models include rubberized pads or adjustable grips to prevent slipping. If you travel, consider foldable options, though they sometimes sacrifice rigidity. Always check weight limits: lighter risers may wobble under heavier tablets. While premium versions often come with lifetime warranties, even mid-tier options can last years with proper care. Just remember-stability matters more than style.
Rotate Monitors for Vertical Annotation Flow
Rotating your monitor to a vertical orientation can greatly improve your annotation workflow, especially when working with long documents or web pages. Screen rotation supports natural vertical alignment, reducing the need to scroll and helping you stay focused. For tablet users, this mimics the feel of handwritten notes on paper. However, not all monitors pivot smoothly-check for tilt/swivel ranges and VESA compatibility. A good monitor arm with 90° pivot support can make vertical positioning effortless and stable. Below is how vertical alignment impacts key tasks:
| Task | Feels More Natural | Reduces Fatigue |
|---|---|---|
| Reading PDFs | ✅ Yes | ✅ Yes |
| Annotating Text | ✅ Yes | ⚠ Slight Adjust |
| Watching Video | ❌ No | ❌ No |
Use screen rotation only if your monitor supports 90° pivoting without wobble. Fixed stands limit vertical alignment, so verify specs before deciding.
Keep Cables Out of Your Way
With your tablet and monitor positioned for ideal annotation, don’t let messy cables undo your progress-tangled power and data cords create clutter that disrupts focus and increases tripping hazards. Use cable clips to secure cords along desks or monitor stands; they’re affordable and easy to reposition, but may lose grip on uneven surfaces over time. For a cleaner look, slide cords into cord sleeves, which bundle multiple lines neatly, though they can limit airflow around power adapters if packed too tightly. Routing cables behind your setup keeps them out of sight, but avoid sharp bends near connectors-this can damage internal wiring. Velcro straps work better than zip ties for adjusting layouts later. These solutions help maintain a streamlined workspace, but don’t overcommit to permanent arrangements until you’ve tested your full setup in daily use. A product roundup can help you choose the best cable management tools based on verified performance and user feedback.
Fine-Tune for Comfort and Precision
You’ve got your tablet and monitor positioned, cables managed-now it’s time to adjust the fine details that directly affect how long you can work comfortably and how accurately you can annotate. Proper ergonomic alignment reduces strain during long sessions, so make certain your tablet sits flat or at a slight tilt, matching the monitor’s height to eye level. Hand stability improves precision, especially with active pens-rest your wrist on a firm surface, avoiding soft cushions that shift during use. Test different angles to see what boosts control without causing fatigue.
| Factor | Ideal Setting |
|---|---|
| Tablet height | Level with forearm when typing |
| Viewing angle | 15°–30° tilt toward you |
| Wrist support | Firm, slightly padded edge |
| Monitor distance | 20–30 inches from eyes |
Small tweaks enhance accuracy and endurance, but over-adjusting can disrupt flow-find a balance that feels natural and stays sustainable through extended use.
On a final note
You’ll boost efficiency by positioning monitors to free space for tablet use, especially with risers that align screen heights and allow smooth hand movement. Rotate displays vertically for natural annotation flow, but mind cable strain-use sleeves or clips. Test configurations over a week; even small misalignments cause fatigue. Most monitor arms support 17–27” screens, but check weight limits. Results vary by tablet size, so measure your reach zone.