How to Create a Dedicated Video Meeting Space in Small Apartments
Use a foldable desk with a steel frame and laminate finish-it supports up to 50 pounds and collapses to under 2 inches thick for tight spaces. Place it in an east-facing corner to get soft, consistent light without glare, facing the window to avoid silhouetting. Add a lightweight chair, but test stability on uneven floors and note limited lumbar support. Declutter your background with neutral walls, a single plant, or simple shelves, and use a frosted desk lamp above eye level for balanced lighting when natural light fades. Heavy curtains help control both light and sound. Test your camera, audio, and internet 10 minutes before each meeting-confirm your face is well-lit, the background is clear, and upload speeds meet 3 Mbps. Practical setups like these deliver strong results, but expect trade-offs in comfort and acoustics where small spaces constrain ideal conditions. Smart tweaks can considerably elevate your meeting presence.
Notable Insights
- Use foldable desks with steel frames to create a sturdy, space-saving workspace that supports laptops and monitors.
- Choose a corner with east or north-facing windows for consistent, glare-free natural light during calls.
- Position your seat facing the window to avoid backlighting and ensure your face is clearly visible on camera.
- Declutter the background and use neutral walls or a plain fabric backdrop for a clean, professional appearance.
- Test camera, audio, and internet beforehand, and place the camera at eye level for optimal video presence.
Use Foldable Furniture for a Compact Meeting Spot
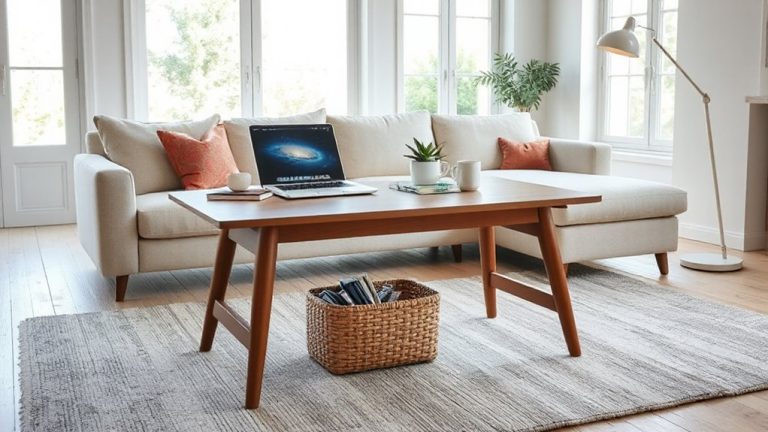
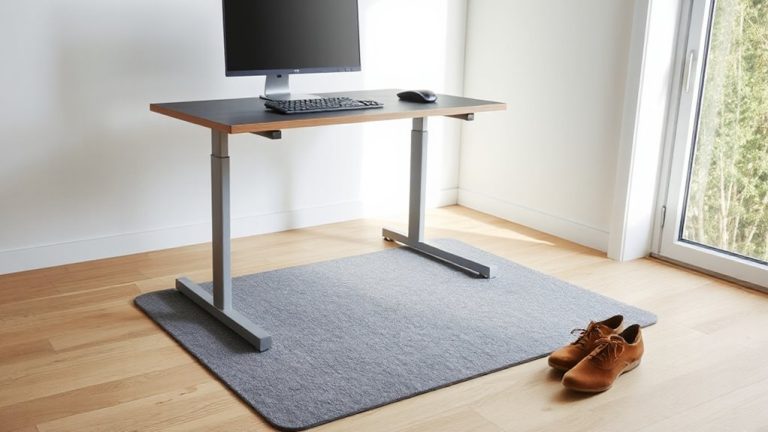
While you’re tight on space, foldable furniture can still give you a functional video meeting spot without taking over your apartment. Foldable desks offer a stable surface for your laptop and notebook, and many models support up to 50 pounds-enough for dual monitors. Look for ones with steel frames and a laminate finish; they’re durable and wipe clean easily. Pair them with space saving chairs that fold flat or stack-some even include padded seats without sacrificing portability. Most foldable desks set up in under 30 seconds and collapse to less than 2 inches thick, sliding neatly behind a couch or under a bed. Just keep in mind: smaller desks limit peripheral space, and lightweight chairs may lack long-term lumbar support. Test stability before meetings, especially on uneven floors. While not ideal for all-day use, these pieces strike a practical balance for occasional video calls. For top picks tailored to compact setups, check out the best foldable desks for small spaces.
Pick a Corner With Natural Light and Privacy
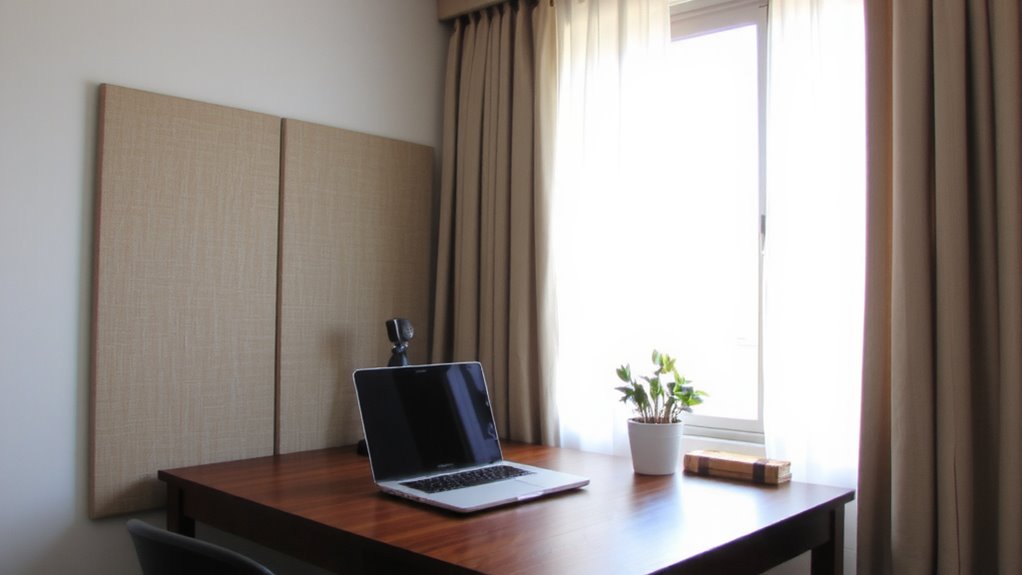
Since natural light boosts video quality and reduces eye strain, choose a corner with a window facing east or north for consistent, diffused light-direct southern or western exposure often creates harsh glare, especially in midday or afternoon calls. Your window placement directly affects lighting quality; avoid backlights that silhouette you on camera. Position yourself facing the window for even, flattering illumination without extra gear. For privacy and noise isolation, pick a quiet corner away from shared walls or high-traffic areas. Heavy curtains help block sound transfer and let you control light. Even in tight spaces, a well-placed corner delivers professional results-but test audio during peak hours to guarantee neighbors won’t disrupt meetings. Natural light isn’t always reliable, so keep a portable LED panel nearby for cloudy days or late calls. When supplementing with artificial light, consider a natural light lamp with high color accuracy to maintain a balanced, daylight-like environment.
Declutter Your Background for a Clean On-Camera Look
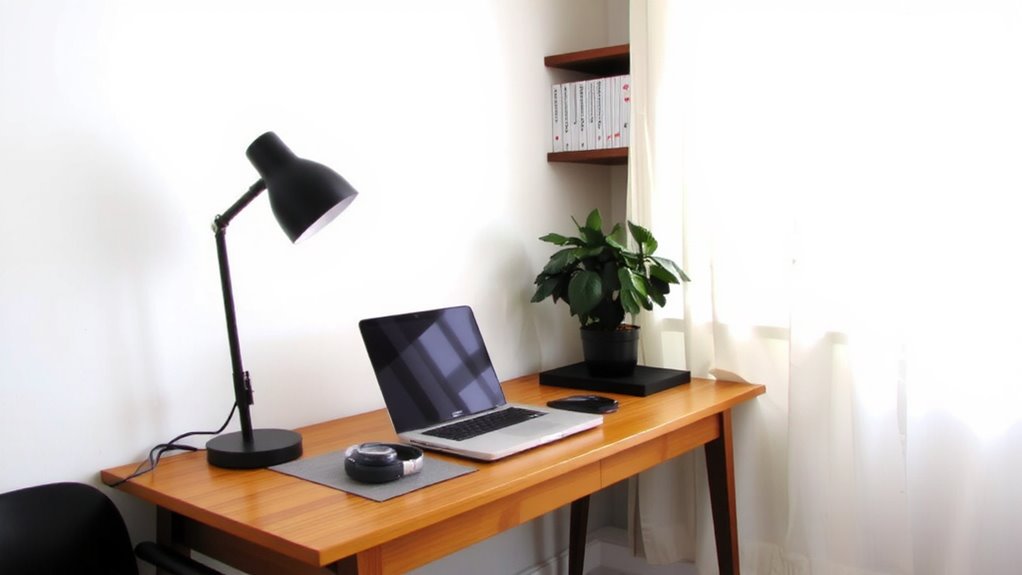
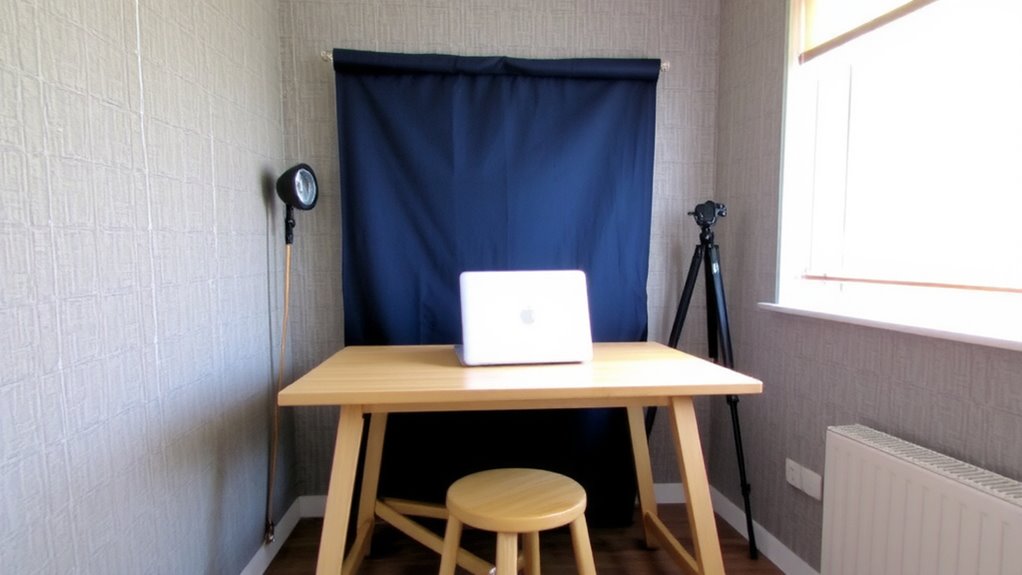
You’ve picked a well-lit, quiet corner-now it’s time to make sure what’s behind you looks just as thoughtful. A clean background keeps attention on you, not distractions. Start by removing clutter: stack books neatly, tuck cords away, and clear off surfaces. Opt for minimalist decor-simple shelves, a single plant, or a framed print add personality without chaos. Choose neutral tones like beige, gray, or soft white for walls or backdrops; they feel calm and professional on camera. Avoid busy patterns or bright colors that draw the eye. If you’re using a real wall, position it close to avoid depth that highlights mess. A plain fabric or curtain can work as a temporary fix. It’s not about perfection-it’s about control. Even small tweaks make a measurable difference in how you’re perceived.
Light Your Space Like a Pro (No Expensive Gear Needed)
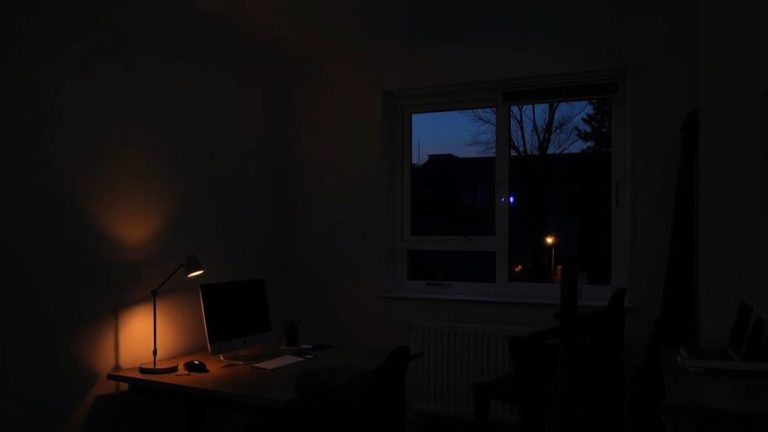
How can you look sharp on camera without breaking the bank? Use natural soft lighting near a window during daytime-position yourself facing it for even illumination and minimal shadow control issues. If natural light isn’t available, a simple desk lamp with a frosted or opaque shade works well when placed slightly above eye level and angled toward you. The diffuse glow mimics professional soft lighting and reduces harsh contrasts. Avoid backlighting from windows behind you, as it creates silhouettes and makes facial features hard to see. Overhead ceiling lights often cast unflattering shadows, so supplement them with front-facing sources. While DIY setups save money, they require testing different angles and intensities to achieve balanced exposure. Results vary by room size, wall color, and camera sensitivity-what works in one corner might not in another. These methods won’t match studio gear, but with careful tweaks, they deliver clear, professional-looking video. For reliable, ready-to-use options, consider one of the best desk lamps for Zoom calls.
Test Your Camera, Audio, and Internet Before Meetings
While a well-lit setup improves your on-camera appearance, none of it matters if your video stutters, your voice cuts in and out, or your image is out of focus-so test your camera, audio, and internet at least 10 minutes before each meeting. Start with camera placement: position your lens at eye level, roughly 18–24 inches from your face, to maintain natural framing and reduce distortion. Use your device’s built-in preview to verify focus and background clarity. Then run an audio check: speak in your normal voice and confirm your microphone isn’t clipping or picking up excessive ambient noise-laptop mics work fine in quiet spaces but struggle with HVAC or street sounds. Test your internet speed using free tools like Speedtest.net; aim for at least 3 Mbps upload for HD video. If your connection drops often, close background apps or switch to audio-only mode as a backup.
On a final note
You can create a reliable video meeting space in a small apartment without costly gear. Foldable desks or wall-mounted shelves save space, and positioning near natural light cuts glare if you angle yourself properly. A $30 ring light or a white foam board reflector improves lighting visibly. Test your laptop’s built-in mic and camera first-many perform well, but a USB mic like the FIFINE K668 reduces background noise. Just remember: compact setups demand daily setup/teardown unless you sacrifice space.