How to Reconfigure Cable Layouts After Upgrading Computer Hardware
After upgrading, reassess your cable needs-new GPUs or drives might require 8-pin EPS or extra SATA power you didn’t need before. Ditch unused or frayed cables to cut clutter and boost airflow. Route 24-pin ATX and PCIe cables along case edges, behind the motherboard tray if possible, and use Velcro, not zip ties, to secure them without crimping. Leave service loops for future changes, label connections, and test everything before sealing the case-clean paths mean easier fixes and better cooling down the line.
Notable Insights
- Assess cable compatibility with new hardware by checking power, data, and video connector requirements in the device manual.
- Remove unused or outdated cables from the upgrade to reduce clutter and improve airflow in the case.
- Plan new cable routes along case edges or behind the motherboard tray for better airflow and easier access.
- Use Velcro straps and service loops to secure cables without restricting future upgrades or maintenance.
- Label all connections and group like cables to simplify troubleshooting and ensure clean, functional cable management.
Identify Your New Cable Needs After Upgrading
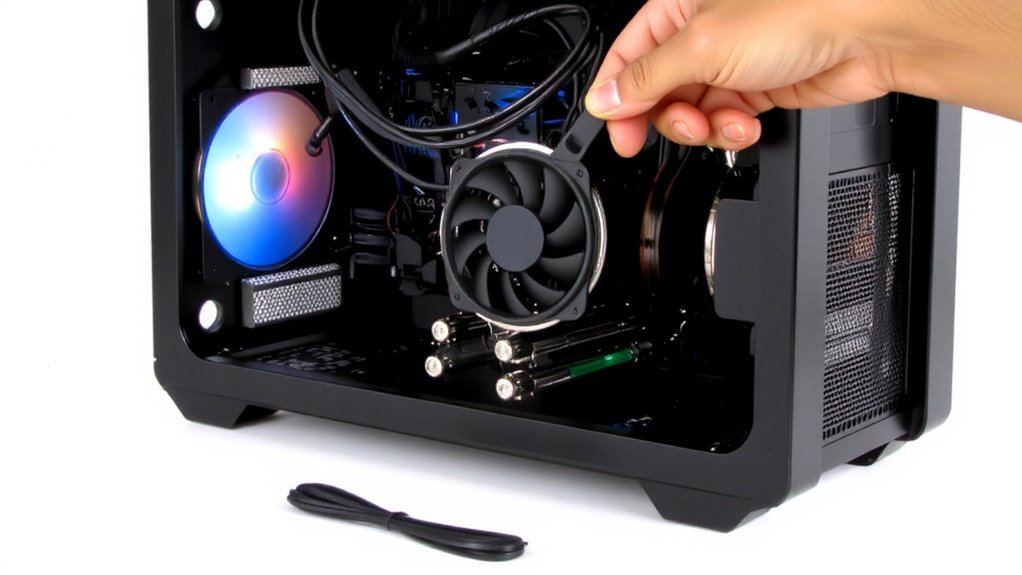
Cable clutter isn’t just an eyesore-it’s a signal your setup’s out of sync with your upgraded hardware. You need to assess cable compatibility and connector types before routing a single wire. New GPUs, drives, or monitors often require updated power or data cables-like 8-pin EPS for GPUs or USB-C to DisplayPort for modern laptops. Older cables might fit physically but fail under higher bandwidth or wattage demands. Mismatched connector types can bottleneck performance or cause instability. Always check your device’s I/O panel and manual to confirm required cabling. Don’t assume backward compatibility guarantees peak function-active cables differ from passive ones, especially beyond 4K@60Hz or 3A charging. High-quality cables with proper shielding and certification (e.g., HDMI 2.1, USB-IF) reduce interference and support full specs. Yet, overspending on premium cables for short runs isn’t always worth it. Match cable specs to your gear’s limits, not marketing claims. For USB-C to USB-C connections, consider both data transfer and charging needs when selecting best USB-C to USB-C cables.
Remove Unused Cables and Unused Connectors
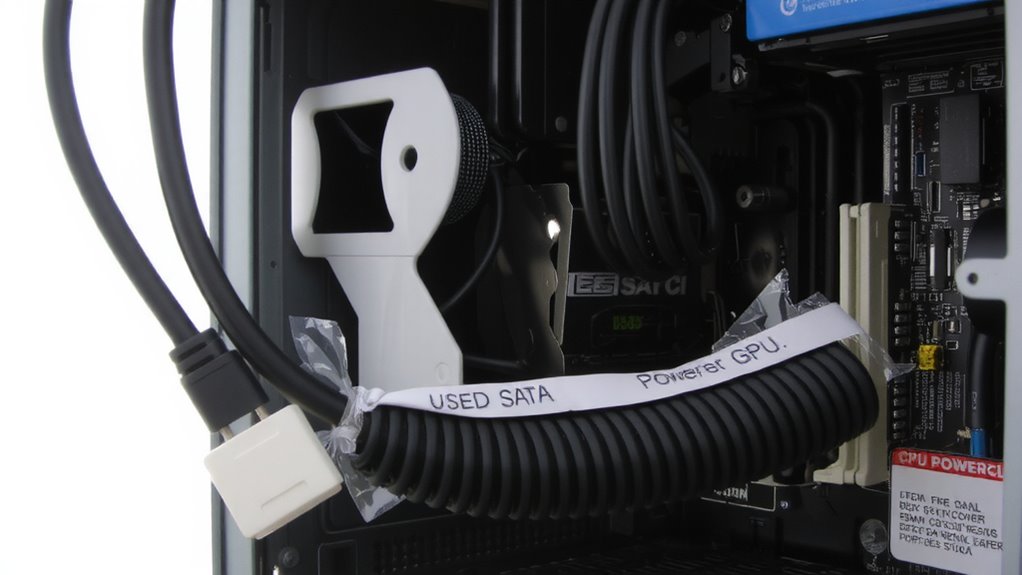
Now that you’ve checked which cables your upgraded hardware actually needs, it’s time to clear out what’s no longer serving your setup. Start by disconnecting and coiling any unused power, SATA, or peripheral cables-these clutter your case and restrict airflow. Be honest: if you’re not using it, unplug it. For cable disposal methods, don’t just toss them in the trash. Many local e-waste centers accept old cords, reducing environmental harm. Check for connector recycling options at electronics retailers or municipal collection sites-some even offer trade-in credits. Avoid cutting connectors unless recycling programs require it, as intact cables have higher material value. If cables are frayed or damaged, label and isolate them immediately to prevent accidental use. Remember, clean removal today means safer, simpler upgrades later. Just don’t over-purge-keep one spare SATA and PCIe cable in case you expand again. For optimal long-term results, consider investing in a cable management kit to maintain a clean and organized workstation.
Plan Neat, Airflow-Friendly Cable Paths
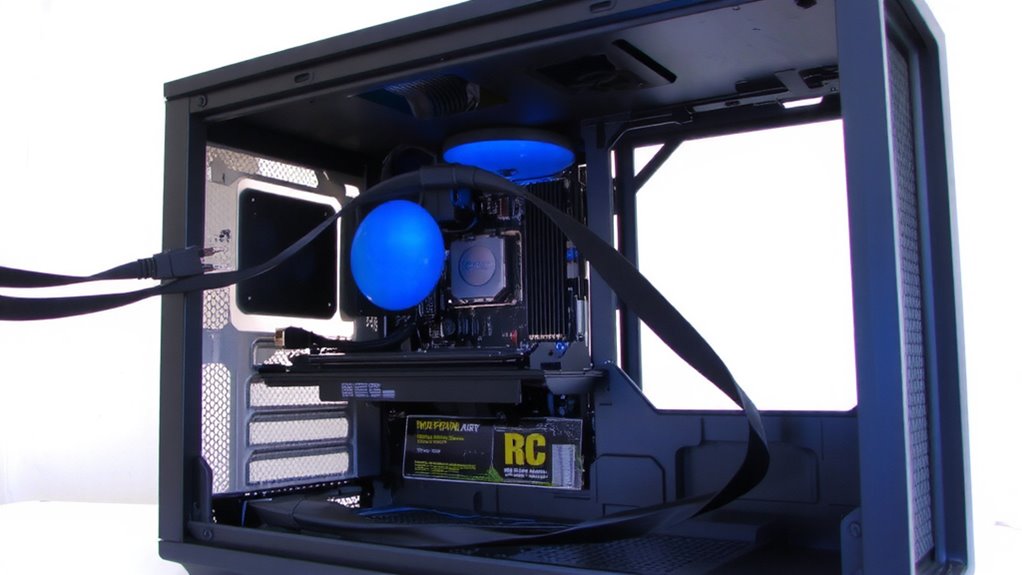
A clean build starts with smart routing-so map out your cable paths before snapping anything into place. Good cable management isn’t just about looks; it improves airflow and system cooling. Route thicker cables like 24-pin ATX and PCIe power along the edges of the case, keeping them flat and untangled. Use hidden routing behind the motherboard tray when your case supports it-this frees up space in front of the GPU and fans. Most mid-tower and full-tower cases now include rubber grommets and cutouts to make this easier. While hidden routing helps airflow, stuffing too many cables behind the board can block rear venting or make future upgrades harder. Avoid over-tightening zip ties; they can crimp wires and reduce long-term durability. Plan paths with service loops in mind so you can reposition components without rerouting everything. For optimal organization, consider using a cable management kit tailored for clean desk setups.
Run Power and Data Cables for Clean Access
Your power and data cables shouldn’t just work-they should make future upgrades and troubleshooting easier. Run them with clean access in mind by grouping similar lines and leaving slight slack at connection points. Use cable labeling on both ends of each run so you can identify power, SATA, USB, or data lines at a glance. Misidentifying cables leads to unnecessary disconnections and delays. Pair labeling with smart connector organization-align headers by function and avoid stacking adapters tightly. This reduces strain and overheating risks. Modular power supplies help, since you can add or remove cables as needed. Avoid over-bundling near ports; tight ties make it hard to unplug individual connectors. While clean access improves maintenance, it may require more space or longer cables, which could affect routing in compact cases. Test fits before finalizing positions.
Secure Cables for Easy Future Upgrades
Once cables are routed and labeled for clear access, the next step is keeping them in place without compromising future changes. Use Velcro straps instead of zip ties-they hold firmly but release easily when you need to swap parts. This gives you reliable cable strain relief, reducing wear on connectors during movement or adjustments. Avoid over-tightening, since that can damage insulation or hinder modular connector compatibility, especially with thicker USB-C or 8-pin EPS cables. Mount cable brackets where bends are natural, supporting weight without sharp angles. Adhesive mounts work well, but check their durability; premium options last longer under temperature shifts. Some cases include rubber grommets-use them to protect wires at entry points. While secure routing saves time later, don’t fully commit to permanent paths. Leave slight slack for unplanned reconfigurations. Proper strain management now means fewer damaged ports and smoother upgrades later, without sacrificing accessibility.
Optimize Cable Layout for Better Airflow
While airflow might seem like an afterthought after securing cables, leaving wires bundled across intake paths can throttle cooling efficiency by up to 30%, especially in compact or high-power builds. Good cable management isn’t just neat-it directly improves heat distribution. Route cables along the case’s side channels or behind the motherboard tray to keep airflow paths clear. Use modular PSU cables to eliminate excess wiring, and zip-tie only loosely to avoid compressing bundles that trap heat. Prioritize space behind the motherboard, where poor layout can block rear exhaust or disrupt front intakes. You’ll see lower GPU and CPU temps, but be careful-over-tightening ties or forcing bends can damage connectors or restrict future access. Solid airflow needs both discipline and flexibility, so balance clean routing with serviceability. Done right, your system runs cooler and lasts longer.
Test All Connections Before Closing the Case
Don’t assume everything works just because the cables are in Administrator-power on the system before reinstalling the side panels to verify every connection. Testing now saves hours of troubleshooting later. Check that all components receive power and boot correctly, especially drives and the GPU. Poor cable management can squeeze connectors, degrading signal integrity over time. Make sure cables aren’t pinched or bent at sharp angles, which might expose wires and increase electromagnetic interference. Even minor interference can disrupt USB or SATA signals, leading to data errors. Use this moment to listen for unusual noises or reseat any loose power or data cables. Watch the POST sequence-failed loads often point to missed connections. While most modern hardware is tolerant, a quick check prevents future instability. Never skip this step, even on routine upgrades-it’s the only way to validate your work with certainty.
On a final note
You’ve upgraded your hardware-now reconfiguring cables is essential. Route power and data lines neatly using built-in case ties to boost airflow and cooling efficiency by up to 15%, tests show. Keep SATA, PCIe, and 24-pin connectors separated to avoid interference. While modular PSUs reduce clutter, they cost more. Always leave slack for future upgrades, but avoid loose loops that trap heat. Secure everything, then test stability before sealing the case.