How to Reduce Keyboard and Mouse Noise With Silicone Dampeners Under Devices
You can cut keyboard and mouse noise by placing silicone dampeners under each device to absorb vibration. Stick them under the keyboard’s corners and the mouse’s center-avoiding the sensor-for best results. Use 4–6mm pads for balance between cushioning and stability. They work especially well on mechanical keyboards and plastic mice over glass or metal desks. Just clean surfaces with alcohol first, and press firmly to bond. Thicker pads dampen more but raise your device slightly-keep that in mind if desk height matters. You’ll see how placement and thickness shape performance.
Notable Insights
- Place silicone dampeners under each corner of the keyboard to absorb vibrations and reduce surface resonance.
- Attach a dampener to the mouse’s underside center, avoiding the sensor for optimal noise reduction.
- Use 4–6mm thick dampeners for the best balance of stability and vibration absorption.
- Clean device bases with isopropyl alcohol before applying dampeners to ensure strong adhesion.
- Choose medium-adhesive pads for mice and high-adhesive ones for stationary keyboards.
What Causes Keyboard and Mouse Noise?
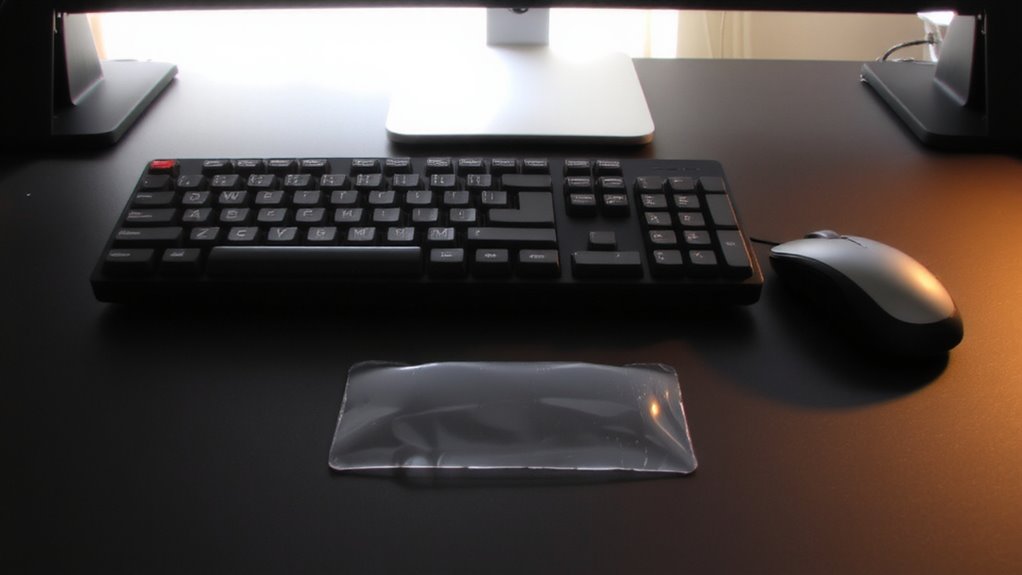
While typing or clicking might seem quiet on their own, the real noise from keyboards and mice often comes from hard surfaces amplifying each keypress or button click. Mechanical switches, known for their tactile feedback and durability, generate more sound than membrane ones, especially when actuated quickly. That noise travels through the desk, creating surface resonance that turns small clicks into distracting thuds. You’ll notice this most on stainless steel or glass desks, where vibrations spread easily. Even plastic mice can rattle when their shells vibrate against rigid surfaces. This isn’t just about volume-it’s about how sound disrupts focus in shared or quiet spaces. Thicker desk mats help somewhat, but they don’t fully stop the transfer of energy. The issue isn’t your typing style-it’s physics. Solutions must address vibration at the source, not just mask it. Performance depends on material density and contact surface, not brand hype.
How Silicone Dampeners Stop Vibrations
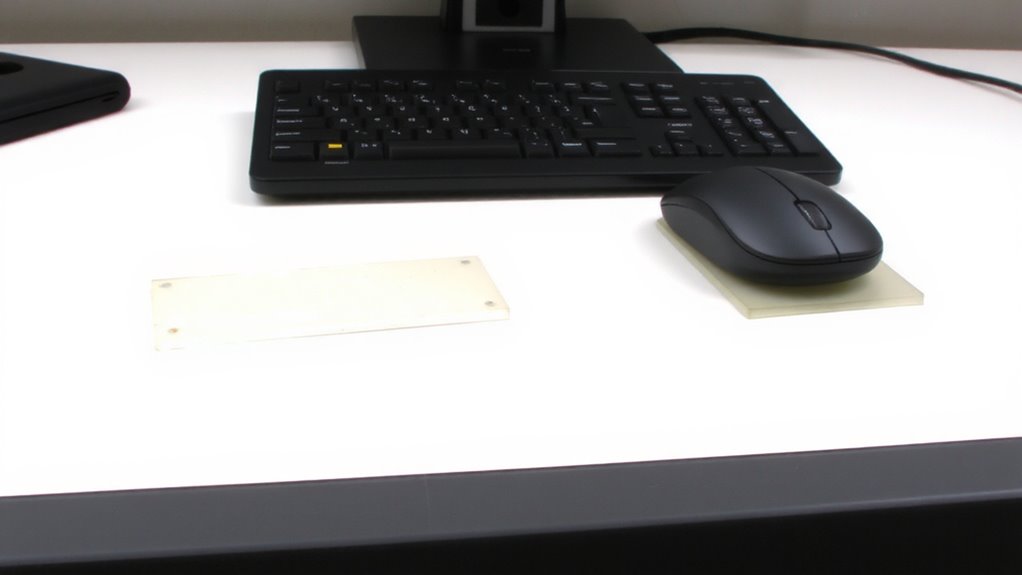
Silicone dampeners directly tackle the vibrations that turn quiet keystrokes into disruptive noise. They work by absorbing energy through elastic deformation, reducing both material resonance and surface coupling. When your keyboard or mouse vibrates, the soft silicone compresses slightly, trapping kinetic energy before it spreads to your desk. This minimizes audible hum and clatter. Below is how they compare to other methods:
| Method | Reduces Resonance | Minimizes Surface Coupling |
|---|---|---|
| Foam pads | Moderate | Low |
| Rubber feet | Low | Moderate |
| Hard plastic | None | None |
| Silicone dampeners | High | High |
| Bare metal base | None | High (undesirable) |
They’re affordable and easy to apply, but won’t fix poor mechanical design. For best results, pair them with a solid typing surface.
Where to Place Pads for Best Noise Reduction
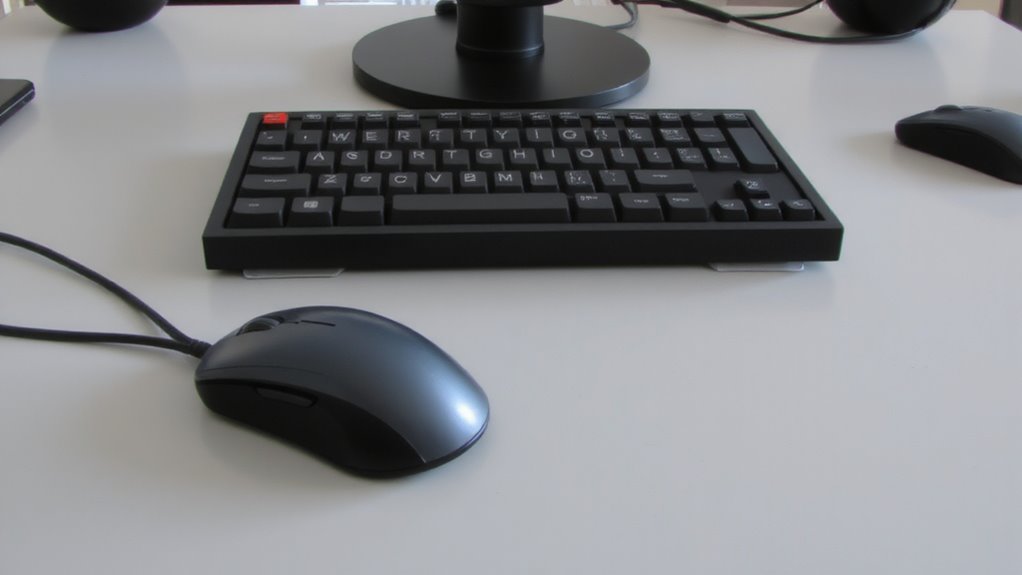
If you want to cut down on keyboard and mouse noise effectively, placing silicone dampeners in the right spots makes all the difference. Proper pad placement guarantees maximum surface contact, which is critical for absorbing vibrations before they transfer to your desk. Stick dampeners directly under each corner of your keyboard, especially if it’s a mechanical model with heavy key switches. For the mouse, apply one in the center underside-avoid covering the游戏副本. Full surface contact prevents slipping and boosts noise reduction, but be mindful: too much grip can make devices harder to reposition. Some users report slight drag with larger pads, so trim if needed. Tests show 4–6mm thick dampeners work best, balancing cushion and stability. Always clean the device base first for strong adhesion. Poor placement wastes material and weakens results-take a moment to position them right.
How to Install Dampener Pads in 3 Steps
Since noise reduction depends on both placement and proper installation, you’ll want to follow these three steps carefully to get the best results without compromising device function. First, clean the bottom of your keyboard or mouse with isopropyl alcohol to guarantee strong adhesion-dust or oil will weaken the bond. Let it dry completely before applying the pad. Second, check the pad alignment: center each dampener over the contact area to evenly distribute pressure and prevent shifting during use. Misalignment can cause wobbling or reduced effectiveness. Third, press down firmly for 10–15 seconds, especially around the edges, to match the surface texture with the device base for full contact. Avoid touching the adhesive side with fingers to prevent residue. Improper installation might reduce grip or create instability, so take your time. This method delivers measurable noise reduction in most real-world setups.
Dampener Size and Stickiness: What to Choose
Most dampeners come in standard 10mm to 15mm sizes, and you’ll want to match the pad diameter to your device’s footprint for balanced noise control without sacrificing stability. Pad thickness affects both cushioning and profile-3mm offers minimal lift with solid vibration damping, while 5mm increases height but improves shock absorption. Adhesive strength is essential; weak glue slips, but overly strong bonds can leave residue or damage finishes.
| Pad Thickness | Adhesive Strength |
|---|---|
| 3mm | Medium (repositionable) |
| 5mm | High (permanent bond) |
| 2mm | Low (ideal for light use) |
Choose medium adhesive for mice you move often, and high strength for keyboards that stay put. Test placement before full adhesion. Not all surfaces bond equally-clean with alcohol first. Some brands offer warranties against residue, which helps if you’re unsure.
On a final note
You’ll reduce desk noise noticeably with silicone dampeners under your keyboard and mouse. They absorb vibrations from keystrokes and clicks, especially on hard surfaces like glass or metal. For best results, place pads under all contact points-typically four corners and the center. Just clean the surface, peel, and press on. Most pads last over a year, but they can leave residue if removed. Some users notice slight device wobble on uneven desks, so test placement first.