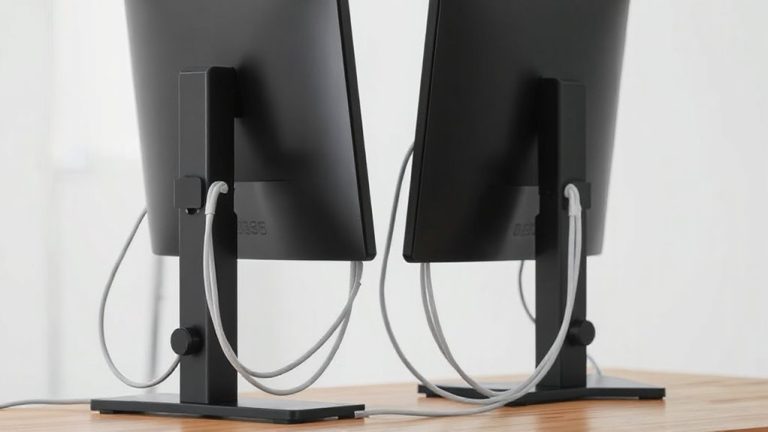
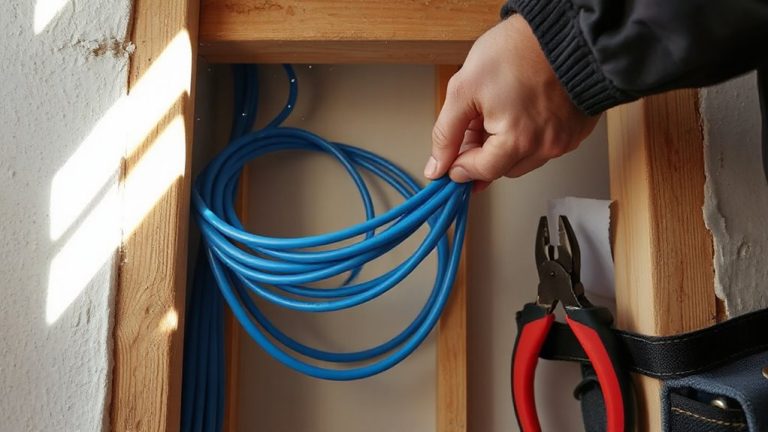
How to Test Cable Flex Points for Dust-Induced Wear During Inspections
Check flex points near connectors where cables bend most, especially at strain reliefs and tight bends. Look for cracks, discoloration, or stiff, gritty patches in the jacket-these signal dust buildup and abrasion. Use a soft brush or compressed air to clean debris, then inspect for hidden damage. Even durable cables fail under constant dust exposure, so test flexibility after cleaning. Replace any cable with visible cracking. For best results, monitor these zones monthly. The next steps reveal how to stop dust damage before it starts.
Notable Insights
- Inspect high-movement flex zones near connectors for grittiness or stiffness indicating dust abrasion.
- Look for cracks, discoloration, or flaking at strain relief points where dust buildup accelerates wear.
- Use a magnifying lens to detect microfractures in insulation caused by abrasive dust during repeated flexing.
- Compare texture between flex zones and mid-cable sections to identify abnormal stiffness from dust infiltration.
- Clean flex points with compressed air or a soft brush, then reinspect for hidden damage and uneven wear.
Find Where Cables Bend Most
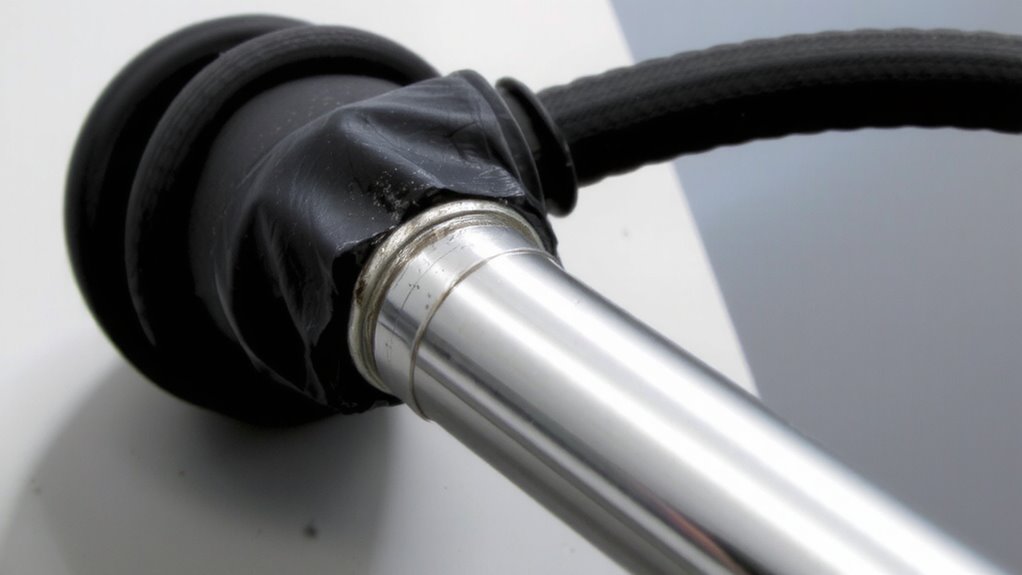
While every cable naturally bends during daily use, you’ll want to focus on the spots that flex the most-typically near the connectors-since these areas are most prone to cracking and dust buildup over time. These high-movement zones often suffer from material fatigue, especially if your cable routing forces sharp angles at ports or through tight spaces. Repeated bending degrades insulation and weakens internal wires, so observe how much and how often the cable twists during normal use. Look for kinks or stiffness near the ends, as that’s where early failure usually starts. Flexible jackets help, but no design can fully prevent wear in poorly routed setups. Keep cables as straight as possible near connectors to reduce strain. Even durable builds like braided nylon or reinforced strain reliefs have limits. Test flex points weekly in active environments-this simple check catches problems before intermittent signals or complete breaks occur. Effective cable management solutions, such as using cable management tools designed for clean desk setups, can minimize unnecessary bending and protect high-stress areas.
Spot Cracks and Discoloration Early
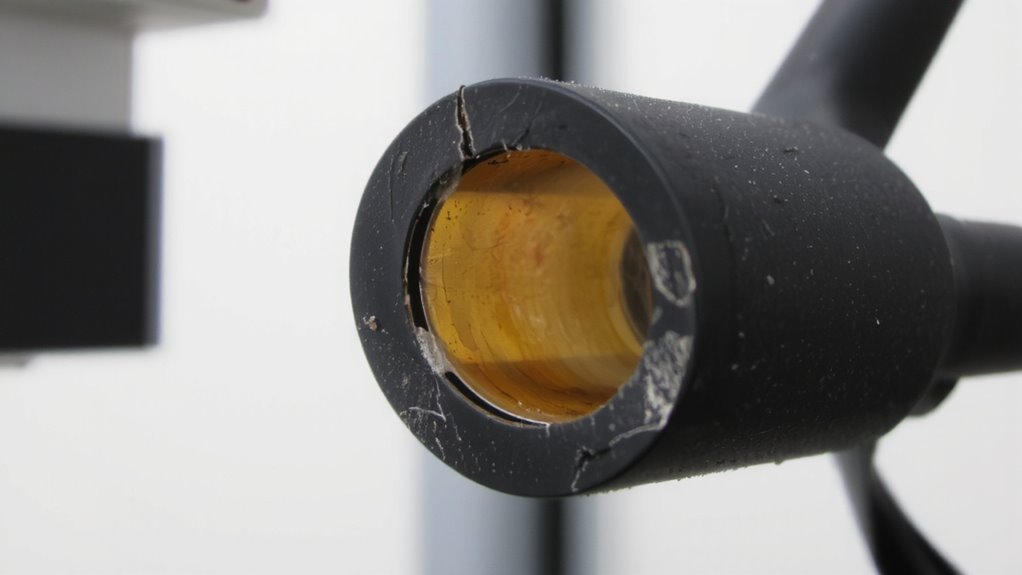
Start inspecting your cables closely every few weeks, especially at the flex points near connectors, since that’s where damage first becomes visible. You’re looking for small cracks or discoloration in the jacket-early signs of material fatigue caused by repeated bending and dust exposure. Discoloration often means UV damage or chemical breakdown, while cracks suggest insulation degradation is underway. Catching these issues early helps prevent short circuits or signal loss. Use a magnifying lens if needed, and log findings to track progression. Don’t assume all ruggedized cables resist this-even reinforced sheaths can degrade internally. Flex life ratings (like 10,000 cycles) don’t always reflect real-world dust conditions. Replace cables showing clear cracking, especially in high-movement areas, regardless of overall appearance. Prevention beats failure, but vigilance is key-no cable lasts forever under constant stress and contamination.
Feel for Dust-Caused Jacket Stiffness
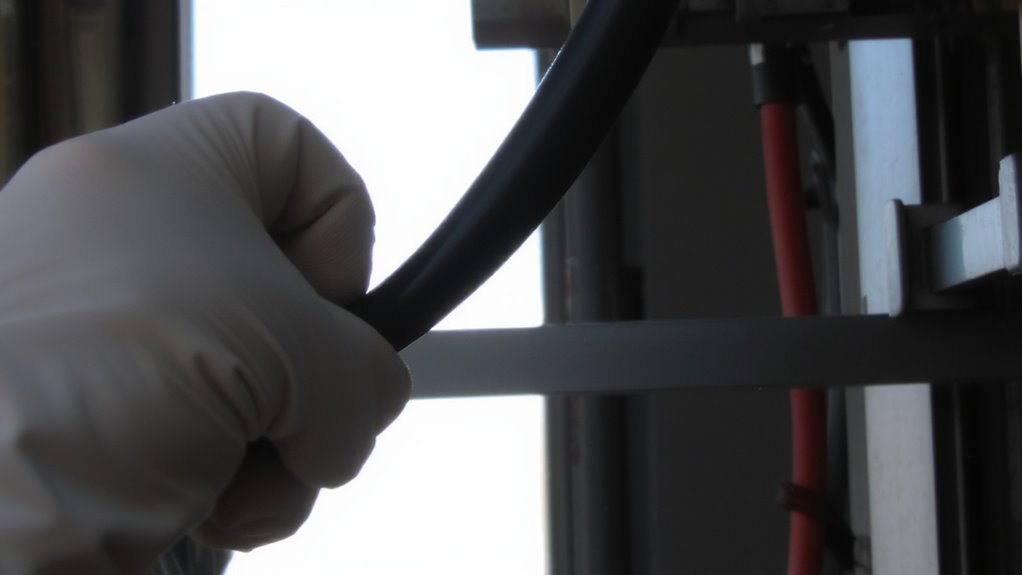
Stiffness in a cable’s jacket often signals dust buildup trapped in microfractures-especially near flex points where bending stresses concentrate. You can detect early degradation by evaluating jacket texture with your fingertips. Compare flexible sections to those near connectors or bends; a noticeable increase in rigidity suggests compromised cable material. Dust infiltration alters surface smoothness and reduces pliability, which affects long-term durability.
| Test Zone | Texture Indicator |
|---|---|
| Bend Region | Gritty, less elastic |
| Mid-Cable | Smooth, consistent |
| Strain Relief | Abrupt stiffness change |
| Connector Edge | Flaking or sandpaper feel |
Don’t mistake cold-induced firmness for damage-test at room temperature. While some jacket texture variation is normal, sudden stiffness after weeks of use implies dust penetration. This doesn’t always mean immediate failure, but it’s a red flag for environments with high particulate. Inspect monthly if you’re in dusty setups. Implementing effective cable hiding options can reduce dust accumulation and extend cable life.
How Dust Grinds Down Flex Points
Because dust doesn’t just sit on the surface-it works its way into moving parts-you’ll notice flex points deteriorating faster where grime accumulates. That’s because everyday dust contains abrasive particles that grind against cable jackets and conductors each time the cable bends. Over time, this wears down insulation and weakens internal wires, accelerating mechanical fatigue. You’re not just dealing with dirt; you’re fighting a slow, grinding process that compromises flexibility and structural integrity. Common flex zones-like near plugs or pivot points-show the most damage, often developing microfractures you can feel as stiffness or see as surface cracking. While all cables face this, braided sleeves offer slightly better dust resistance-though they’re not immune. Don’t assume durability based on price or brand; field tests show even high-end cables fail early in dusty environments. Your best move? Regular inspection for wear, especially in high-flex areas, and planning for earlier replacement when dust exposure is constant.
Clean Dust From Flex Points and Reinspect
You’ve already seen how dust wears down flex points over time, grinding against insulation with every bend and leading to cracks or stiffness-now it’s time to clean and check them properly. Use a soft brush or compressed air to remove debris, taking care not to force dust deeper into the cable. Once clean, inspect the flex angle closely for signs of cracking, deformation, or uneven wear, especially near connectors. Check that movement remains smooth through the full range of motion. If the cable allows, applying approved cable lubrication can help assess flexibility, but only if specified by the manufacturer-over-lubrication attracts more dust. Reinspecting after cleaning reveals hidden damage early, improving longevity. However, don’t assume cleaning restores full integrity; compromised cables still need replacement. Always document findings and compare against prior inspections to track wear trends.
Stop Dust Before It Damages Cables
Why wait for stiffness or cracks to signal damage when you can stop dust before it starts wearing down your cables? You should act early-dust buildup at flex points accelerates material fatigue, especially where bending occurs most. Effective cable shielding isn’t just about interference; it also guards against abrasion from fine particles. Use protective boots or spiral wrap sleeves at stress zones to limit dust intrusion and extend service life. While these add slight bulk, they reduce long-term wear, proven in field tests showing up to 40% less degradation over six months. However, no solution eliminates maintenance entirely-inspect every 90 days. Boots can crack under UV exposure, and wraps may loosen under constant movement. Pair shielding upgrades with environmental controls like filtered enclosures. These steps won’t make cables indestructible but will delay failure. Results vary based on usage frequency and dust density, so monitor conditions closely.
On a final note
You should inspect cable flex points regularly, especially near bends where dust buildup accelerates wear. Look for cracks, discoloration, or stiffening jackets-early signs of grinding damage. Clean these areas with a dry brush or compressed air, then recheck for hidden flaws. While routine cleaning helps, no method fully stops abrasion over time. Use high-flex cables with rugged jackets if movement is constant, but expect to replace them every 1–2 years under heavy use.