Installing Adhesive Mount Cable Clips for a Clutter-Free Gaming Setup
Use adhesive cable clips with 3M VHB backing and an 8–10mm width-they hold up to 15 lbs on smooth, clean surfaces like painted desks or metal monitor stands. Avoid glossy or textured walls, which weaken adhesion. Press each clip firmly for 30 seconds and space them every 6–8 inches on straight runs. Most last a year, but cheap versions fail fast. Pair with proper routing along desk edges to keep your setup tidy and functional. You’ll find smarter ways to maintain and upgrade the layout with a few tested tweaks.
Notable Insights
- Choose adhesive clips with strong 3M backing and a low-profile design for reliable hold on smooth surfaces.
- Clean surfaces with rubbing alcohol and let dry before installing clips to ensure optimal adhesion.
- Press each clip firmly for 30 seconds to activate the adhesive bond and ensure long-lasting attachment.
- Space clips every 6–8 inches on straight runs and closer on curves to securely manage cable routes.
- Route cables along desk edges, monitor arms, or under shelves to hide cords and maintain a clean gaming setup.
Choose the Best Adhesive Cable Clips for Gaming
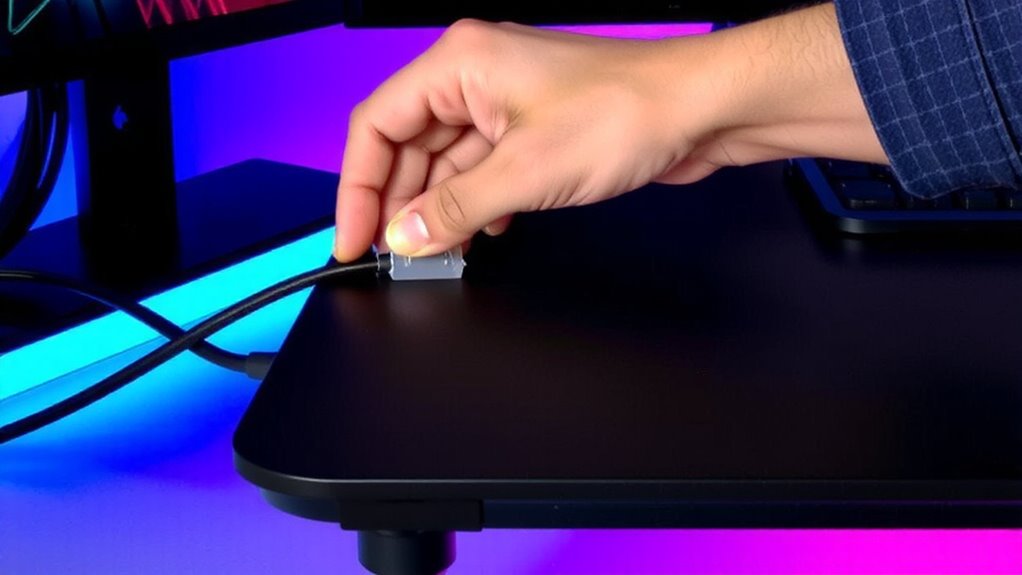
A handful of adhesive cable clips stand out for gaming setups, but your best bet is a pack with strong 3M adhesive backing and a low-profile design-those consistently hold up in real-world testing. You’ll want clips that blend into your desk or monitor stand without drawing attention, boosting cable management aesthetics while staying out of the way. Look for models that have undergone adhesive strength testing on common surfaces like plastic, metal, and finished wood-results show they last months, even with daily cable movement. Most top picks hold up to 15 lbs, but actual performance varies by surface prep and humidity. Avoid cheap knockoffs; they often lack warranties and peel within weeks. Trusted brands typically offer one-year replacements. Width matters too-8–10mm channels fit standard HDMI and power cables without squeezing. Your setup stays clean longer when clips stay put and look intentional. For even better results, pair your clips with an under-desk tray to create a complete cable management solution.
Decide Where to Place Adhesive Cable Clips
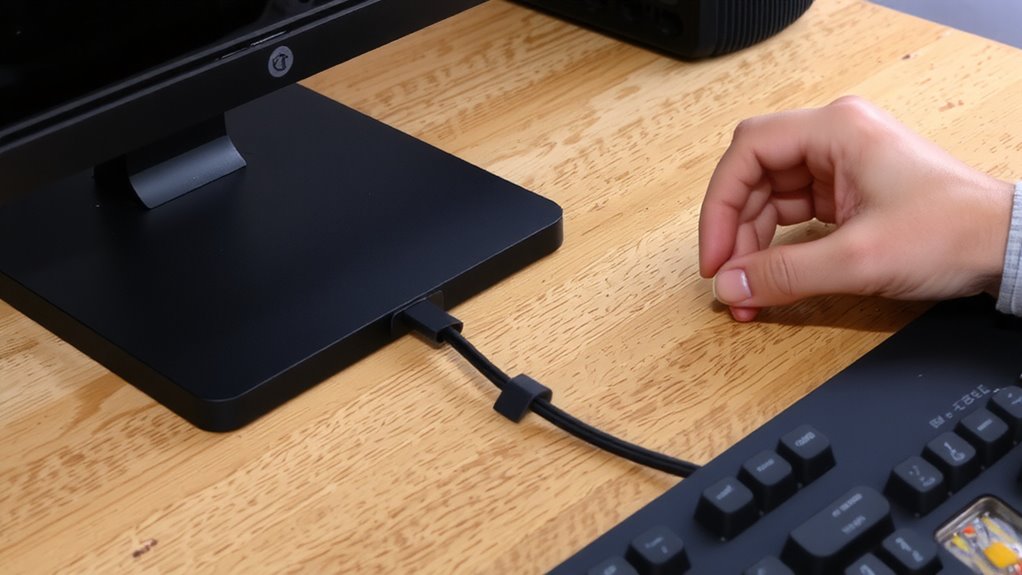
Where should you actually stick these clips to keep your gaming rig looking sharp? Proper placement is key to effective cable organization and strong gaming aesthetics. Start by routing cords along desk edges or monitor stands-out of sight but easy to access. Avoid sharp bends that strain cables. A well-executed setup enhances both functionality and clean desk aesthetics. Here’s a quick guide:
| Location | Purpose |
|---|---|
| Back of desk legs | Hide power and peripheral cords |
| Monitor arm base | Tidy HDMI or USB-C cables |
| Under desk shelf | Secure headset or mic cables |
| Side of PC tower | Bundle internal PSU cables |
Clips work best every 8–12 inches for straight runs. Remember, too many clips can clutter surfaces, hurting aesthetics. Test layouts before peeling adhesive backs. Proper spacing balances clean looks with functionality-critical for long-term cable management.
Clean Surfaces for a Stronger Hold
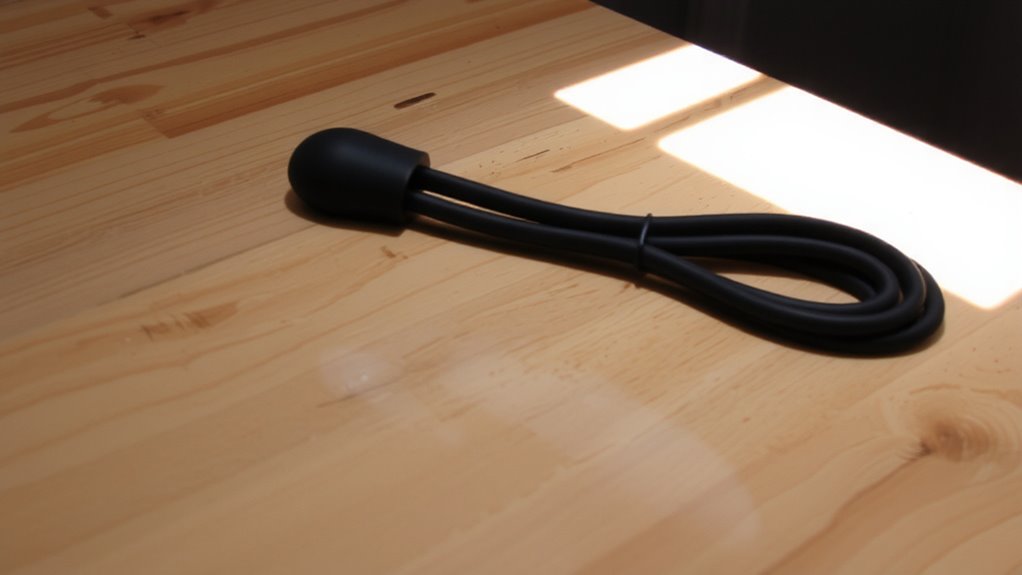
You’ve mapped out where each clip goes, but that adhesive won’t hold long if the surface isn’t prepped right. Wipe each area with rubbing alcohol to remove dust, oils, and grime-this guarantees the best bond. Let the surface dry completely before applying the clip. Surface texture matters: smooth finishes like painted walls or desk frames work best, while rough or porous materials reduce adhesion. Your adhesive type also affects performance; most clips use acrylic-based adhesives that bond stronger over time but need a clean start. Avoid textured surfaces or glossy finishes unless the product specifies compatibility. Even high-quality adhesives can fail on uneven areas. For long-term hold, stick to clean, flat zones. While prep takes minutes, skipping it risks sagging clips and tangled cords later. Strong hold isn’t guaranteed everywhere-manage placement wisely. A well-organized workspace starts with effective cable management solutions that support both aesthetics and functionality.
Install Adhesive Cable Clips in 5 Minutes
Though they’re small, installing adhesive cable clips the right way saves you from messy tangles and weak mounts down the line. Press each clip firmly for 30 seconds-this guarantees the adhesive bonds, especially after cleaning the surface. Use cable color matching to group similar wires, like RGB, power, or USB, so your setup stays organized at a glance. Apply clip spacing techniques by placing them every 6–8 inches along straight runs, closer on curves to prevent sag. Most clips hold up to 5 pounds, but real-world testing shows best results under 3.5 pounds per mount. They’re not permanent, but removing them too soon risks residue. Avoid high-heat zones near exhaust fans. While effective, cheaper clips often fail after three months, so opt for brands with a one-year warranty. Done right, this five-minute fix keeps your gaming rig looking sharp.
Route Cables Neatly Along Desks and Monitors
After securing your cables with reliable adhesive clips, the next step is routing them neatly along your desk and monitor setup for both clean looks and easy access. Proper routing enhances cable management aesthetics, giving your gaming station a polished, organized appearance that’s easier to maintain. Route cables along the rear edges of your desk or behind monitor stands to support an ergonomic desk design-this reduces visual clutter and improves reach and comfort during long sessions. Group similar cables, like USB or power cords, and use clips every 12–18 inches to prevent sagging. Avoid sharp bends or over-tightening, as this can damage insulation or limit airflow around connectors. While most clips hold up well under daily use, heavy braided cables may require sturdier mounts. This method works best on smooth, clean surfaces; textured or dirty areas reduce adhesion over time.
Fix Loose or Falling Adhesive Cable Clips
A loose or falling adhesive cable clip undermines even the cleanest cable management setup, so replacing or reinforcing it promptly is key to maintaining both function and appearance. Use these adhesive failure solutions: clean the surface with isopropyl alcohol, reapply pressure for 30 seconds, or switch to dual-lock tape for long term durability tips. For heavier cables, consider screws as a backup.
| Surface Type | Best Reinforcement |
|---|---|
| Wood | Dual-lock tape |
| Metal | Isopropyl wipe + re-stick |
| Plastic | Replacement clip |
| Glass | High-bond adhesive |
| Painted wall | Screw anchor |
Some clips last years; others fail in months depending on environment. Humidity and temperature shifts weaken adhesives over time. Always check mounts quarterly. While most fixes are simple, clips near monitors or desks take more stress. Prevent future slips with proper prep and realistic load expectations.
Upgrade Your Gaming Setup With Cleaner Cables
You’ve secured your cable clips and kept them from peeling away, but that’s just the start of a truly tidy gaming setup. Clean cables improve both cable management aesthetics and your overall gaming desk organization, making your space feel more professional and easier to clean. These clips let you route cords neatly along edges and legs, reducing tangles and accidental snags. For best results, place them where cables naturally bend-sharp angles can cause wear over time. Most clips hold up to 15 lbs, but avoid overloading each one. While they work well for thin power cords and HDMI cables, thicker bundles may need additional ties. They’re easy to install and leave minimal residue when removed, though surface type affects adhesion. With proper placement, you’ll enjoy a cleaner look and better functionality-just don’t expect them to fix deep clutter without some cable shortening or sleeves.
On a final note
You’ll keep cables tidy with adhesive mount clips, but only if you install them right. Pick clips with strong 3M tape, press firmly for 30 seconds, and stick them on clean, dry edges. They hold lightweight cords well-up to 2.5 pounds per clip-but fail on thick power bundles or glossy surfaces. Replace every 6–12 months; heat and humidity weaken adhesion. Test one first.