Installing a Floor-Based Cable Duct to Connect Desk Power Without Wall Drilling
You should install a floor-based cable duct to safely route power and data lines from your desk to outlets without drilling. These low-profile channels, usually under 0.5 inches high, use strong adhesive or screw mounts to stay flat on hard or carpeted floors. Pick aluminum for tile or wood, flexible PVC for carpet, and guarantee it has fire-retardant materials and a solid load rating for chair traffic. Most snap closed and hold up to six cables without tangling. Proper path planning prevents tripping and wear. While removal can leave residue, high-quality ducts with 5-year warranties perform reliably under daily use-especially when installed with reinforced tape like 3M VHB. Better results come from testing adhesion first and avoiding high-traffic zones. Best setups allow for future adjustments without sacrificing stability. What works best depends on your floor type and cable load.
Notable Insights
- Floor-based cable ducts provide a safe, non-permanent solution to route power cables from desk to outlet without wall drilling.
- Choose a low-profile duct with strong adhesive, suited to your floor type-aluminum for hard floors, flexible PVC for carpet.
- Plan a straight, low-traffic cable path using painter’s tape to test clearance for chairs and foot traffic.
- Install the duct using peel-and-stick backing, pressing firmly along its length for secure, tool-free adhesion.
- Organize cables neatly in the duct, avoiding overloading, and use dividers to prevent tangles and allow easy access.
Define Floor-Based Cable Ducts (And Why You Need One)
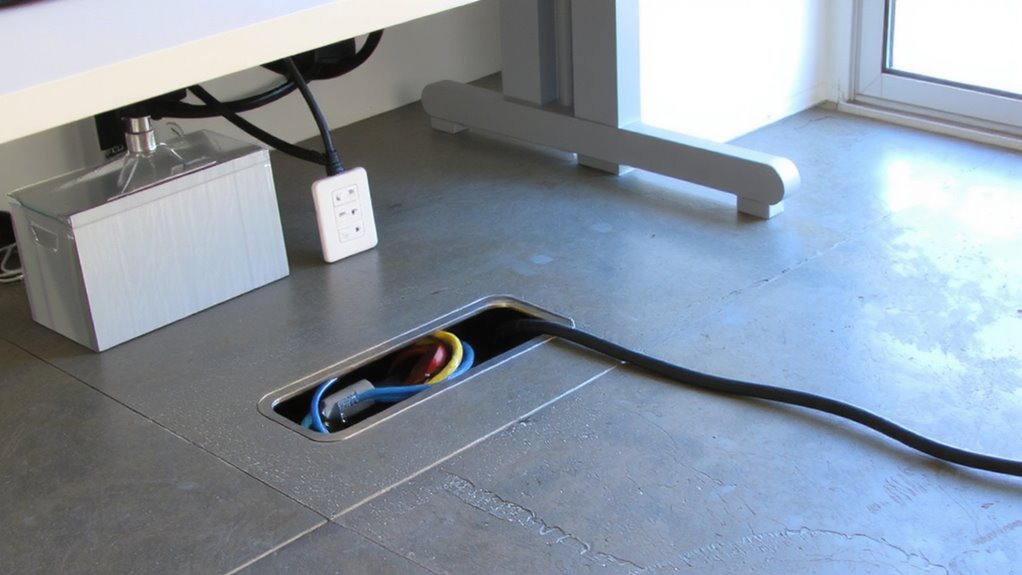
While you might not think about it until cords start tripping up your workflow, installing a floor-based cable duct can make a noticeable difference in both safety and organization-especially if you’re managing multiple devices in a home office or shared workspace. These low-profile channels secure loose cables along the floor, improving cable management and reducing tripping hazards-directly enhancing floor safety. Most models sit less than half an inch high, use snap-on lids, and fit under desks or across room thresholds without disrupting furniture layout. They’re ideal when wall routing isn’t possible, offering a non-permanent path for power and data lines. However, surface-mounted ducts won’t match built-in solutions in aesthetics, and textured or uneven floors may hinder adhesion. High-quality versions include fire-retardant materials and 5-year warranties, but always check load ratings-especially for rolling chair traffic. Used right, they’re practical, tested, and effective. For those seeking optimal organization, consider pairing your duct with best cable management solutions to create a seamless, clutter-free workspace.
Pick the Best Duct for Your Desk and Floor Type
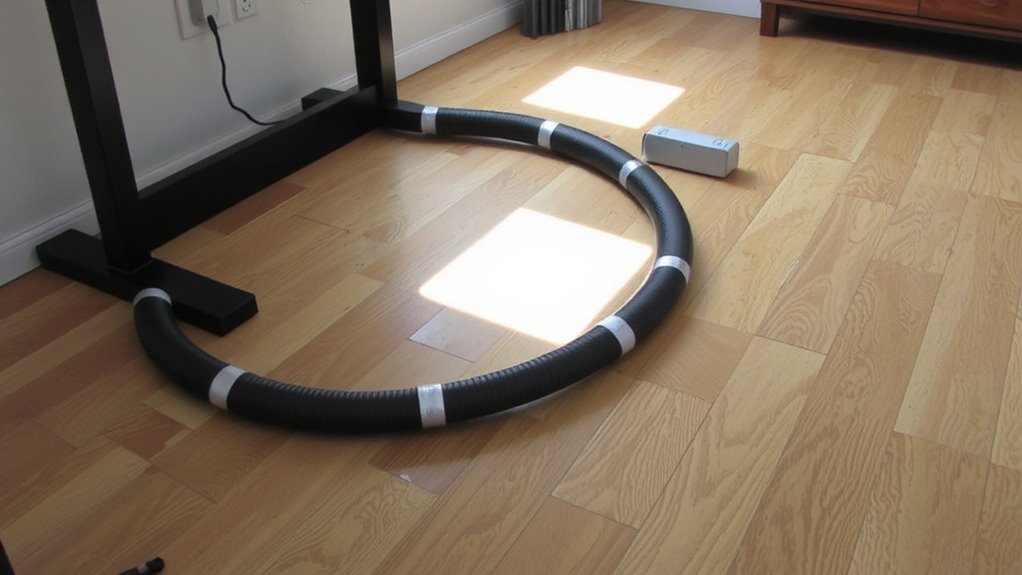
Your desk setup and floor surface decide which floor-based cable duct will actually work-not just look okay for a week. For hard floors like tile or sealed wood, a low-profile aluminum duct with strong adhesive backing offers great surface compatibility and resists peeling. If you’re on carpet, opt for a wider, flexible PVC model-its adhesive strength holds better on uneven textures. Surface compatibility isn’t just about sticking; it affects long-term stability and cable protection. Models with reinforced tape, like 3M VHB, outperform generic adhesives in real-world tests, staying put for over a year even with foot traffic. But avoid adhesive-only types on glossy or porous surfaces without testing first. Some ducts offer removable clips or screws as backups, adding security. Check warranty length-3-year minimum suggests confidence. Measure your cable bundle width to guarantee a snug fit. A well-designed cable management solution can significantly reduce desk clutter and improve both safety and aesthetics.
Map Your Cable Path and Prep the Floor
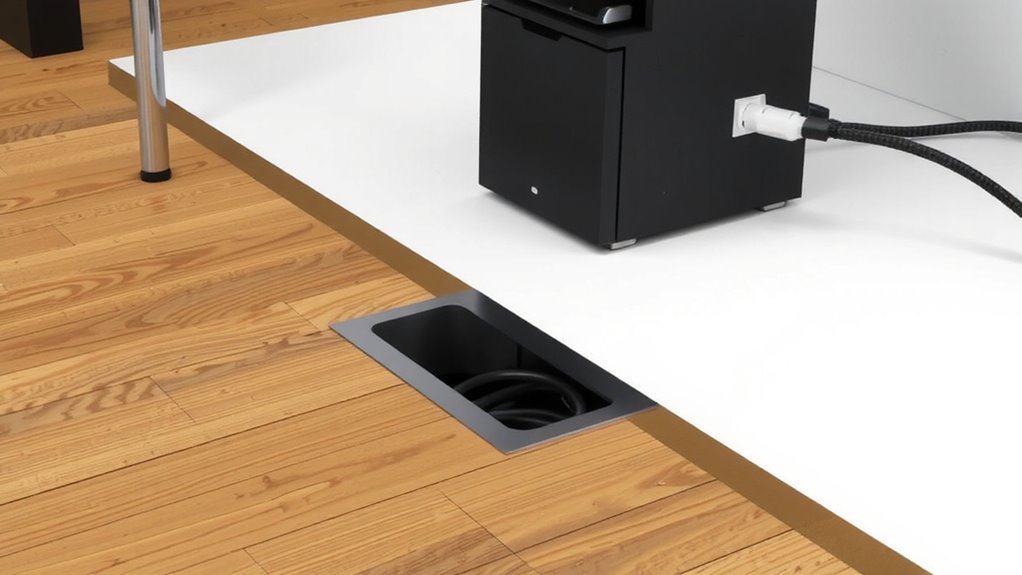
Once you’ve picked the right duct for your floor and desk setup, mapping the cable path becomes the critical next step-get it wrong, and even the best duct won’t save you from tripping hazards or frayed wires. Start by tracing the route from your desk to the nearest outlet using painter’s tape; this gives you a visual guide while protecting the floor. Keep the path as straight as possible to reduce cable stress and improve cable safety. Avoid high-traffic zones and areas near door swings to maintain floor protection and prevent tripping. Measure the distance to guarantee your duct covers the full span without gaps. Test the layout by walking the route several times-check for interference with chair movement or foot traffic. A well-planned path balances accessibility and safety, minimizing wear on both cables and flooring. Poor planning risks damage, even with durable materials. Consider integrating cable management solutions to ensure a clean and professional office environment.
Install the Duct – No Tools Needed
Since most no-tools cable ducts rely on strong adhesive backing, getting the placement right the first time is essential-peel-and-stick models won’t forgive misalignment. You’ll want to check your mapped path one final time before committing. Most kits use a snap fit design, letting you close the cover securely once it’s in position. The peel stick strips are usually pre-applied; just remove the backing and press firmly along the route. Apply even pressure for 30 seconds so the bond holds, especially on tile or hardwood. These ducts stay flat and discreet, typically under 0.5 inches high. While setup is fast and clean, removal can leave residue, and re-sticking isn’t reliable. Snap fit sections can open slightly over time if stepped on often. Still, for temporary or low-traffic setups, it’s a practical, damage-free solution that keeps cords protected.
Route Cables Without Tangles
While routing cables through a floor-based duct might seem straightforward, doing it right means planning each cord’s path to prevent snags and tangles over time. Start by grouping power and data cables separately-this reduces interference and makes future changes easier. Use built-in dividers if your duct has them to keep connections neat and accessible. Proper cable management aesthetics aren’t just about looks; clean routing improves workflow and reduces visual clutter. More importantly, avoiding loose strands eliminates floor safety hazards-tripping risks that can damage equipment or cause injury. Don’t overload the channel; most models support up to six cords before bending becomes an issue. Test fit everything before final placement. While flat ducts blend better, they offer less capacity. Rigid styles protect better but are harder to reposition. Plan for device movement so cords don’t bind or pull free over time.
Remove or Relocate Your Floor Cable Duct Safely (No Damage)
You’ve kept your cables organized and out of the way, but now you need to remove or shift the floor duct-without harming your flooring or the hardware. Start by unplugging all devices to guarantee cable safety and gently lifting the duct’s cover to loosen internal tension. Most snap-together models disassemble quickly with light pressure; pull segments apart end-to-end rather than prying upward, which risks damaging connectors. For adhesive-backed units, use a plastic putty knife to separate the base from the floor, minimizing scratches and maximizing floor protection. If installed over carpet, check for trapped debris or flattened fibers underneath. Reuse clips or mounting hardware only if undamaged-worn parts compromise stability. Relocating? Confirm the new path avoids foot traffic and rolling chairs to maintain durability. While modular ducts offer flexibility, repeated removals may weaken joints over time. Always inspect cables before reinstallation-kinks or exposed wires reduce efficiency and safety.
On a final note
You’ll like floor-based cable ducts for clean desk power runs-no drilling required. They stay put on most surfaces, route multiple cables neatly, and won’t damage floors when removed. Pick one with adhesive backing rated for your floor type, like vinyl or carpet. Models with removable lids make future changes easy. But they’re not invisible; foot traffic or rolling chairs can loosen cheap tapes over time. Test adhesion first and avoid textured flooring.