How to Match Camera Height to Chair Height When Using Ergonomic Seating
Set your camera 5–10 cm above your seated eye level to match your ergonomic chair height and reduce neck strain. Adjust your chair so your eyes align with the lens while sitting upright, using a monitor arm or sturdy tripod for precise elevation. Choose a stand with a weighted base and tilt adjustment to avoid wobbling during calls. Pair with neutral lighting and solid clothing to keep focus on you. You’ll find the best results by testing setups in your actual meeting environment.
Notable Insights
- Adjust chair height so your eyes align with the camera lens when seated upright.
- Elevate the camera 5–10 cm above eye level for optimal eye-level framing.
- Use a monitor arm or sturdy tripod to fine-tune camera height independently of chair position.
- Ensure feet rest flat on the floor or a footrest to maintain stable, ergonomic posture.
- Test camera alignment in preview mode to confirm natural framing and eye contact.
Set Your Camera at Eye Level
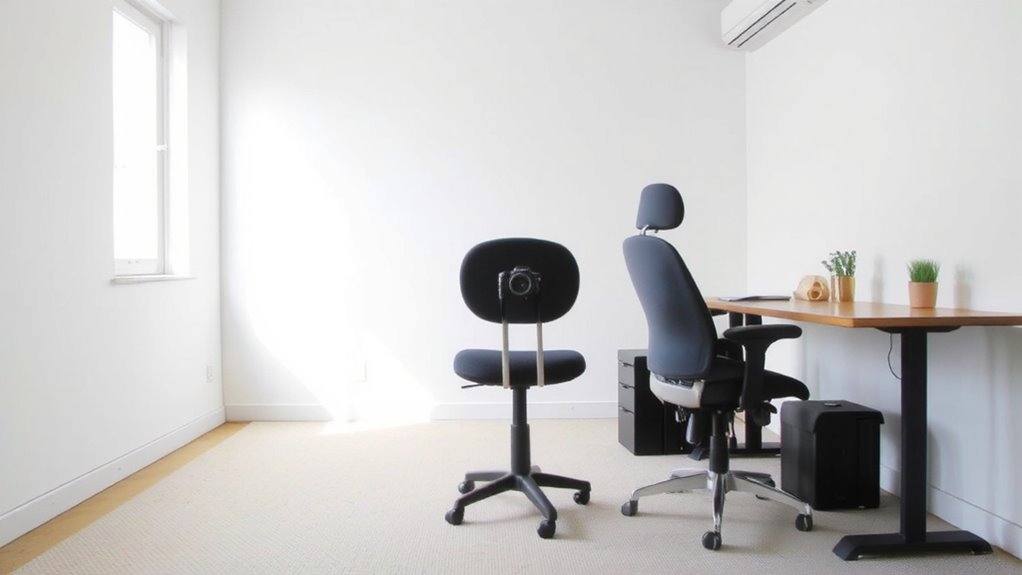
While you might be tempted to prop your laptop on a stack of books, setting your camera at eye level actually makes a measurable difference in both comfort and professional appearance. Positioning the lens parallel to your eyes reduces neck strain and creates a more natural gaze, helping you look engaged during calls. For best results, use a monitor arm or small tripod to elevate your webcam to about 5–10 cm above seated eye height. Pair this with careful background selection-choose a neutral, clutter-free wall-to keep focus on you. Lighting control matters too: face a window or soft light source to avoid harsh shadows. Avoid backlighting, which can darken your face. While built-in laptop cameras work, external models like the Logitech C920 offer sharper clarity and better low-light performance. Just remember: even the best gear won’t fix poor positioning. Test angles beforehand, especially if lighting or seating shifts during the day. A high-quality monitor arm can also improve screen ergonomics by enabling precise height and tilt adjustments.
Adjust Chair Height for Proper Camera Alignment
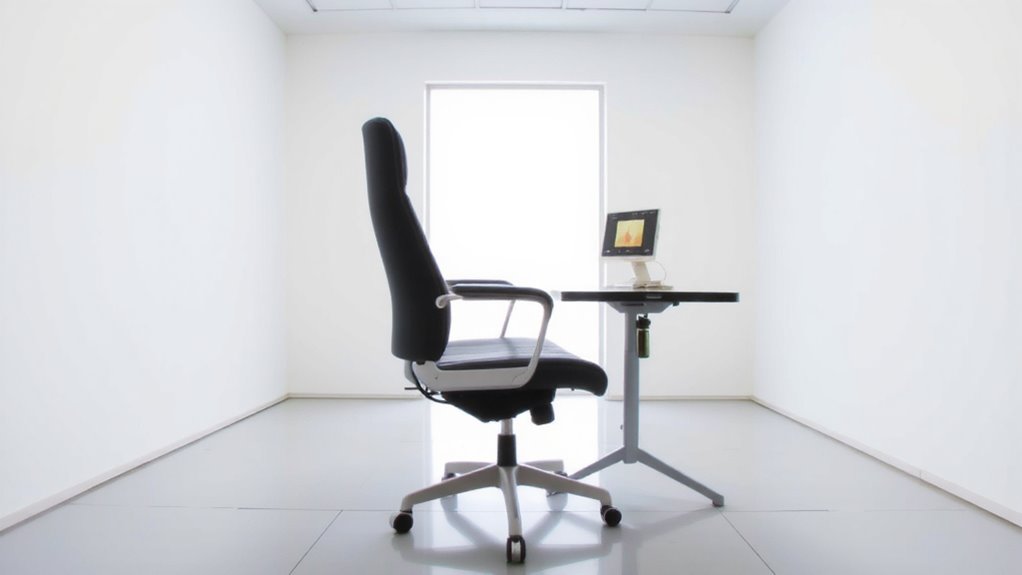
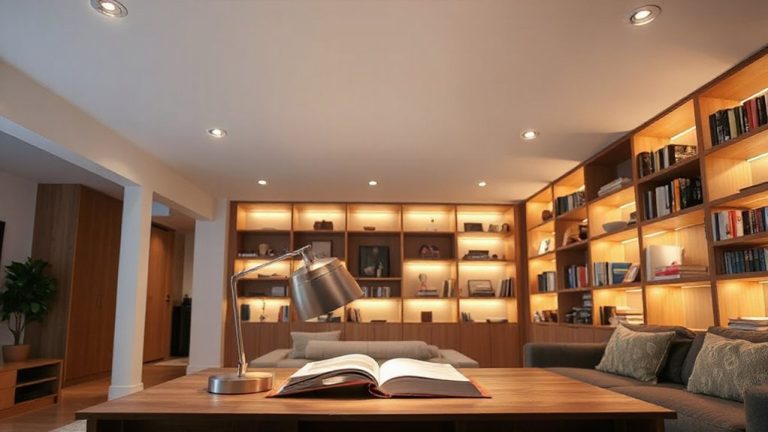
Getting your chair height right is just as important as setting your camera at the right level-your seating position directly affects how well your camera captures you. You need ideal posture to stay comfortable and look natural on camera, so adjust your seat until your eyes are level with the camera lens when sitting upright. A properly aligned chair promotes a balanced composition, keeping your face centered and avoiding awkward angles. Most ergonomic chairs let you fine-tune height within a 4- to 6-inch range, usually via a lever under the seat. Make sure your feet stay flat on the floor or a footrest. If your chair won’t go high or low enough, consider a different seat model with a broader adjustment range-some offer extended pistons. Don’t force alignment through slouching or perching; that harms posture and image quality. For optimal visibility during long gaming or streaming sessions, consider pairing your setup with a best gaming desk lamp to reduce eye strain and improve on-camera appearance.
Use a Stand to Adjust Camera Height
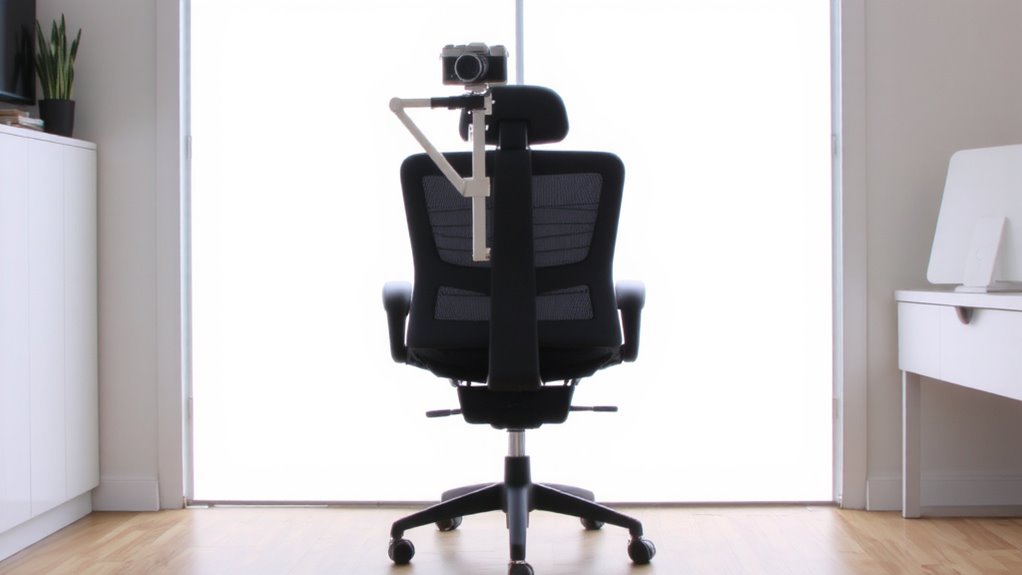
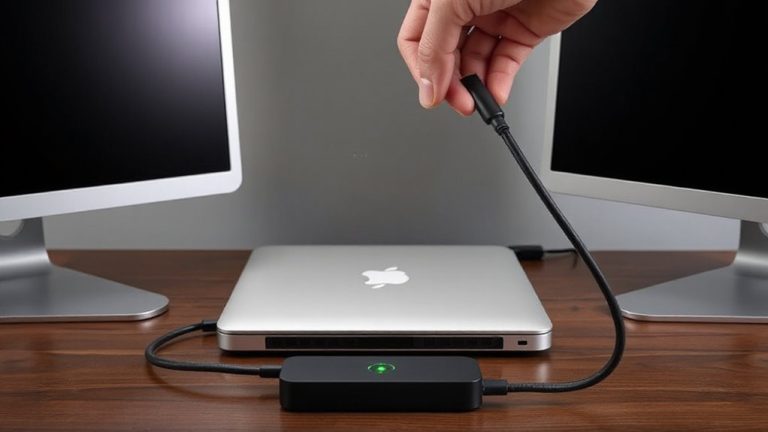
A sturdy tripod or desktop stand gives you full control over camera height, letting you position the lens at eye level without straining your neck or distorting your on-screen appearance. If your chair and desk adjustments aren’t enough, a camera stand with an adjustable mount is a reliable fix. Most models range from 15 to 60 inches tall, accommodating seated and standing setups. Look for a weighted base or non-slip feet to prevent tipping during use. An adjustable mount lets you tilt, swivel, or rotate your device smoothly, ensuring precise alignment. While these stands are portable and easy to set up, cheaper versions may wobble or lack durability. Opt for one with a solid metal build and at least a one-year warranty. Test stability before long meetings-jittery video undermines professionalism. For even more flexibility, consider a best webcam mount that integrates securely with various desk setups and camera types.
Position Your Camera for Natural Framing
How often do you look at yourself on camera and feel like something’s off? You’re not alone-poor framing can distract from your message, no matter how good your chair or stand is. Position your camera at eye level so your face fills the frame naturally, avoiding unflattering angles. This improves foreground focus, keeping attention on you, not your background. Center yourself with enough headspace but not too much, and leave shoulders visible. Lighting balance matters just as much: face a window or soft light source to evenly illuminate your features without harsh shadows. Avoid backlighting, which muddles detail. While tripods and articulated arms offer precise positioning, they require space and setup time. Some models slip on desks; others clamp firmly but limit repositioning. Test stability-wobbly mounts ruin even the best framing. You’ll trade a little setup effort for clearer, more engaging video calls.
Check Your Look Before Going Live
Why wait until the call starts to notice a problem? Do a quick lighting check and assess your wardrobe choice before going live. Poor lighting can cast harsh shadows or wash you out, so position a daylight-balanced lamp at a 45-degree angle to your face. Avoid backlights or windows behind you. Test how you appear on camera using your device’s front-facing preview. Check that solid colors look professional-steer clear of busy patterns that distract or appear pixelated. Your chair and camera should already be aligned, but now confirm your entire look feels natural. Be aware: even high-end ring lights can overexpose if set too close. Likewise, a collared shirt might look sharp but can seem stiff on casual calls. Adjust brightness and clothing based on room tone and meeting context. Small tweaks make a big difference-just don’t over-optimize at the cost of authenticity.
On a final note
Set your camera at eye level to frame yourself naturally during calls. Adjust your chair so your eyes align with the lens, typically 36–40 inches from the floor. Use a sturdy tripod or monitor arm if needed, but avoid flimsy stands that wobble. Test positioning beforehand-tilt the camera slightly down to avoid unflattering angles. Remember: even the best gear fails with poor setup, so prioritize stability and sightlines over extra features.