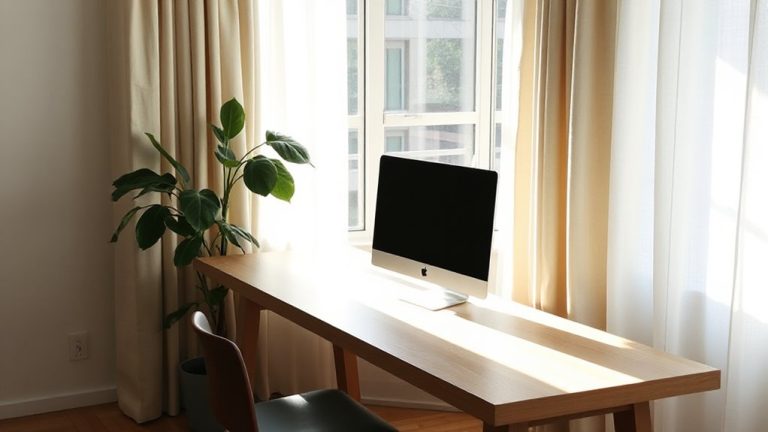
Maintaining Eye Contact by Positioning Webcam Correctly Relative to Shared Display
Place your webcam at eye level, centered just above your screen, so you look directly into the lens while facing the display-this creates natural eye contact and keeps your gaze aligned with viewers. Use a riser or stack of books if needed, especially on laptops. Avoid built-in cameras when possible; external models like the Logitech Brio offer better positioning. Lighting should come from slightly above and behind the camera to reduce shadows. Test your setup during real calls to spot issues like glare or misalignment most won’t notice until it’s too late.
Notable Insights
- Position the webcam at eye level to ensure natural eye alignment with the camera lens.
- Place the camera directly over or under the shared display’s top center for optimal facial alignment.
- Align lighting with the webcam axis to evenly illuminate the face and reduce shadows.
- Avoid low or off-center camera angles to maintain consistent eye contact during video calls.
- Test setup during real calls to verify eye contact, lighting, and camera positioning accuracy.
Position Your Webcam at Eye Level
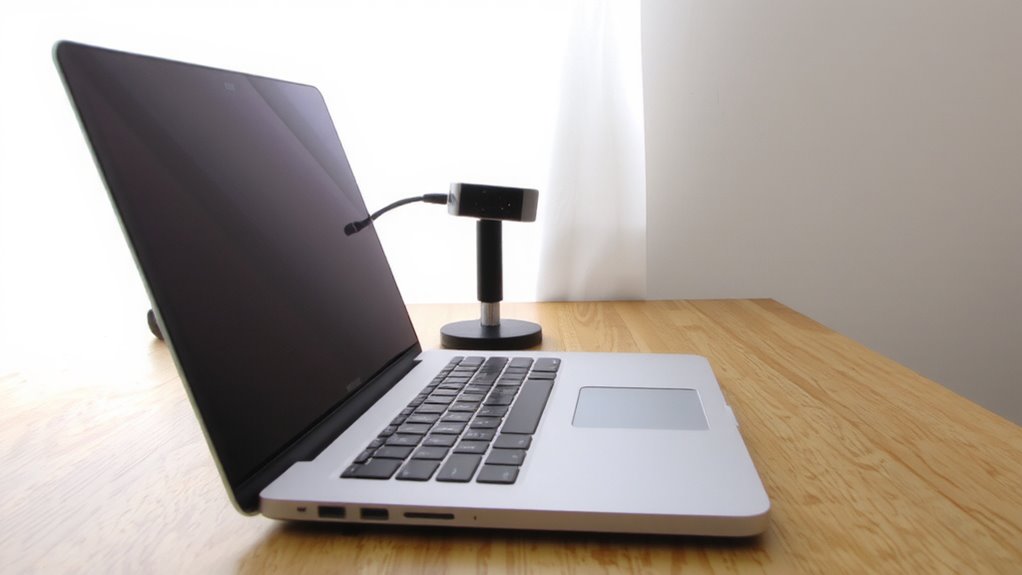
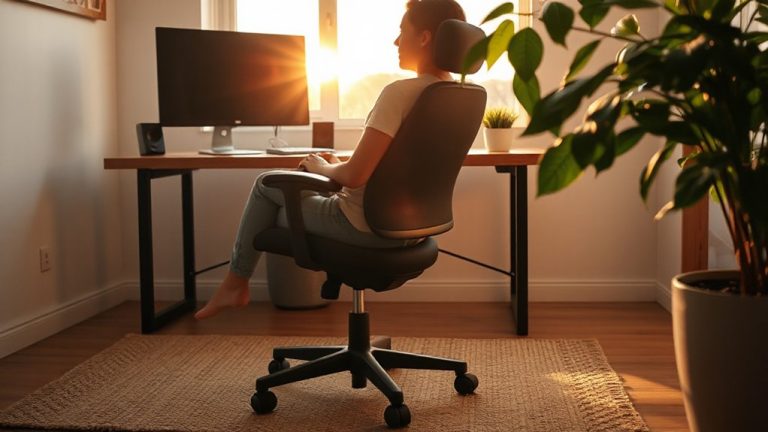
While it might seem minor, positioning your webcam at eye level makes a noticeable difference in how you come across during video calls-keeping your gaze aligned with the lens helps create a natural, engaging connection with viewers. Proper webcam height guarantees eye alignment, which boosts perceived attentiveness and clarity. If your camera sits too low, you’ll appear to be looking down, creating a distorting angle and breaking eye contact. Laptop users often struggle with this, as screens typically sit below eye level. You can correct it by using a simple riser, a stack of books, or a monitor stand to lift the webcam. Just make sure the lens remains centered horizontally. Adjustable arms or tripod mounts offer more flexibility, especially for long meetings. While built-in laptop cams work fine, external models like Logitech’s Brio or C920 allow easier positioning. Test positioning in a short call-small adjustments make a real difference. For even greater stability and range of motion, consider using a webcam mount designed to securely position your camera at the optimal height and angle.
Center the Camera Over Your Screen
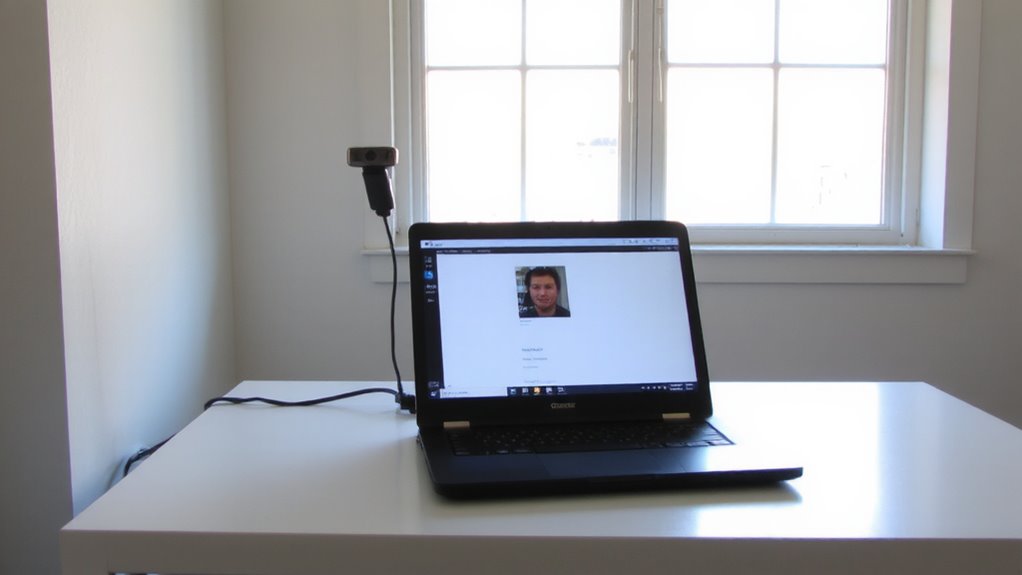
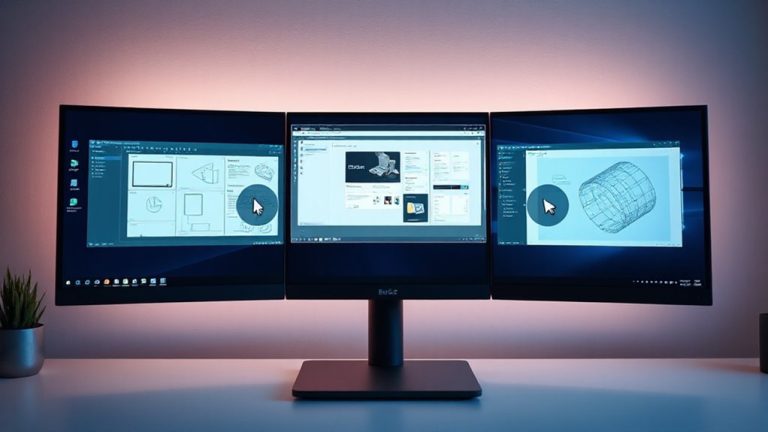
Center your webcam directly above or below your monitor’s top edge so the lens aligns with your face’s vertical center-this keeps your eyes near the camera’s line of sight when you look at participants on screen. Proper screen alignment guarantees camera symmetry, making your gaze appear natural and your framing balanced. Mounting the camera too far left, right, or angled can distort perspective, breaking visual connection. Most built-in laptop cameras fail here unless the screen is centered on your desk. For external webcams, use a clamp or stand with 1/4” threading to fine-tune position. Test positioning by starting a call and checking if your eyes land near the top third of the frame. Avoid placing the camera too high, which creates unflattering angles even with good symmetry. While ideal alignment improves engagement, it may require rearranging your workspace-weigh benefits against practicality.
Align Lighting With Your Webcam Position
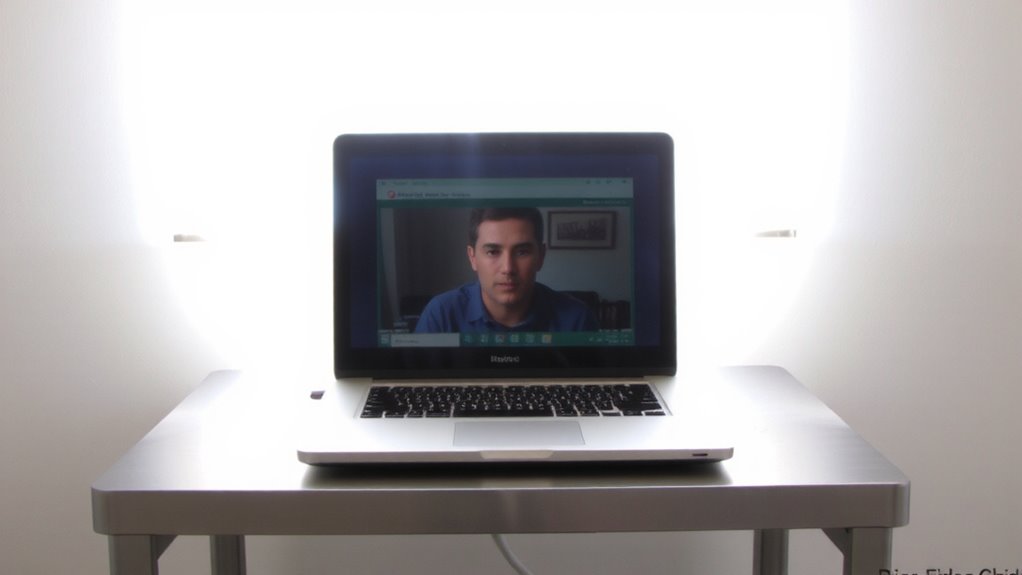
For best results, position your key light source-like a softbox or adjustable lamp-in line with your webcam so illumination follows the same axis as your gaze. This alignment improves light direction, ensuring your face looks evenly lit and your eyes stay engaged with viewers. When the light comes from the same angle as the camera, you gain better shadow control, minimizing unflattering chin or nose shadows. A soft, diffused source 30–45 degrees above eye level works best. Avoid harsh overhead lights or backlights, which create contrast and reduce clarity. While natural light near a window can help, it’s often hard to control and shifts during the day. A dimmable LED panel with a color temperature around 5000K gives consistent results. Keep in mind: too much light can cause glare on glasses or screens, so test different intensities. The goal isn’t perfection-it’s clarity and connection.
Optimize Your Background for Camera Placement
A clean, intentional background makes your video presence more professional without needing high-end gear. You control room aesthetics just by adjusting furniture arrangement-place shelves or art behind you to add depth, but keep them simple to avoid distraction. Avoid cluttered walls or busy patterns that shift focus from you. Position your desk so the camera sees a neutral, well-organized space, ideally with soft textures or plants for warmth. While a dedicated home office helps, even a bedroom corner can work with careful staging. Don’t invest in costly décor; instead, use what you have to frame a consistent, tidy look. Lighting matters, but even perfect light can’t fix a chaotic backdrop. Remember, viewers notice movement-so don’t place the camera where passing traffic or pets cross the frame. Test angles before finalizing. The goal isn’t perfection, just intentionality. Incorporate best office wall decor to enhance visual appeal while maintaining a professional on-camera presence.
Test Your Webcam Setup in Real Calls
How well does your webcam really perform when the call starts? Test it during actual video calls, not just previews, to assess eye contact alignment, audio quality, and internet stability. Real calls expose lag, echo, or pixelation that simulations miss. Use platforms like Zoom or Teams under normal network conditions to check sync between your voice and image. Confirm your mic captures speech clearly without boosting gain, which can increase background noise. Internet stability matters-if your upload speed dips, even HD video falters. A wired Ethernet connection improves reliability over Wi-Fi. Position your camera at eye level and observe if you maintain natural gaze. Even slight misalignments distract over time. While high-end webcams offer superior sensors, built-in laptop cameras can suffice with good lighting. No setup is perfect. Trade-offs exist between convenience and control, so test iteratively and adjust based on real performance, not just specs. For those seeking enhanced image clarity and low-light performance, consider upgrading to one of the top-rated webcams.
On a final note
You’ll look more engaged when your webcam is centered and at eye level, so prop it on a monitor stand or stack of books if needed. Natural light helps, but avoid windows behind you. Most webcams work well within two feet of your face, but test angles during calls-some wide lenses distort at edges. Built-in mics vary, so use headphones. Mounts wear out, and cheap plastic breaks; check return policies. Results depend on your room, gear, and lighting-tweak till it feels natural.