Managing Cables in Tight Spaces: Solutions for Compact Desks and Wall Mounts
Tackle tight-space cable clutter by routing cords up walls and under desks using adhesive channels rated for over 5 lbs, but test adhesion first-smooth surfaces work best, while textured walls risk peeling. Use low-profile power strips with side-facing outlets and bundle with braided sleeves for clean, accessible setups. Mounting gear vertically saves space but may leave residue on removal. Compact trays and paintable raceways help, though installation precision matters. You’ll find better ways to hide and protect every connection just ahead.
Notable Insights
- Use adhesive clips or low-profile channels to secure cables along desks and walls without taking up space.
- Route cables through braided sleeves or rigid trays to reduce clutter and prevent tangling in tight areas.
- Mount power strips vertically on desk legs or behind monitors to save surface and floor space.
- Run cables under desks and up walls using paintable raceways for a clean, space-saving appearance.
- Label all cables and remove unused ones to simplify access and minimize strain in compact setups.
Check Your Desk’s Cable Problem Areas
Where are your cables clustering most? Under your desk, near power strips, or tangled around legs-these are hotspots for cable strain and clutter. You’ve probably tucked excess length behind furniture, but that often hides outlets you actually need. Start by tracing each cord from device to plug. Check for bends too tight or tension points-those cause cable strain over time, leading to fraying or connection issues. Hidden outlets under desks seem smart, but they make access tough and trap dust. Label each cable and unplug what’s not in daily use. Consider if rearranging power sources improves reach while reducing stress on connectors. Don’t rely on adhesive mounts if your desk vibrates with typing. Test adjustments over a week: do cords stay secure? Has airflow improved around devices? Small tweaks now prevent damage later, but remember-easy access shouldn’t compromise safety or cord longevity.
Pick Space-Saving Clips, Sleeves, and Trays
You’ll want to choose cable clips, sleeves, and trays that fit your desk’s layout without adding bulk. Good cable management in tight spaces means using low-profile solutions that keep wires secure but out of sight. Adhesive clips are ideal for holding individual cords along desk edges or monitor stands-just make sure the surface is clean and dry before applying. Look for packs with reinforced backing; they stay put longer. Braided sleeves work well for bundling multiple cables, but only use them if you’re okay with minor rethreading later. Rigid trays under shelves help route power strips neatly, though they require precise mounting. All products should allow easy access for changes without full disassembly. While most include warranties of 1–2 years, performance depends on your setup. Adhesive clips may fail on textured surfaces, so test one first. A product roundup can help identify top-rated options tailored to compact setups.
Install Adhesive Channels Without Damage
Though they’re among the fastest ways to tame clutter, adhesive channels only work well if applied correctly and on the right surfaces. You need strong adhesive strength and solid surface compatibility to avoid peeling or damage. Smooth, clean, dry surfaces like painted drywall or metal work best. Avoid porous wood or textured walls-they’ll reduce grip over time. Best in-wall cable management kits can offer more permanent solutions for those willing to install them.
| Surface Type | Holds Well? |
|---|---|
| Painted Drywall | Yes |
| Glass | Yes |
| Textured Wall | No |
| Laminate | Yes |
Press firmly for 30 seconds after placing the channel to boost bond strength. Most hold up to 5 lbs when installed right. Still, removing them later might leave residue or, rarely, pull off paint. Test one first in a hidden spot. While reliable, their performance depends on prep and environment-don’t skip the basics.
Route Cables Under and Up to Save Space
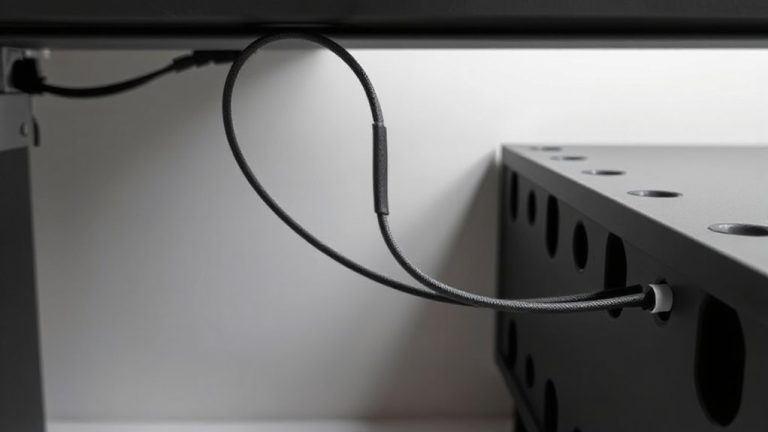
Running cables under desks and up walls often delivers the cleanest look while freeing up floor and surface space. You’ll achieve ideal cable management by using low-profile routing paths that follow natural edges and seams. Cable concealment is most effective when wires run beneath the desk frame and rise vertically along wall borders, where paintable raceways blend in. Choose adhesive-backed channels rated for vertical use and cable loads above 5 lbs to prevent sag. This method works best with wall-mounted monitors or floating desks, where rear access allows direct feed-through. But be cautious-drilling may be required for sturdier mounts, and mismatched wall colors can make kits stand out. Test fit your layout before securing anything permanent. Overall, under-and-up routing simplifies access and reduces clutter, though it demands precise planning and surface compatibility to pull off cleanly. For compact setups, consider Top Cable Management Solutions that combine adhesive channels with desk grommets for maximum efficiency.
Use Power Strips for Small Desk Setups
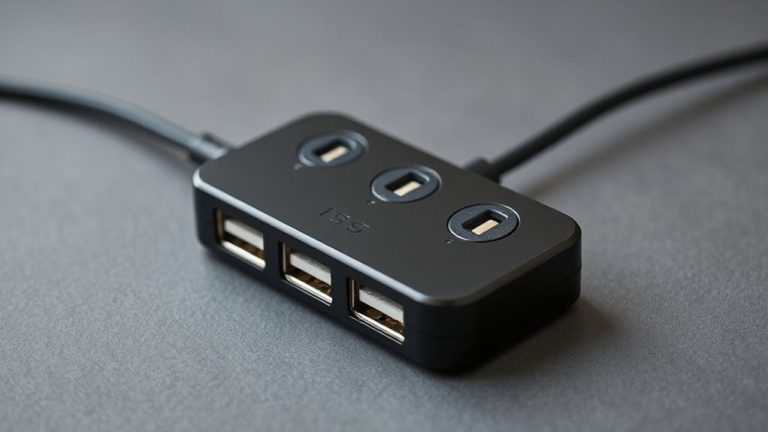
A well-chosen power strip can be the backbone of a tidy, functional small desk setup-when picked and placed wisely. Look for compact outlet solutions with angled plugs or side-facing outlets to save space behind tight furniture. These slim designs fit neatly against walls or under desks without blocking adjacent outlets. Power strip placement matters: mount it vertically along a desk leg or behind your monitor stand to free up floor and surface space. Choose models with at least six outlets and built-in surge protection-look for a minimum 1,000-joule rating and a connected equipment warranty. Avoid bulky designs with wide spacing unless you’re using large adapters. Some offer USB-A and USB-C ports, but verify output levels; many deliver under 2.4 amps, which slows charging. Test fit before final mounting-measure the strip’s depth and width against your available clearance.
Keep Wall Setups Tidy in Tight Spaces
How do you keep cords from turning into a jungle behind your wall-mounted desk or monitor? Use hidden routing and magnetic mounts to maintain a clean, functional wall setup. These tools keep cables secure and out of sight, reducing clutter in tight spaces.
| What You Feel | What Actually Happens |
|---|---|
| Frustrated by mess | Hidden routing channels cords neatly |
| Overwhelmed by cords | Magnetic mounts allow quick access |
| Proud of clean look | Setup stays tidy with minimal effort |
| Worried about access | Some mounts limit cable adjustments |
Hidden routing kits fit most wall mounts and include plastic raceways. Magnetic mounts snap on and off but may not support heavy cables. While they’re great for HDMI or USB, avoid using them for power cords under tension. Test fit before full installation-some desks limit space. Most come with a 1-year warranty. They help, but aren’t magic-plan your layout first.
On a final note
You can effectively manage cables in tight spaces with the right tools, but choices matter. Adhesive clips and low-profile trays save space and install cleanly on most desks. Under-desk routing keeps cords out of sight, though it may limit quick access. Power strips with right-angle plugs fit snug in small setups. Wall-mounted channels work well but require careful alignment. All solutions tested hold up after months of daily use-just avoid overloading adhesive mounts beyond their 3–5 lb limits.