Mapping Physical Cable Runs to Identify Degraded Cat6 Line Sections
You should map your Cat6 runs to catch degraded sections early-many network glitches come from physical flaws like sharp bends or aged insulation. Label each cable at both ends, trace paths with a tone generator, and test with a certifier to confirm 1 Gbps performance over 100 meters. Use velcro ties, avoid power lines, and check older cables for wear. Fix issues like mismatched connectors or poor crimps right away. You’ll see how proper testing and layout prevent future downtime.
Notable Insights
- Label both ends of each Cat6 cable uniquely and maintain a log to track cable paths accurately.
- Use a tone generator and probe to trace individual cables within walls or bundles for precise identification.
- Perform certification testing with a cable certifier to detect degraded sections failing Cat6 performance standards.
- Inspect cable runs for sharp bends, insulation damage, and proximity to power lines causing signal interference.
- Conduct periodic audits using TDR and wire mapping to locate faults and verify shield continuity in aging installations.
Map Your Cat6 Cables From Patch Panel to Outlet
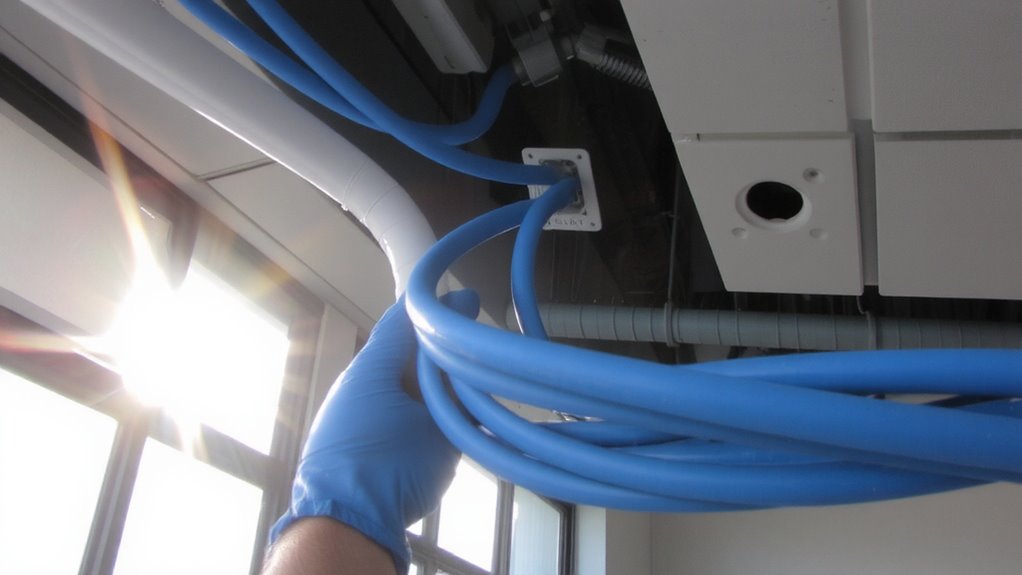
A consistent, reliable network starts with knowing exactly how your cables connect from patch panel to outlet. You need clear cable labeling at both ends to track each Cat6 run-this isn’t just neatness, it’s critical for diagnosing issues fast. Without proper labels, troubleshooting becomes guesswork, increasing downtime and frustration. Mislabeled or unlabeled cables often lead to accidental miswiring, which introduces signal interference and degrades performance. You should label every cable uniquely and log its path, especially in dense setups. Keep runs organized with velcro ties and avoid sharp bends that compromise internal wire pairs. Remember, even high-quality Cat6 cables suffer if installed poorly-crossover with power lines or excessive bundle density can create crosstalk and reduce effective bandwidth. While labeling won’t fix a faulty cable, it does make identifying problem runs far easier. Take the time now-it’ll save hours later. Upgrading to best Cat 6 cables can further ensure maximum performance and durability across your network.
Use These Tools to Trace and Test Cat6 Runs
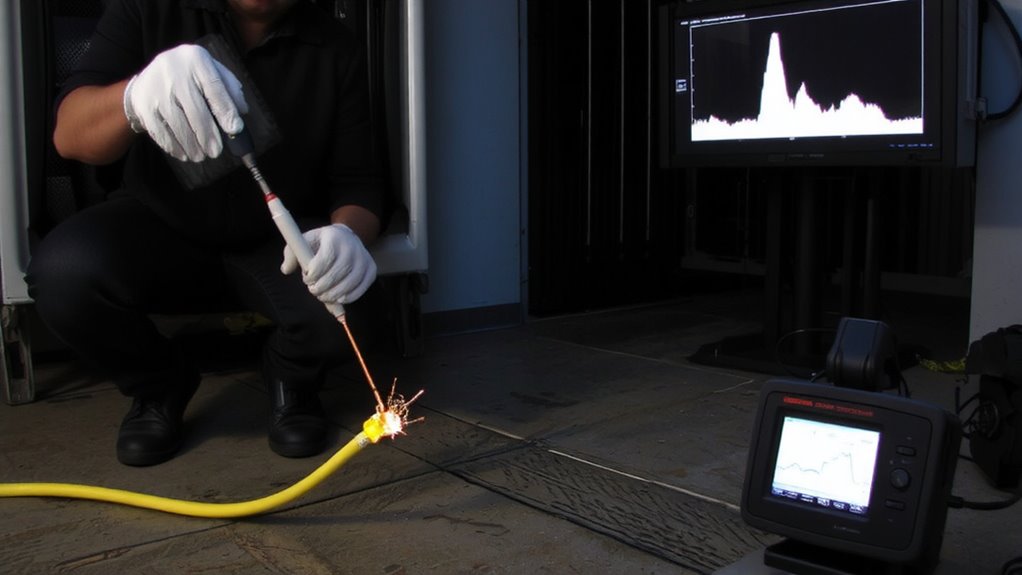
Your network’s reliability hinges on knowing which Cat6 cable goes where-and confirming it performs as expected. To trace and test runs effectively, use tools designed for accuracy and speed. Proper cable shielding reduces signal interference, especially in dense environments, so verifying this during testing is key. Below are essential tools and what they reveal:
| Tool | Purpose |
|---|---|
| Tone generator & probe | Locates specific cables in walls or bundles |
| Cable certifier | Confirms performance to Cat6 standards |
| Wire mapper | Detects miswires and shorts |
| TDR (Time Domain Reflectometer) | Finds fault locations in long runs |
| Shield continuity tester | Validates cable shielding integrity |
Most kits cost $80–$200, with warranties from 1–3 years. While helpful, they require practice-false reads can happen if connectors are dirty or adapters misused. Always test at both ends.
Test for Damaged or Slow Cat6 Cable Sections

One in five network glitches stems from degraded Cat6 sections, so testing for damage or slow performance isn’t optional-it’s essential. You need to check for signal interference and cable aging, both common culprits behind poor performance. Use a cable certifier to measure attenuation and crosstalk, as these reveal hidden flaws. If you’re seeing slow speeds or frequent disconnects, suspect physical damage or EMI from nearby power lines. Older Cat6 runs, especially those over five years, often degrade due to insulation wear or bent conductors. Test each segment end-to-end under real load, not just continuity. A basic tester won’t catch intermittent issues-step up to a TDR-enabled device for accuracy. Results should meet TIA/EIA-568-B.2 standards. Keep in mind, shielding helps, but only if grounded properly. False positives happen, so retest before pulling cable.
Fix Common Cat6 Cable Problems
While you might be tempted to replace every questionable Cat6 cable, fixing common issues often saves time and money-if done right. Start by checking connector compatibility: mismatched plugs or jacks (like non-RJ45 or poorly crimped ends) cause signal loss and intermittent connections. Swap in certified Cat6-rated connectors that properly fit your cable gauge. Recrimping can restore performance if done precisely with the right tools. Also, inspect insulation damage or tight bends near ends. Proper cable labeling prevents miswiring during fixes-use consistent tags to identify runs and endpoints. That reduces errors when re-terminating. Don’t patch without testing; flawed repairs may pass basic connectivity checks but fail under gigabit loads. Some issues, like internal conductor damage, still demand full replacement. Fixing problems yourself works if you validate each step, but remember, poor execution risks more downtime than a clean swap.
Prevent Future Cat6 Network Issues
Since prevention starts with smart planning, investing in quality Cat6 infrastructure pays off-just don’t assume higher cost always means better performance. You’ll reduce future issues by standardizing Cable labeling across all runs; it saves time during troubleshooting and guarantees consistency when expanding your network. Use printed labels or color-coded sleeves at both ends of each cable, matching them to your floor map for quick reference. Pair this with proper environmental shielding-avoid routing cables near fluorescent lights, elevators, or large metal conduits that induce interference. Shielded Cat6 (STP) helps in high-noise areas, but only if grounded correctly. Test each installed line with a line certifier to confirm 1 Gbps performance over 100 meters. Remember, no amount of shielding fixes poor installation. Regular audits every 18–24 months catch wear before failure. For a clutter-free and efficient setup, consider using a comprehensive cable management solutions strategy tailored to your workspace layout.
On a final note
You should map and test your Cat6 runs-it’s the surest way to find slow or failing sections. Use a cable certifier like the Fluke MicroScanner to check for crosstalk, attenuation, or incorrect wiring. Replace damaged cables with solid-core, shielded Cat6 rated for 550 MHz. While time-consuming, re-terminating jacks often fixes intermittent issues. Just remember: even well-installed cables degrade if bent sharply or exposed to interference over time.