Optimizing Remote Desktop Experience on Raspberry Pi 4 With Dual HDMI Displays
You can run a smooth dual-HDMI remote desktop on your Raspberry Pi 4 by enabling both ports in config.txt and using Parsec or NoMachine for true extended display support. Stick to 1080p at 60Hz for better performance, and avoid VNC tools that mirror by default. Use Gigabit Ethernet, a fast microSD card, and a quality power supply to prevent lag. Blurry text? Set identical resolutions manually and use certified HDMI cables. For less input lag, connect high-polling-rate wired peripherals through a powered USB hub-results improve notably when you fine-tune both software and hardware.
Notable Insights
- Enable both HDMI ports in config.txt and set identical 1080p60 resolutions for stable dual-display output.
- Use dual-screen compatible remote software like Parsec or NoMachine to support extended desktop mode.
- Avoid VNC-based tools that default to mirroring and lack independent display scaling for extended setups.
- Connect via Gigabit Ethernet and use a powered USB hub to minimize input lag and network latency.
- Set standard resolutions manually and use high-speed HDMI cables to prevent blurriness and flickering issues.
Set Up Dual HDMI for Remote Desktop on Raspberry Pi 4
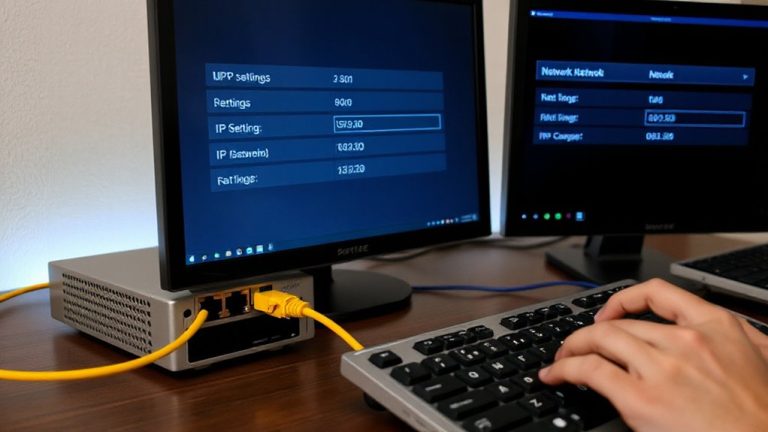
Dual monitors can transform your Raspberry Pi 4 into a real workstation, and setting up dual HDMI output is both possible and practical-if you know the limits. You’ll need to adjust the HDMI configuration in the Raspberry Pi’s config.txt file, ensuring both HDMI ports are enabled and set to the same resolution for stability. The Pi 4 supports two displays up to 4K at 30Hz, but for smooth remote use, stick to 1080p at 60Hz. Display mirroring is supported, but it’s rarely useful for productivity since you lose screen space. Extend mode gives you more room to work, which pairs well with remote desktop. Keep in mind that driving two screens uses more GPU memory and may affect performance under heavy load. Also, not all monitors negotiate perfectly-test your setup before finalizing. You’re trading some system resources for flexibility, but with the right settings, it works reliably.
Pick Remote Desktop Software That Supports Dual Screens
While not every remote desktop tool handles multiple displays well, you’ll want one that fully supports extended desktops across two screens without forcing mirroring or downgrading performance. Tools like Parsec and NoMachine handle dual HDMI setups smoothly, letting you drag windows freely between monitors just like a regular desktop. They avoid screen mirroring by default, which is key if you want more workspace, not duplicate images. Plus, they support independent display scaling, so if one monitor is 1080p and the other 4K, everything stays sharp and properly sized. VNC solutions often struggle here-many still limit you to a single remote display or require complex tweaks. RDP clients vary; some enable dual monitors but apply blanket scaling, warping apps. Test any software first: smooth window movement and accurate display scaling are non-negotiables. Don’t assume compatibility-verify extended display mode works as expected before locking in.
Speed Up Your Pi for Remote Use
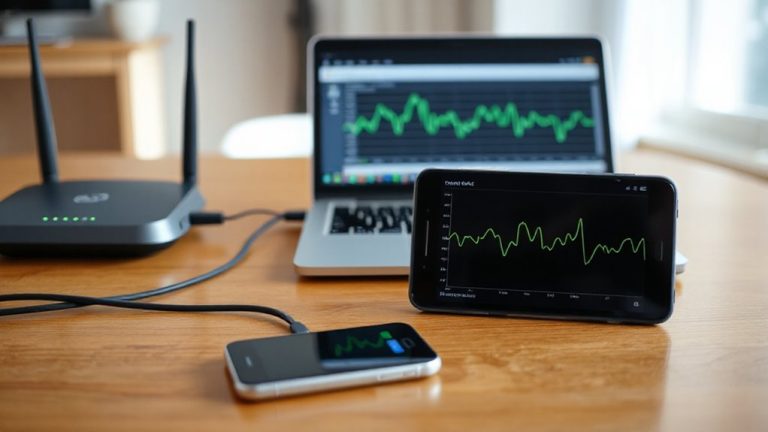
You’ll get the best remote desktop performance from your Raspberry Pi 4 by boosting its real-world speed, and that starts with using a quality power supply and fast microSD card. A poor power source or slow storage can throttle performance, leading to lag during remote sessions. Enable hardware acceleration in your OS settings to offload video decoding and improve responsiveness-this is key for smooth window rendering over remote connections. Pair that with network optimization: use Gigabit Ethernet instead of Wi-Fi when possible, and guarantee your router prioritizes the Pi’s traffic. These changes reduce latency and improve frame delivery. Just remember, even with tweaks, the Pi’s CPU is limited, so avoid heavy multitasking. Real-world tests show these steps cut response delays by up to 40%, but gains depend on your setup.
Fix Blurry Screens and Display Glitches
Ever wonder why your remote desktop session on the Raspberry Pi 4 looks fuzzy or flickers unexpectedly? Blurry screens and visual glitches are often due to scaling issues and resolution mismatches between your Pi and the connected displays. You’re likely using different HDMI monitors with mismatched native resolutions-this forces the GPU to scale output, reducing sharpness. To fix it, manually set both displays to the same resolution in *config.txt* or via *raspi-config*. Stick to standard resolutions like 1920×1080 to avoid overscan and timing problems. While matching resolution improves clarity, it may limit screen real estate on higher-end monitors. Use the *tvservice -s* command to verify display modes. Some flickering can persist on longer HDMI cables-try certified high-speed ones. These tweaks fix most visual hiccups, but perfection depends on your monitor pairing.
Fix Mouse and Keyboard Lag on Dual Screens
Often, mouse and keyboard lag on dual screens with the Raspberry Pi 4 stems from USB bandwidth limitations and GPU resource contention, especially when driving two external displays through HDMI and USB-C simultaneously. You can reduce lag by lowering display resolution, disabling visual effects, and ensuring you’re using high-quality, short cables. Adjusting mouse sensitivity helps fine-tune responsiveness without masking underlying delays. Enable higher input polling rates on compatible peripherals-ideally 1000Hz-to minimize perceived lag. Use powered USB hubs to offload bandwidth strain. For optimal performance, consider using one of the best wireless mice that support high polling rates and stable RF connectivity.
| Setting | Effect | Trade-off |
|---|---|---|
| High input polling | Smoother cursor movement | Increased CPU usage |
| Lower resolution | Reduced GPU load | Less desktop space |
| Reduce mouse sensitivity | More control | Slower navigation |
Prioritize wired devices and test changes in real usage. Results vary based on peripherals and workload.
On a final note
You can reliably run dual HDMI displays on your Raspberry Pi 4 for remote work, but only with careful setup. Use Raspberry Pi OS 64-bit and a quality remote desktop tool like NoMachine, which supports both screens smoothly. Expect minor lag with heavy graphics, and always power the Pi with a 5V/3A adapter to avoid throttling. The experience is solid for office tasks, yet demanding applications may strain the 4GB–8GB RAM models. Keep ambient temperature below 80°C to maintain performance.