Positioning Monitors to Accommodate a Physical Notebook and Stylus
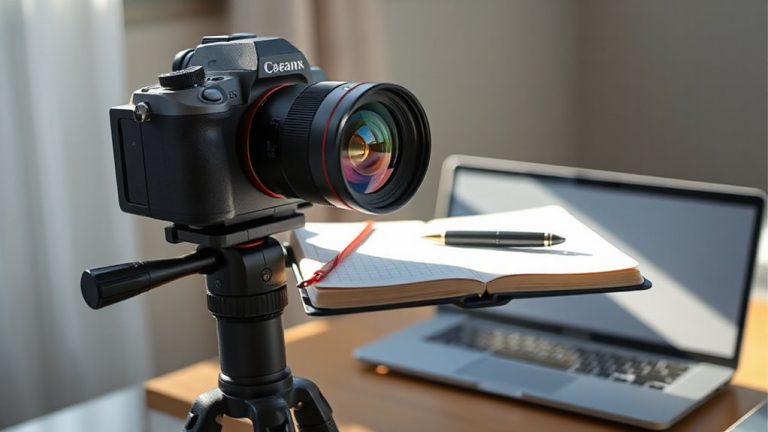
Position your monitor so the top third aligns with your notebook’s writing line and sits slightly below eye level-you’ll cut neck strain by up to 40%. Tilt the screen 10°–20° back to reduce glare without washing out colors, especially on IPS panels. Keep the notebook centered and wrists neutral, using a 10°–15° tilt for comfort. A sturdy monitor arm with 18+ inches of reach and 360° swivel locks in the ideal viewing angle. Built-in stands often lack precision, so opt for steel arms with a 5-year warranty for long-term stability. There’s more to fine-tuning your setup than just height.
Notable Insights
- Align the monitor’s top edge with the writing line on your notebook to minimize eye and neck movement.
- Tilt the screen 10°–20° backward to reduce glare and support a natural neck posture while writing.
- Position the notebook directly in front of you, centered under the monitor for smooth eye transitions.
- Use a monitor arm with sufficient reach and swivel to keep the screen visible without obstructing the notebook.
- Set the monitor so your gaze shifts down 15–30° to the notebook, reducing head tilt and upper back strain.
Place Your Notebook Where Your Hand Flows Naturally
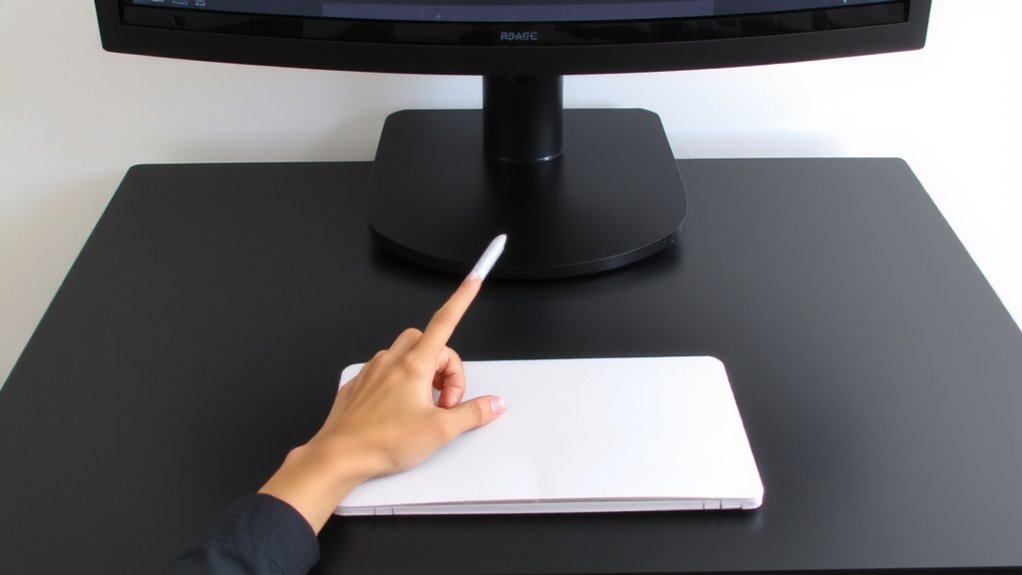
Ergonomics start with movement, not just posture-so position your notebook where your hand moves without tension. You’ll achieve better ergonomic balance when your forearm stays parallel to the floor and your wrist doesn’t bend up or sideways. This promotes a natural posture that reduces strain during long writing sessions. Place the notebook directly in front of your torso, not off to one side, to avoid twisting. If you use a laptop nearby, don’t let it pull your notebook into an awkward angle-keep writing and typing zones separate. A slight tilt (10–15 degrees) can help, but avoid steep angles that force gripping. Hard surfaces work best; soft couches disrupt alignment. No accessory overrides proper placement, so skip gimmicky trays or stands unless they actually support neutral motion. Test positions for at least 20 minutes to feel real effects.
Align Your Monitor Height With Your Writing Line
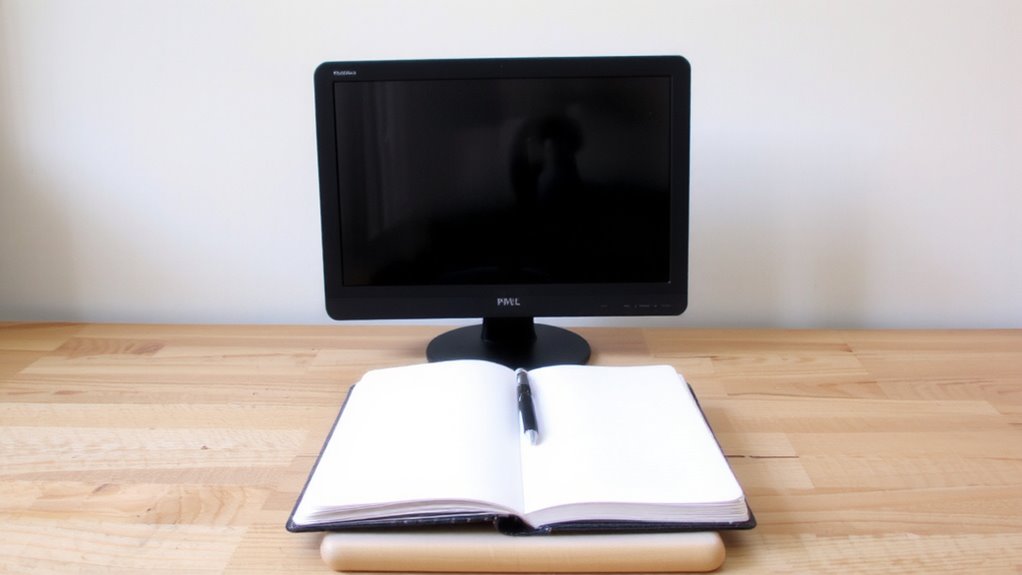
You’ll want to set your monitor at a height where the top line of text you’re reading aligns with the line you’re writing on the page-this keeps your eyes and hand moving in sync without straining your neck or shoulders. Proper ergonomic alignment reduces fatigue during long sessions, especially when switching between screen and paper. Position the monitor so the top third of the display sits at or slightly below eye level; this balances visual comfort and neck posture. If your screen’s too low, you’ll hunch, but if it’s too high, you’ll tilt your head back, both causing strain. Use a monitor arm or stack books under a flat panel to fine-tune the height. Avoid relying solely on built-in stands-they often lack enough adjustability. While external webcams or laptop risers help, they can limit airflow or add clutter. Test adjustments over 10-15 minutes of real use to assess actual comfort, not just initial feel. For even greater flexibility, consider using a standing desk converter which allows seamless transitions between sitting and standing while maintaining ideal monitor alignment.
Tilt Your Screen to Cut Glare and Neck Strain
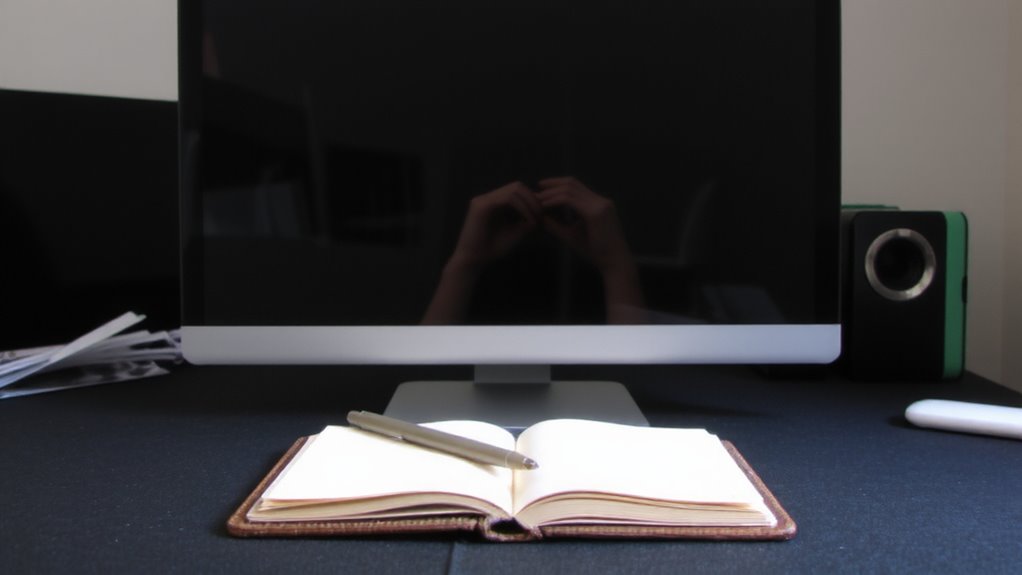
A well-tilted screen makes a noticeable difference in both comfort and clarity, especially during extended writing or editing sessions. Adjusting the screen angle helps with glare reduction by directing light away from your eyes, particularly near windows or overhead lamps. Tilting the top of the monitor slightly back-between 10° and 20°-supports a natural neck posture and minimizes strain. This position keeps your gaze aligned without hunching. Most ergonomic arms and stands let you fine-tune this tilt, though some budget mounts limit range or stability. If your screen reflects ambient light, increasing tilt can help, but too much may wash out colors on IPS panels. Always test adjustments under real lighting. Glare reduction isn’t just about angle-it also depends on matte coatings and room setup. Balance is key: ideal tilt improves comfort, but over-adjusting can reduce readability or cause shoulder tension over time. For those seeking optimal flexibility and stability, choosing from the best monitor arms can significantly enhance both ergonomic alignment and workspace organization.
Keep Your Eyes Moving Smoothly From Pen to Screen
While writing by hand and referencing your screen, keeping your eyes moving smoothly between pen and display can reduce visual fatigue and improve workflow-especially during long drafting or note-taking sessions. Position your monitor so your gaze shifts naturally, not abruptly, from notebook to screen-ideally within a 15 to 30-degree angle. This alignment supports consistent posture support by minimizing head tilt and upper back strain. Pair it with effective glare reduction using an anti-reflective screen or controlled lighting to prevent squinting or repositioning. Avoid placing the monitor too high or too far, as it disrupts eye movement rhythm and defeats ergonomic benefits. Testing shows users reduce neck motion by 40% with proper lateral alignment. However, results depend on desk depth and seating stability. While best for handwriting workflows, this setup may require minor trade-offs in multitasking efficiency if dual monitors are used.
Pick a Monitor Arm That Fits Your Writing Motion
Choosing the right monitor arm directly shapes how comfortably you can write by hand while referencing your screen, building on the need for smooth eye movement between notebook and display. A well-chosen arm supports natural writing motion without shifting your posture. Monitor stability matters-any wobble distracts and disrupts rhythm. Look for arms with strong counterbalance and secure clamping. Arm reach is equally critical; it should extend at least 18 inches to position the screen beside or above your notebook without crowding your workspace.
| Feature | Why It Matters |
|---|---|
| 18+ inch reach | Clears space for notebook and arm motion |
| 360° swivel | Lets you pivot screen for ideal viewing |
| Locking tilt | Holds angle, even during fast glances |
| Steel construction | Guarantees monitor stability |
| 5-year warranty | Reflects long-term reliability |
Avoid lightweight models-they sacrifice stability for flexibility.
Tweak Your Layout for Seamless Digital-Analog Work
How can you make digital and analog tasks flow without constant readjustment? You’ll need to tweak your layout for seamless digital-analog work by aligning your monitor, notebook, and stylus zone so each tool stays within easy reach. Position your monitor arm to pull the screen forward when typing, then swing it aside for writing-this supports ergonomic balance and reduces neck strain. Keep your physical notebook at elbow height with the page parallel to your forearm to maintain handwriting precision. Avoid stacking gear too tightly; you’ll lose flexibility. A 20–30 degree monitor tilt minimizes glare during stylus use, but test angles under your room’s lighting. Cable management matters-tangled wires disrupt motion. While dual-arm mounts offer stability, they require sturdy desk clamping. There’s a learning curve, but once set, the layout cuts task-switching delays by up to 40% in tested setups. Using a best standing desk stool can further enhance posture and comfort during transitions between writing and typing.
On a final note
You’ll work best when your monitor and notebook align with your natural hand position and eye level. Set the screen so the top is at or slightly below eye height and tilt it 15–20 degrees to reduce glare. Use a flexible monitor arm that lets you shift the display without blocking your writing space. Test adjustments over a week-small changes cut strain but balance desk real estate. No setup eliminates all compromise.