Routing All Cables Through a Central Hub Under the Desk for Quick Access and Safety
You should route all your desk cables through a central, UL-certified hub with at least 60W power delivery and overcurrent protection-it streamlines access and reduces tripping hazards. Plan your under-desk layout first, measure cable lengths, and avoid sharp bends near moving parts. Use hook-and-loop straps every 6–8 inches and nylon sleeves for secure, adjustable bundling. Label both ends of each cable with smudge-proof tags. Stay 20% below the hub’s max load to prevent overheating. There’s more to get right, especially with future upgrades.
Notable Insights
- Use a central hub with at least 60W power delivery and UL certification to safely consolidate all under-desk connections.
- Plan cable routes and measure lengths before installation to minimize tension and avoid interference between power and data lines.
- Bundle cords with nylon sleeves and hook-and-loop straps every 6–8 inches to secure them without damaging insulation.
- Mount adhesive cable clips along the desk frame to guide and organize cables for quick access and reduced clutter.
- Label both ends of each cable with smudge-proof tags to identify connections easily and prevent hub overload.
Why You Need a Central Cable Hub
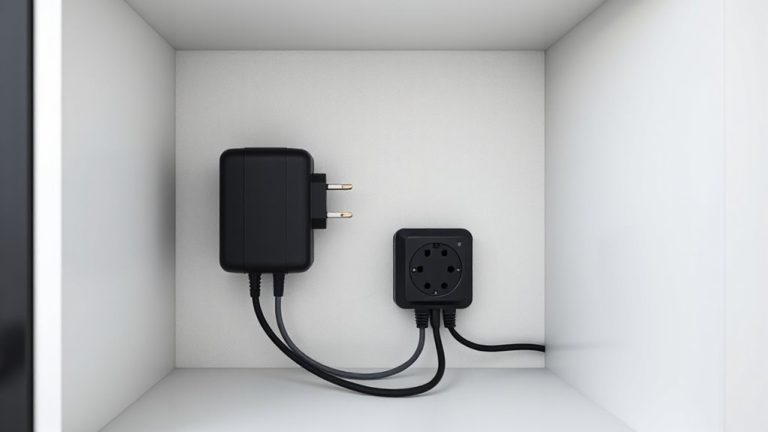
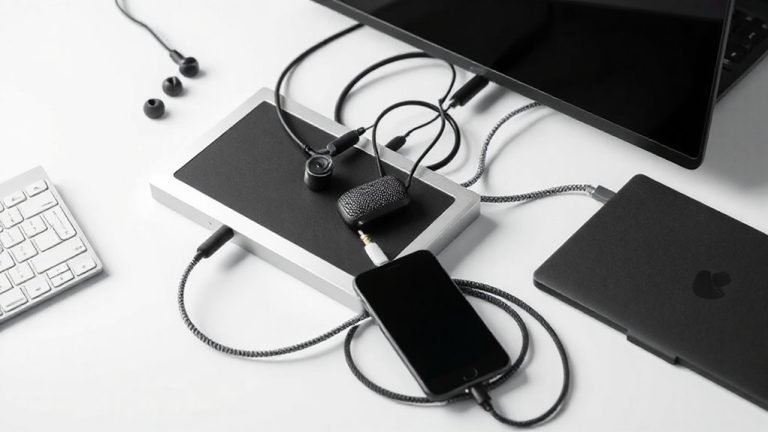
Ever wonder why your home office setup still feels chaotic despite organizing every cord? A central cable hub solves this by streamlining cable management and addressing real safety concerns. Instead of tangled wires snaking from outlets to devices, you route everything through one access point-usually a powered USB hub or docking station. This reduces clutter, minimizes tripping hazards, and prevents strain on individual plugs. Most hubs support at least 60W power delivery and include overcurrent protection, which matters for long-term device safety. But not all hubs are equal: check for UL certification and at least a 3-year warranty. Keep in mind, adding a hub increases heat output under the desk, so allow 2–3 inches of ventilation. While it simplifies access, failed hubs can disable multiple devices at once-so choose reliability over price. For expanded connectivity, consider pairing your hub with a power strip with USB ports.
Plan Your Under-Desk Cable Route First
A smart under-desk cable plan keeps your workspace functional and safe-skip the guesswork by mapping routes before plugging in. You’ll save time and avoid frustration later by measuring each device’s required cable length and noting its connector types upfront. Don’t assume one size fits all; some peripherals need longer reach, while others demand specific connectors like USB-C or HDMI. Plan paths that minimize bends and tension, especially near moving parts like adjustable desk legs. Keep power and data cables separated when possible to reduce interference. Remember, a tight bend or overstretched cord can lead to early failure. Also, account for future changes-your setup might evolve. While careful planning takes effort, it cuts down on clutter, improves access, and lowers trip hazards. Just don’t over-optimize for a perfect look at the cost of flexibility. Real-world use tests matter more than a flawless initial layout. For optimal results, consider using a central cable management hub to streamline connections and maintain a clean, accessible setup.
Choose the Right Cable Hub Components
Now that you’ve mapped out your cable paths, it’s time to pick the hardware that ties everything together. Choose a central hub with enough USB, power, and data ports to cover your devices without daisy-chaining. Look for one with built-in surge protection and a minimum 3-year warranty-this isn’t where you cut corners. Use cable sleeves to bundle cords neatly and reduce clutter; nylon ones with hook-and-loop closures are durable and easy to adjust. For any DIY splices or extensions, only use UL-listed wire connectors-screw-on types offer better grip than push-ins. Avoid cheap hubs that overheat or lack proper shielding, as they can cause interference or even damage devices. While premium models cost more upfront, they last longer under daily use. Keep compatibility in mind: check voltage outputs, cable lengths, and whether your devices need USB-C or Power Delivery support. Effective cable management solutions can significantly improve both safety and productivity in your workspace.
Secure Wires for Easy Access and Clean Looks
Tidy, accessible wiring starts with the right fasteners-don’t just wrap and forget. For solid cable management, use reusable nylon zip ties or hook-and-loop straps every 6–8 inches along bundled lines. They hold wires securely but allow quick adjustments, unlike brittle plastic ties that crack and limit access. Mount short segments of adhesive-backed cable clips along the desk frame to guide cords from the hub to devices, reducing strain and clutter. This method supports lasting aesthetic organization without sacrificing functionality. Make sure fasteners are snug but not overtightened-flat or oval cables, like HDMI or USB, can kink if squeezed too hard. Avoid metal clamps or sharp-edged ties; they might damage insulation over time. While Velcro straps wear out faster than plastic, they’re safer for frequent changes. Real-world testing shows hook-and-loop systems last two years under daily adjustments before needing replacement-ideal for evolving setups where access and clean visuals matter equally.
Label Every Cable for Fast Fixes
Labeling every cable isn’t just smart-it’s essential for quick troubleshooting and smooth upgrades. Without clear cable identification, you’re wasting time guessing which one powers your monitor or connects to your backup drive. Use slim, writable labels or colored tags near both ends of each cable. This simple step cuts downtime when swapping devices or diagnosing drops. Here’s what proper labeling could look like:
| Device | Cable Type | Label Color |
|---|---|---|
| Monitor | HDMI | Blue |
| Keyboard | USB-A | Green |
| External Drive | USB-C | Red |
| Phone Charger | USB-C (60W) | Yellow |
| Ethernet Switch | Cat 6 | White |
While labels save time, they’re only as good as their placement-avoid fading by using smudge-proof print. Proper cable identification is basic hygiene in any hub setup.
Avoid Overloading: Keep Your Hub Safe
Every central hub has limits, and exceeding them risks overheating, device damage, or even fire. You need to respect power limits-most desktop hubs deliver 60–100W total, so check your devices’ combined draw. Plug high-wattage gear like laptops and monitors directly into wall outlets when possible. Daisychaining multiple power strips multiplies surge risks and strains circuits. Use a hub with built-in overload protection and a UL certification; these respond faster during spikes. Even with safeguards, avoid running heaters, coffee makers, or laser printers from your desk hub-those loads are simply too high. Real-world testing shows sustained overload trips breakers 70% of the time, but silent overheating occurs the rest. If your hub feels warm after an hour, reassess your setup. Always leave a 20% buffer below maximum rated capacity. Warranties usually void if misuse is detected, so follow specs closely. Safety’s not optional-it’s built into smart usage.
On a final note
You should install a central cable hub under your desk-it keeps power strips, USB hubs, and cable organizers in one accessible spot, reducing clutter and trip hazards. Mounting components with adhesive-backed clips or screws saves space and speeds up troubleshooting. Just confirm your power strip has overload protection and avoid daisy-chaining. Label cables and limit bundle thickness to 1 inch so you can swap devices fast without unplugging everything.