Using a Diffuser Box to Create Even, Flattering Light for Daily Video Meetings
You’ll look noticeably better in daily video meetings with a diffuser box-it softens harsh lights and cuts glare on your forehead and cheeks. Place it 18–24 inches away at a 30–45° angle to add dimension without shadows under your eyes. Build one quickly using a cardboard frame and printer paper, or use a shower liner over PVC pipes. Pair it with a dimmable LED like the Neewer 660 for balanced, adjustable light. Just replace the diffusion material every few weeks with regular use. There’s a smarter way to fine-tune your setup once you know the pitfalls.
Notable Insights
- Harsh built-in lighting creates unflattering glare and flat facial features; a diffuser box softens and evens out light.
- A diffuser box scatters harsh light using translucent material, producing natural, wraparound illumination for a professional appearance.
- Position the diffuser 18–24 inches away and angled 30–45 degrees above eye level for optimal facial lighting.
- Use simple materials like cardboard, printer paper, and binder clips to build an effective DIY diffuser in minutes.
- Pair the diffuser with a dimmable LED panel to adjust color temperature and brightness for consistent, flattering meeting lighting.
Why Bad Lighting Makes You Look Awful on Camera

Your camera’s harsh built-in lighting flattens facial features and blows out highlights, making you look washed out or overly shadowed during video calls. Harsh shadows carve deep lines under your eyes and chin, while unflattering highlights glare across your forehead and cheeks, distorting your natural tone. Without proper direction and diffusion, light appears flat or one-sided, emphasizing texture and imperfections instead of creating balanced contrast. Most webcams lack adjustable exposure or dynamic range to compensate, especially in backlit or unevenly lit rooms. You’ll notice pixelation and loss of detail when your camera struggles with contrast. Relying on overhead bulbs or windows rarely solves this-you still risk uneven intensity or color temperature mismatches. While adding a lamp helps, bare bulbs often make harsh shadows worse. Some LED panels offer softness, but without diffusion, they still produce sharp, direct light. For real improvement, you need control over placement and softness-not just brightness. A cost-effective solution is using best budget lights that provide adjustable brightness and color temperature for consistent, flattering illumination.
How a Diffuser Box Gives You Professional-Looking Light
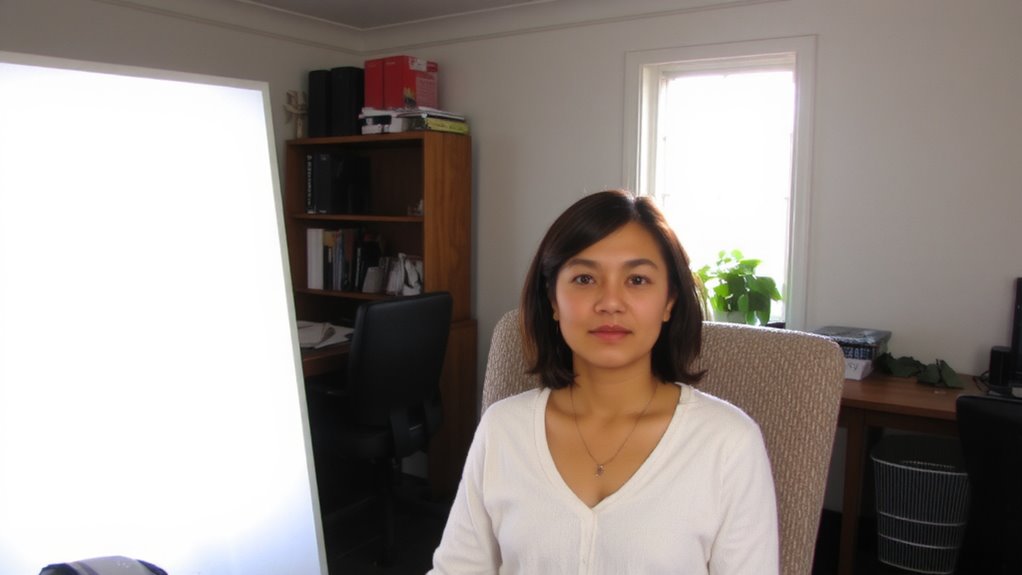
While a diffuser box won’t turn your home office into a Hollywood studio, it comes remarkably close for everyday video calls-softening light to eliminate harsh shadows and glare that make faces look tired or uneven. It gives you soft lighting that wraps around your features, creating a natural glow without overexposure. This isn’t magic, just smart optics: the translucent fabric scatters harsh point-source light into even illumination.
| Without Diffuser | With Diffuser Box |
|---|---|
| Harsh highlights | Soft lighting |
| Dark shadows | Even exposure |
| Washed-out face | Natural glow |
| Distracting glare | Smooth, balanced look |
You’ll look rested and engaged, not lit like a interrogation room. Most boxes use 1200–1500K temperature LEDs, tested for color accuracy. They’re lightweight, but not indestructible-handle the frame with care. A diffuser won’t fix bad placement, but it elevates solid lighting to professional grade.
Where to Place Your Diffuser for the Best Results
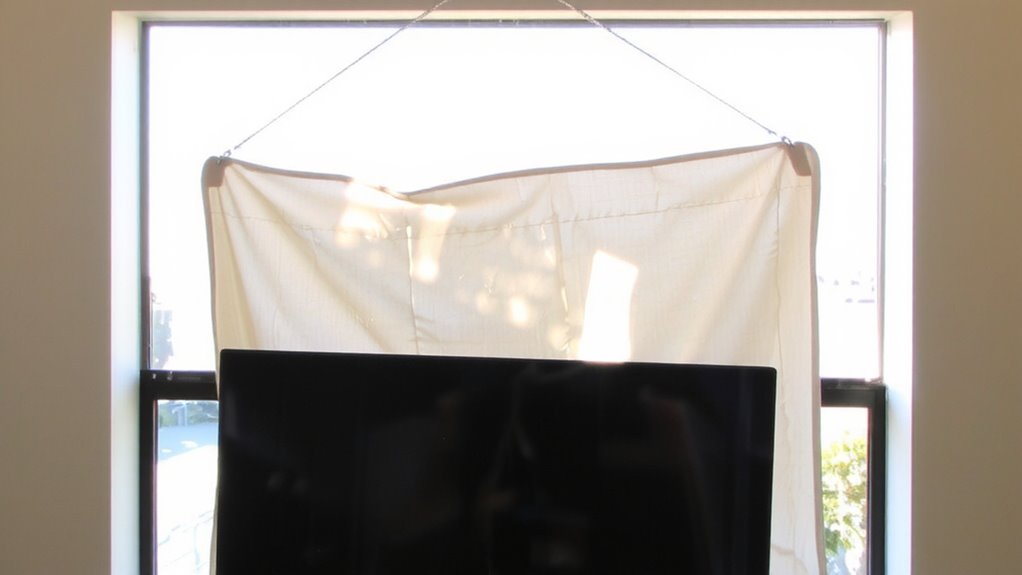
Positioning your diffuser box correctly makes all the difference in achieving clean, flattering lighting-no matter how high-quality the unit is. For best results, place the diffuser about 18 to 24 inches from your face, which balances brightness and softness without sacrificing clarity. This diffuser distance prevents harsh shadows while maintaining enough contrast to keep your features defined. Aim for a light angle of roughly 30 to 45 degrees above and slightly in front of you-this mimics natural overhead light and reduces glare. Avoid placing the light directly in front or too close, as it can create flat, washed-out tones. If your space is tight, adjust the angle rather than shortening the diffuser distance, since moving too close limits the spread and uniformity of light. Results may vary slightly depending on room brightness and wall color, so test adjustments in your actual setup.
What You Need for a DIY Diffuser Box
If you’re looking to build a diffuser box that delivers soft, even lighting for video calls without breaking the bank, you’ll need a few key materials that balance effectiveness and accessibility. Your material choices directly impact light diffusion and durability, while frame stability guarantees consistent positioning. A sturdy frame made from PVC pipes or wood keeps the structure intact, and white shower curtain liners or tracing paper work well as diffusing panels. Secure connections matter-loose joints reduce reliability.
| Material | Purpose |
|---|---|
| PVC pipes or wood | Frame stability |
| Shower curtain liner | Soft, even diffusion |
| Binder clips or clamps | Secure panel attachment |
| Tape or zip ties | Reinforce joints |
Lightweight fabrics may sag, so test under real use. Balance cost with performance-cheap fixes can compromise long-term use.
How to Build a Diffuser Box in 10 Minutes
You’ve got the materials-now it’s time to assemble your diffuser box quickly and effectively. Using basic DIY materials like a cardboard box, white printer paper, and tape, you can achieve a soft, flattering light with quick assembly. Start by cutting one side entirely off the box to create an open frame. Tape the printer paper tightly over the opposite side to serve as your diffusion surface-this scatters the light evenly. Secure it well to avoid sagging during calls. Position your light source behind the covered side, pointing toward the diffusion layer. The setup fits on a desk and takes under 10 minutes. While it won’t match professional gear, it dramatically improves lighting over bare bulbs. Just don’t place it near vents-paper can shift. Ideal for short-term use, but expect to replace the paper every few weeks with daily handling.
Best Budget Lights to Use With a Diffuser
A solid budget lighting option for use with your diffuser box is the Neewer Dimmable 660 LED Panel, and it delivers surprisingly consistent output for its price. You’ll get decent light quality with smooth output that works well after diffusion, minimizing harsh shadows. It offers adjustable color temperature from 3200K to 5600K, so you can match ambient light or set a natural daytime tone for video calls. The panel draws 65W and includes a cooling fan and adjustable yoke, useful for positioning. It’s not flawless-some units show slight flicker at low settings and color consistency varies between panels. Still, real-world tests confirm it performs reliably when diffused. Neewer includes a 12-month warranty, which helps given the modest build quality. Just don’t expect studio-grade accuracy. For under $100, it’s a sensible pick if you prioritize function and manage expectations. Consider pairing it with an electric stapler for efficiently organizing printed meeting notes and documents.
Fix Common Diffuser Lighting Problems
Even with a solid light like the Neewer 660 and a well-built diffuser box, you’ll still run into issues like uneven spread, hotspots, or color shifts if the setup isn’t fine-tuned. Uneven brightness often happens when the light source is too close to one side of the diffuser, so center it and maintain at least 12–18 inches of distance. Hotspots appear if the panel’s intensity overwhelms the fabric, so lower the brightness or add a second layer of diffusion. Color distortion can creep in with cheaper LEDs, especially below 90 CRI-stick with lights rated at 95+ CRI and 5600K for natural skin tones. Test your setup by recording a short clip and zooming in on your face. Adjust until shadows are soft and colors look true. No diffuser fixes poor gear, but proper alignment and quality components make a measurable difference.
On a final note
You’ll look noticeably better in video meetings with a diffuser box-it softens harsh shadows and evens out skin tones. A DIY version using a cardboard frame and opal acrylic sheet works well under $20. Pair it with a 3000K LED panel for natural warmth. Just mind the size: too small, and you lose coverage; too bright, and glare appears. Test angles first. It’s affordable and effective, but not a fix for poor placement or backlit rooms.