Utilizing External Webcams to Keep Face Centered Without Leaning Toward Built-In Lenses
Upgrade to an external webcam mounted at eye level so you don’t have to lean forward or crane your neck toward a low built-in lens. Positioning the camera correctly keeps your face centered, improves posture, and reduces strain. Use a top mount clamp (fits 0.4–1.2” monitor edges) or stable desk stand with back support. Secure cables and avoid wobbling-it ruins focus. Look for 1080p, autofocus, and front lighting to stay sharp and visible. A 90-day warranty offers peace if adjustments fail. There’s more to get right.
Notable Insights
- Position the external webcam at eye level to center your face naturally in the frame.
- Use a monitor mount to secure the webcam directly above the screen for optimal alignment.
- Maintain an upright posture by avoiding built-in laptop cameras that encourage leaning forward.
- Ensure stable mounting to prevent camera shifts that disrupt framing during calls.
- Improve visibility with front lighting and a clean background to keep focus on your face.
Fix Your Built-In Webcam Posture Problem
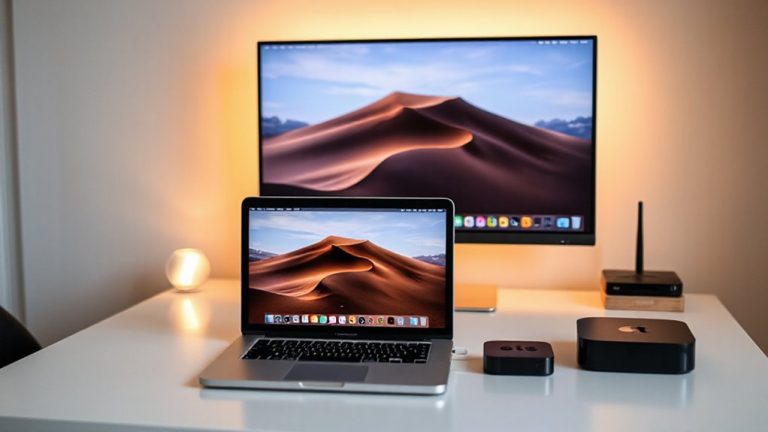
Ever wonder why your video calls always leave you looking up your nose? That awkward view comes from poor camera placement-your laptop’s built-in webcam sits too low, forcing you to hunch forward for eye contact. This ruins ergonomic comfort, straining your neck and back over time. Positioning the screen higher helps, but then the camera angle gets worse. You’re stuck choosing between bad posture and an unflattering shot. Raising the laptop can help, but only if you also lift the camera-few stands solve both issues. External webcams fix this, but first, address the root cause: low camera placement. You’ll need to adjust your setup carefully, as even small height changes impact alignment. While built-in cams are convenient, they limit control. For better framing and posture, prioritize camera placement over plug-and-play simplicity-your body will thank you. Using a best laptop stand can elevate your device to eye level while creating space for an external webcam above the screen.
Get Eye-Level Video With an External Webcam
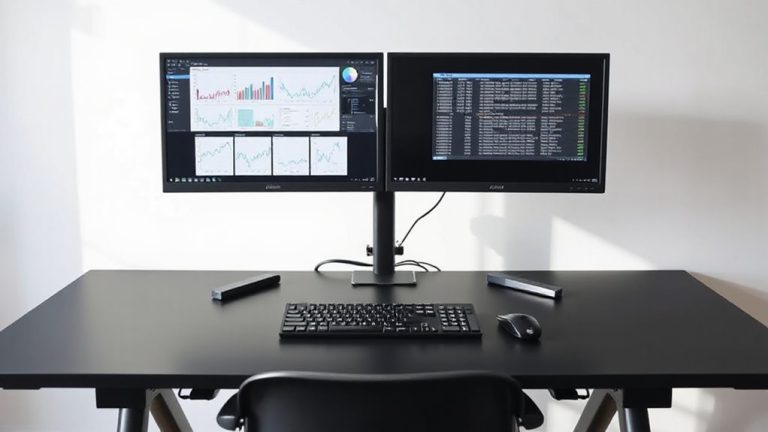
Putting your camera at eye level isn’t just about looking better on screen-it’s about aligning your posture with how you naturally communicate. Using an external webcam gives you precise control over placement, which boosts both webcam ergonomics and visual comfort. You can mount it on a monitor, tripod, or shelf exactly at eye height, reducing neck strain from looking up or down. Unlike built-in laptop cameras, external models stay steady and don’t force you to hunch or crane forward. Most offer full HD or 4K sensors, autofocus, and wide dynamic rage-key for consistent image quality. Just make certain your desk setup allows stable mounting; cheap stands may wobble. Also, wider fields of view can slightly distort facial proportions if you’re too close. Test positioning before long calls. While external webcams improve alignment and comfort, they do require extra space and cable management. For reliable positioning, consider using one of the best webcam mounts for secure, adjustable placement.
Set Your External Webcam at Eye Level
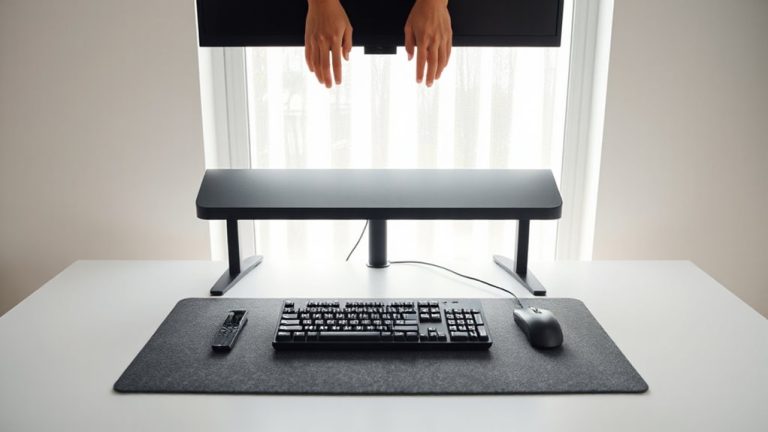
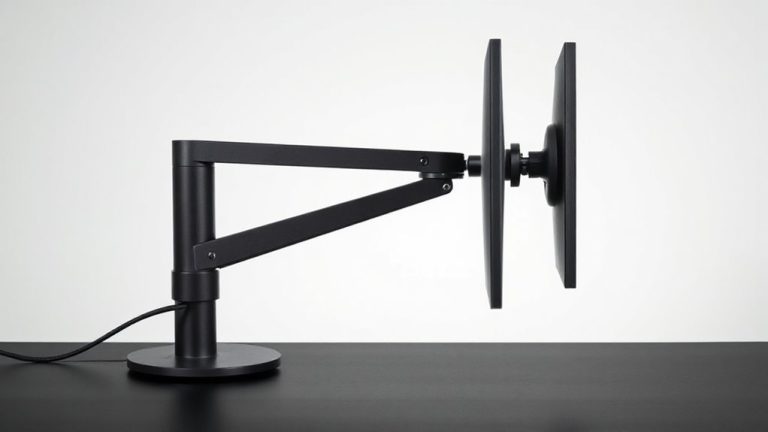
The right height for your external webcam makes a visible difference in how you appear and feel during calls. Set it at eye level so your face stays centered, avoiding awkward upward or downward angles. This improves engagement and reduces neck strain. Use a monitor mount or sturdy desk stand to achieve the correct height, ensuring camera stability during longer sessions. Wobbly setups distract and degrade video quality, so tighten connections and avoid overhanging edges. Good cable management keeps cords organized and reduces clutter-tuck excess length with clips or sleeves to prevent snagging. While most stands work fine, flimsy materials may compromise stability over time. Always test adjustments before calls. This simple fix elevates professionalism, but only if you maintain a consistent, clutter-free setup. Results depend on your space and gear quality. For optimal flexibility and durability, consider a best monitor mount that supports smooth height and tilt adjustments.
Choose: Top Mount or Desk Stand?
Which setup actually works better for your space-top mount or desk stand? If your monitor allows it, a top mount usually wins for stability and clean cable management. Mount stability matters, especially on shared desks, and clamping the webcam securely to a monitor’s edge keeps it fixed without wobbling during typing or adjustments. Desk stands offer flexibility but need a back support or weighted base to avoid tipping-cheap models often lack both. A top mount also hides cables behind the monitor, reducing clutter. Desk stands, meanwhile, often require visible cords snaking across your workspace unless you’ve got built-in cable routing. Either way, check your monitor’s thickness compatibility-most mounts support 0.4 to 1.2 inches. And look for a 90-day warranty, so you can return it if the clamp slips. Choose top mount if you can; otherwise, pick a stand with rubber grips and a low center of gravity.
Use Lighting and Angles to Look Engaged
You’ll look more present and attentive on camera if you nail both lighting and angle, even with a mid-tier webcam. Proper camera positioning guarantees your face is at eye level, avoiding unflattering overhead or upward views. Pair this with front lighting to reduce shadows and boost visual focus. Natural light from a window in front of you works, but avoid backlighting-it dims your features. A softbox or ring light 2–3 feet from your face delivers consistent results.
| Lighting/Angle | Effect on Engagement |
|---|---|
| Front light | Enhances clarity |
| Backlight | Creates silhouette |
| Eye-level cam | Builds connection |
| Low angle | Distorts perspective |
Tilt the webcam slightly downward if needed, but don’t overdo it. Poor angles strain the viewer’s visual focus. While ideal setups demand space and adjustment, even small tweaks to camera positioning and lighting direction markedly elevate perception-no premium gear required.
Quick Webcam Background Fixes for Any Room
A cluttered background distracts more than poor audio-fixing it’s one of the fastest ways to look polished on camera, even in a small apartment. Use a virtual backdrop if your space can’t be rearranged, but make certain your lighting is even to avoid halo effects around your head. Solid walls work best for blur tools to render cleanly. If you prefer a real backdrop, hang a neutral tapestry or foldable display panel behind you-keep it wrinkle-free. Tidy visible cords with Velcro straps or adhesive clips for clean cable management; tangled wires draw attention even when out of focus. Position your external webcam on a monitor stand or tripod to frame your background consistently. Avoid placing beds or laundry in shot. These fixes don’t require expensive gear, but they do need consistent effort-minor lapses in setup reduce credibility fast.
On a final note
You should get an external webcam if your built-in lens forces awkward angles. Mounting it at eye level keeps your face centered and improves eye contact. Top mounts save desk space, while stands offer flexibility. Good lighting and slight downward angles make you look engaged. Most models come with privacy covers and 2-year warranties. Just guarantee USB-C compatibility and test autofocus in low light-it can lag. Setup is simple, but positioning takes trial and error.