Improving Seated Posture for a Healthier Home Office Environment
You’ll stay sharper and more comfortable by aligning your body right from the start. Set your chair’s lumbar support to match your spine’s curve and adjust the seat depth so your knees sit 2–4 inches past the edge. Position your monitor’s top at eye level and about an arm’s length away to ease neck strain. Keep elbows at 90–100 degrees while typing, and take short movement breaks every 30 minutes. Even the best chair won’t fix poor habits-consistency shapes real results over weeks. A few small tweaks now could easily open the door to much better days ahead.
Notable Insights
- Adjust your chair’s lumbar support to maintain the spine’s natural curve and promote proper lower back alignment.
- Position the top of your monitor at or slightly below eye level to encourage a neutral neck posture.
- Sit with elbows at 90–100 degrees and keep the keyboard close to the desk edge for optimal arm positioning.
- Set a reminder to stand, stretch, or move every 30 to 60 minutes to reduce spinal compression and muscle fatigue.
- Ensure seat depth allows 2–4 inches between the seat edge and the back of your knees for proper leg circulation.
Adjust Your Chair for Back Support
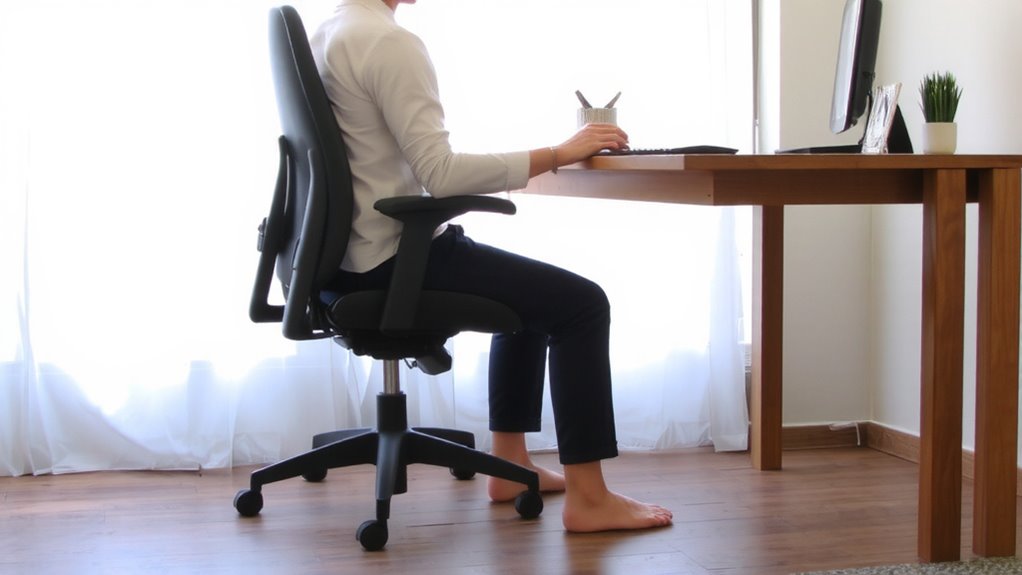
While getting the most out of your office chair starts with the right adjustments, it’s not enough to just sit down and assume support will follow. Proper lumbar alignment matters-your chair’s backrest should maintain the spine’s natural curve, either through built-in curvature or an adjustable lumbar pad. Without it, slouching builds over time, increasing strain. You’ll also want to check seat depth: ideally, there should be 2–4 inches between the edge of the seat and the back of your knees when seated fully. Too deep, and you lose lower back contact; too shallow, and leg support drops. Many mid-range and premium chairs offer adjustable seat pans, letting you fine-tune this. But even with great adjustability, long-term comfort depends on consistent posture. Don’t assume high price equals better support-test firmness, frame size, and stability under your weight. Comfort is personal, not guaranteed by specs alone. Adding a dedicated lumbar support cushion can enhance spinal alignment, especially in chairs with weak built-in support.
Set Your Screen at Eye Level for Better Posture
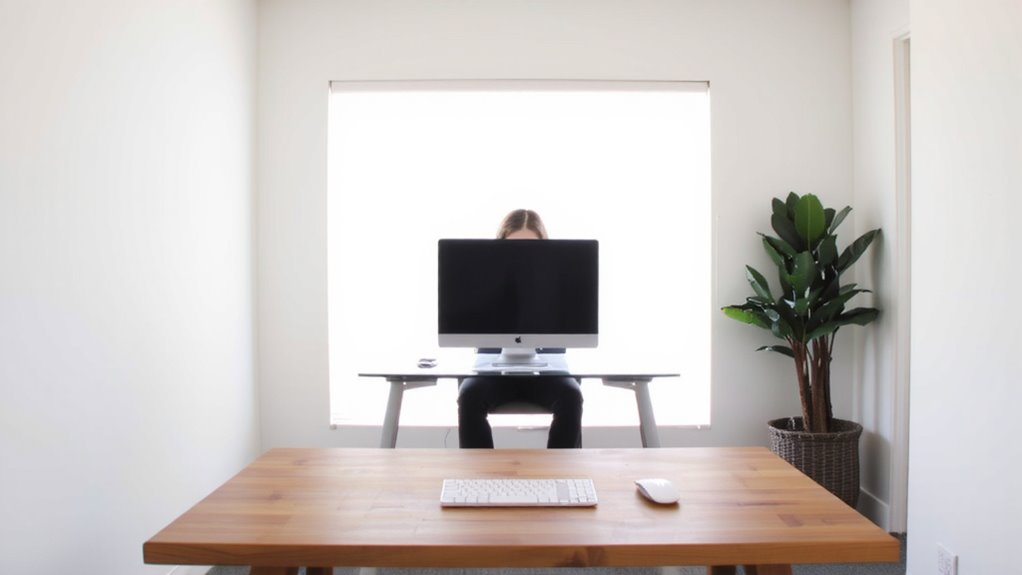
You’ll want to position your screen so the top third of the monitor sits at or just below eye level to maintain a neutral neck posture and reduce strain over long work sessions. Proper monitor height helps prevent neck and upper back pain, but it depends heavily on your desk alignment and chair setup. If your desk is too high or low, adjusting monitor height alone won’t fix posture issues. Use a monitor arm or stack of books to achieve ideal positioning-don’t rely on built-in stands with limited range. Keep the screen about an arm’s length away to avoid hunching. Note that dual monitors complicate alignment; center the primary display to minimize head rotation. Even with correct height, prolonged static posture causes fatigue, so take breaks. Results vary by body proportions and furniture, so test small adjustments over days, not hours. An effective solution for adjustable screen positioning is using a standing desk converter, which offers flexible height adjustment range.
Use Your Keyboard to Avoid Shoulder Strain
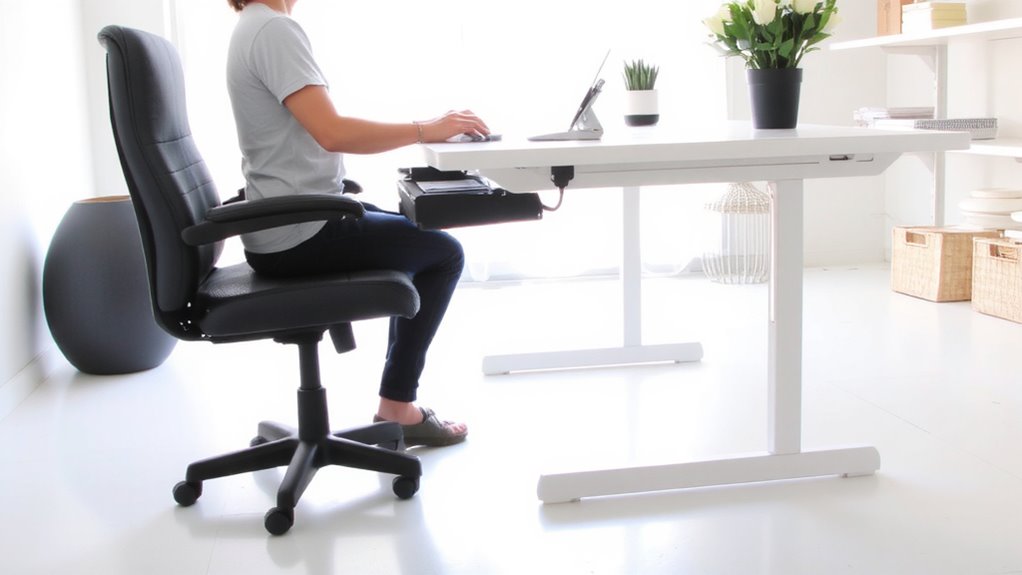
Getting your keyboard setup right plays a direct role in keeping your shoulders relaxed and reducing the risk of strain during long typing sessions. Position your keyboard so your elbows stay close to your sides and bent at 90–100 degrees-this supports proper ergonomic placement and prevents shoulder hunching. Keep the keyboard about an inch from the edge of your desk, allowing your arms to rest naturally. If you use a laptop, consider a detachable keyboard to achieve better alignment. While split or tented keyboards can help with alignment, they often require an adjustment period and might not suit everyone. Pair good positioning with regular stretching-especially of your neck, shoulders, and forearms-to maintain flexibility and reduce tension. Avoid overreaching or cradling your phone while typing. Small tweaks to your daily setup, backed by real-world comfort and movement, yield better long-term outcomes than high-cost gear alone. For those seeking enhanced support, the best ergonomic keyboards are designed to promote neutral wrist and arm positioning. The best ergonomic keyboards can significantly improve comfort during prolonged use.
Take Posture-Friendly Movement Breaks
Even small lapses in movement can undo the benefits of a well-adjusted desk setup, so building posture-friendly breaks into your routine is essential for long-term spinal health. To stay aligned, you should stretch regularly and stand frequently-every 30 to 60 minutes-for at least 1–2 minutes. Simple shifts in posture reduce stiffness and improve circulation. Below are five effective movement breaks you can do without leaving your workspace:
| Movement | Duration | Benefit |
|---|---|---|
| Neck rolls | 1 min | Relieves tension from screen focus |
| Standing calf raises | 2 min | Boosts leg circulation |
| Shoulder shrugs | 1 min | Counters keyboard hunch |
| Forward fold | 2 min | Stretches spine after sitting |
| Side lunge | 2 min | Engages hips and improves balance |
These moves work best when timed with task shifts. Don’t rely on apps or wearables-consistent self-awareness trumps tech reminders.
Make Good Posture a Daily Habit
While perfect posture won’t develop overnight, making it a consistent habit is more effective than relying on any single ergonomic chair or desk setup. You need mindfulness and consistency to retrain your body’s default sitting patterns. Start by aligning your ears over your shoulders and hips, feet flat on the floor, and hands at 90 degrees on the keyboard-simple cues you can check hourly. Set reminders every 30 minutes to reset your position, pairing movement breaks with posture checks. Over weeks, this consistency builds muscle memory, reducing fatigue and strain. Mindfulness helps you notice slouching before it becomes painful. No gadget replaces awareness, though seat cushions or posture apps may support early learning. Don’t expect instant change-most users see real improvement after 4–6 weeks of daily effort. Results vary by body type and workspace layout, so prioritize adjustments you can maintain long-term.
On a final note
You’ll feel better by adjusting your chair’s lumbar support and seat depth to fit your back and thighs, keeping feet flat. Position your screen’s top at eye level and use a matte monitor to reduce glare. Place your keyboard close, with elbows at 90 degrees. Take 30-second stretches hourly. Results vary by body type and workspace-test changes over two weeks. No gear replaces consistent posture habits, but ergonomic tools help when sized and adjusted correctly.