How to Arrange Monitors for a Home-Based Customer Support Agent
Position your monitors at eye level, about an arm’s length away, to keep your neck neutral and reduce strain during long shifts. Place your main screen center for ticketing systems, with a secondary display angled 15–30 degrees for email or CRM tools. Use anti-glare panels and match brightness to ambient light-100–150 cd/m² works well. Dock chat apps like Zendesk for quick access, and test layouts over a week to fine-tune workflow. Two 1080p 24-inch screens at native resolution offer clarity without excess cost, and proper alignment beats higher specs poorly arranged-there’s more to optimizing your setup than just hardware.
Notable Insights
- Position monitors at eye level with the top of the screen at or slightly below eye height to maintain neutral head posture.
- Place the primary monitor center-stage for ticketing systems and secondary screens to the sides for email and internal tools.
- Angle each display 15 to 30 degrees toward you to reduce glare and position them perpendicular to windows or bright lights.
- Dock chat and CRM tools like Zendesk or Salesforce on one monitor each for quick access and minimal screen switching.
- Set brightness to 100–150 cd/m², use native resolution, and scale UI elements for clarity without straining the eyes.
Set Monitors at Eye Level and Arm’s Length
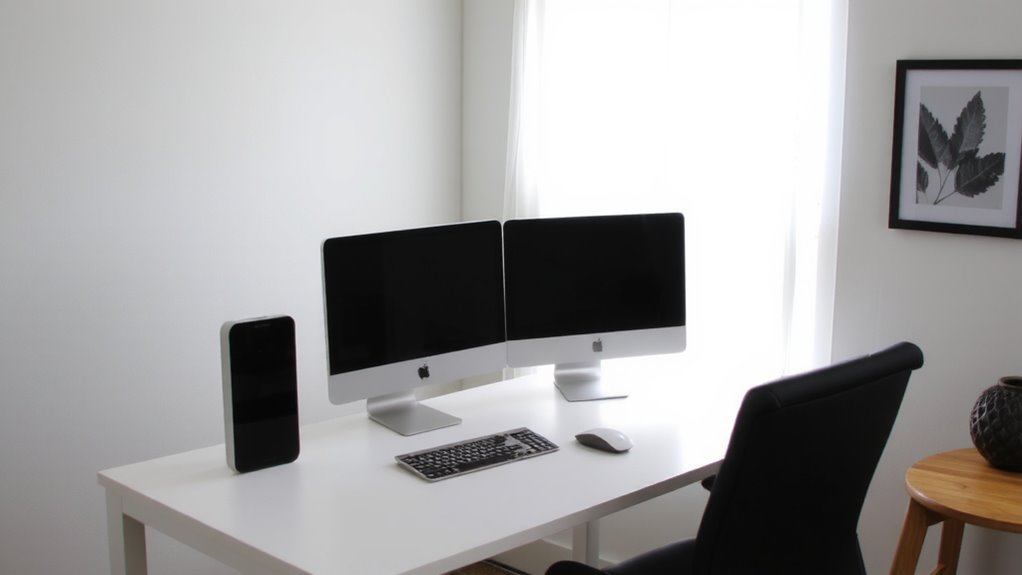
Ergonomics start with position-place your monitors at eye level and about an arm’s length away to reduce strain on your neck, eyes, and shoulders. Proper monitor alignment means the top of the screen sits at or slightly below eye level, so you’re gazing slightly downward, not up or craning forward. This position supports neutral head posture and cuts fatigue during long shifts. Your viewing distance-roughly 20 to 30 inches-ensures text remains readable without eye strain. Sit too close, and you risk glare and focus fatigue; too far, and you’ll squint or lean. Adjustable monitor arms or risers help achieve ideal height and depth, especially with dual setups. Built-in stand adjustments on most mid-tier monitors (like Dell U2723QE or LG 27UP850) allow tilt, swivel, and height changes, but arms offer finer control. Keep screens clean and avoid tilting too far back, which distorts colors and reduces clarity. Small tweaks make a measurable difference-especially after eight hours. For even greater flexibility and workspace optimization, consider using one of the best monitor arms for a clean, ergonomic setup.
Organize Screens by Support Workflow Priority
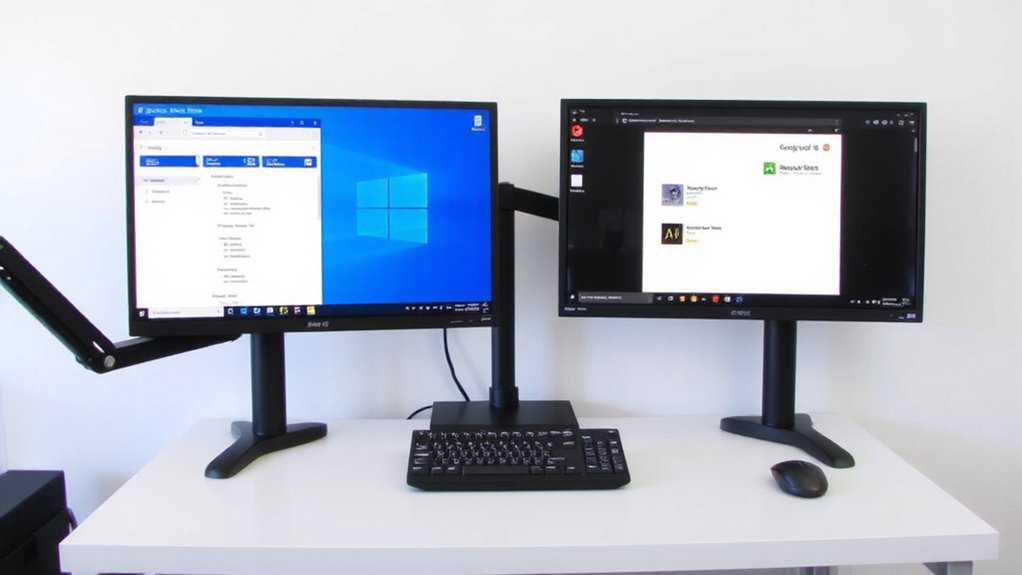
While tools matter, how you lay out your screens based on your support workflow can make or break your efficiency-so treat placement as function, not convenience. Position your primary monitor center-stage for screen alignment with your natural line of sight, reserving it for your ticketing system or live chat. Place secondary displays to either side for task grouping: email, knowledge bases, or customer history on one; internal comms or reporting on the other. This reduces tab-switching and keeps critical info visible. Most agents see faster response times with this layout, but avoid overcrowding-too many windows cause cognitive load. You don’t need high-end ultrawides; even two 1080p 24-inch panels work if aligned properly. Just guarantee text remains readable at arm’s length. Test different groupings for a week, then adjust. What helps one agent may hinder another. A well-organized workspace can be enhanced with the right hardware, such as best triple monitor arms for a clean and adjustable setup.
Angle Displays to Eliminate Glare and Strain
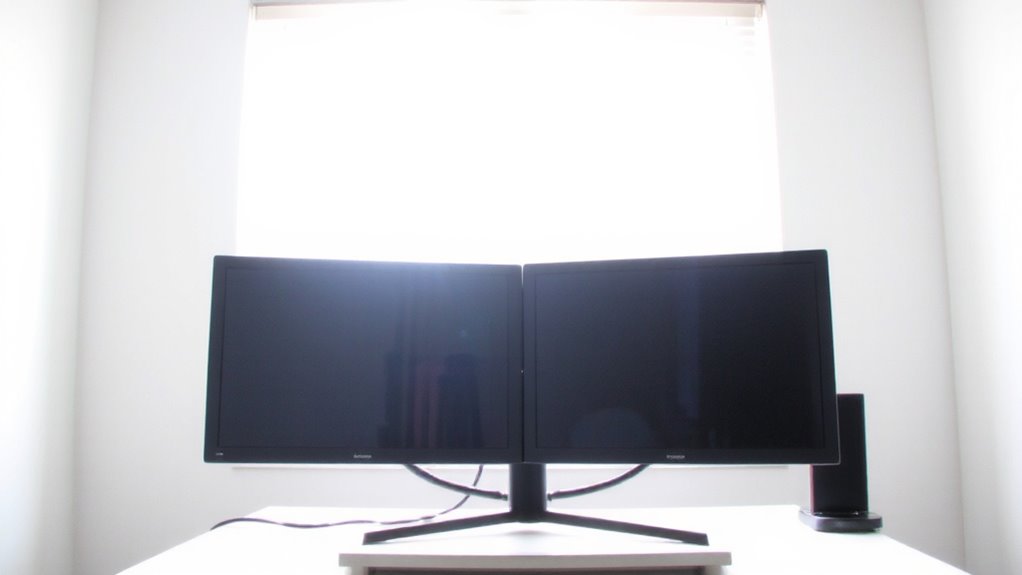
You’ve stacked your screens by workflow priority-now make sure you can actually see them without squinting or leaning forward. Angle each display 15 to 30 degrees toward you to reduce glare and eye strain, especially if windows or overhead lights create reflections. Position monitors perpendicular to strong light sources, and adjust ambient lighting to minimize contrast between your screen and surroundings-this helps maintain visual clarity during long shifts. If you’re dealing with persistent glare, consider screens with anti glare coatings; they diffuse reflections but may slightly reduce color vibrancy or sharpness. Matte finishes help, though they require more frequent cleaning. Avoid glossy finishes in bright rooms. These tweaks matter because poor angles force subtle neck movements that add up over time. While anti glare options aren’t perfect, their real-world benefit in comfort often outweighs minor image trade-offs-especially when paired with proper positioning and consistent ambient lighting. For optimal results, pair your setup with best office lighting to further reduce eye fatigue and improve focus.
Dock Chat and CRM Tools for Faster Access
Since response speed relies heavily on workflow efficiency, docking your chat and CRM tools guarantees they’re always within reach-cutting down time spent searching tabs or switching windows. You’ll get quick access to customer info and message queues, which keeps interactions fluent and reduces errors. Pin moving tools like Zendesk or Salesforce to your taskbar or using desktop docking software assures seamless navigation between active chats and account records. Many agents use dual monitors, placing live chat on one side and CRM data on the other, aligned for minimal head movement. Just make certain not to overcrowd the screen-clutter slows you down more than any layout helps. Test your setup during peak hours to confirm responsiveness, especially if using remote desktop or cloud-based platforms. While docking boosts speed, it only works if the system stays stable under load.
Adjust Brightness and Resolution for Clear Viewing
Getting your monitors set up right means paying attention to how they look, not just where they sit. You’ll want to adjust brightness and resolution for clear viewing, especially during long shifts. Set brightness between 100–150 cd/m² to match ambient light, reducing glare and boosting visual comfort. Use screen calibration tools-either built-in OS settings or third-party software-to balance color temperature and contrast, ensuring text stays sharp and images accurate. Aim for native resolution on each display; stretching or compressing pixels reduces clarity. While higher resolution improves detail, it can shrink text, so scale UI elements appropriately. Most modern IPS panels offer wide viewing angles and consistent color, but matte finishes reduce reflections better than glossy ones. Don’t overlook refresh rates-60Hz is sufficient for support work, so don’t overspend. Calibration and proper settings make a bigger difference than hardware alone.
On a final note
You’ll work smarter with dual monitors at eye level, about an arm’s length away, reducing neck strain. Prioritize screen layout by task-CRM on the main display, chat on the secondary. Angle screens slightly inward to cut glare, especially near windows. Use a sturdy VESA mount for stability and adjust brightness to match ambient light, avoiding eye fatigue. Just know: compact desks may limit setup options, and not all arms support heavier 27-inch panels.