Installing a Recessed Grommet Plate for Clean Cable Management in a Custom Desk
Choose a stainless steel or thick aluminum recessed grommet plate-plastic can crack under clamp pressure. Position the cutout 2–3 inches from the desk’s back edge, centered unless your layout favors one side. Use a hole saw or jigsaw with a sharp, carbide-tipped blade for clean cuts, then sand minor splinters. Install the plate flush to avoid gaps, using included screws without over-tightening. Test cable fit early, especially thick power cords, and guarantee strain relief at connections. A snug, well-placed install prevents wear and supports long-term reliability. Quality models include rubber gaskets and 5-year warranties-look for those to guarantee durability. Smooth edges, secure fit, and smart cable grouping make a noticeable difference in both function and appearance. Getting the details right upfront saves time and frustration later-there’s more to get right for a seamless finish.
Notable Insights
- Choose a durable grommet plate made of stainless steel or thick aluminum with a rubber gasket for longevity and clean cable routing.
- Position the cutout 2–3 inches from the desk’s back edge, centered unless layout demands offset placement.
- Cut the opening precisely using a jigsaw or hole saw with sharp blades to prevent splintering and ensure a snug fit.
- Install the plate flush with the desktop surface using recommended fasteners, avoiding over-tightening to prevent material damage.
- Route cables neatly through the grommet, group by device, label, and apply strain relief to maintain clean, functional cable management.
Choose the Right Grommet Plate
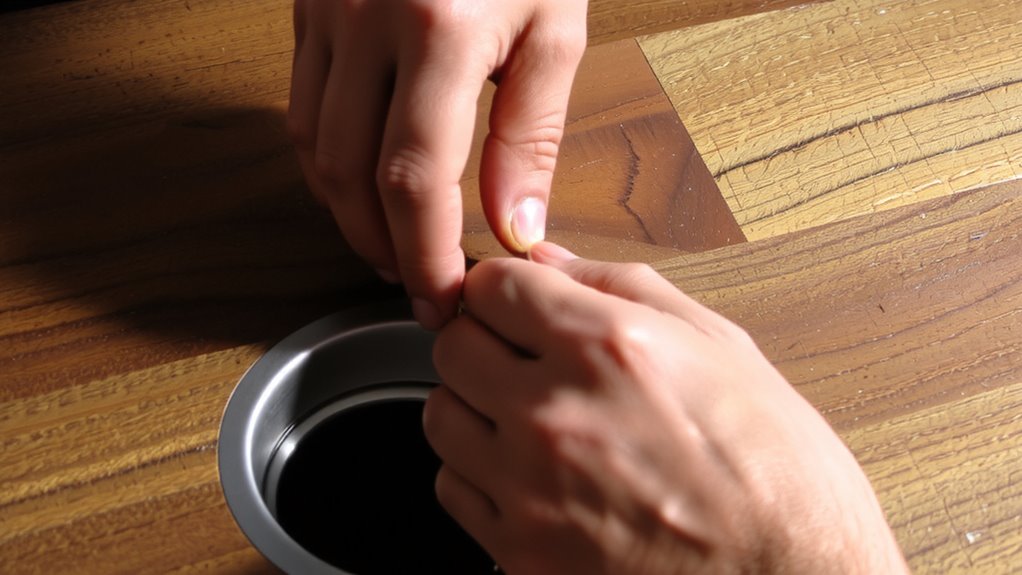
A handful of well-designed grommet plates make a real difference in keeping your workspace neat and cables managed, but not all are built the same. You’ll want to focus on material selection and plate style to get it right. Opt for stainless steel or thick aluminum-they’re durable, resist corrosion, and handle daily use without warping. Plastic models might save money, but they can crack under stress. Plate style matters just as much: round plates fit most standard cutouts, while oval or rectangular ones offer more cable access but require precise routing. Choose a low-profile design if you’re using thin desks, but verify clearance below. Some brands include rubber gaskets to reduce noise and protect cables-worth looking for. Always check warranty length and fit specs before buying; a 5-year warranty often signals better build quality. For those aiming for minimal clutter, consider pairing your grommet plate with a clean desk setup strategy that integrates routing channels and cable trays.
Mark the Cutout Location
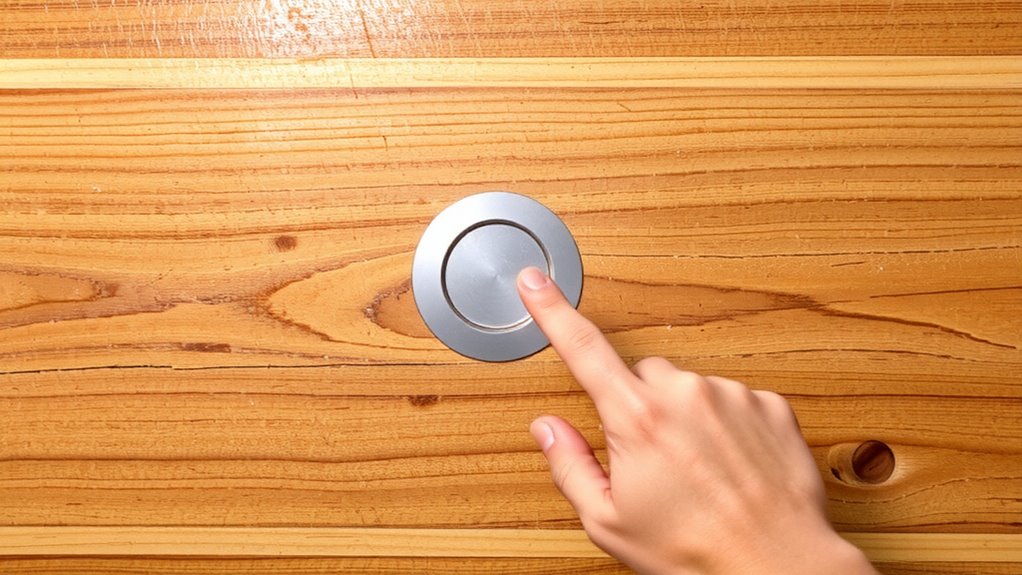
Precision starts with placement-get this step wrong, and even the best grommet plate won’t save you from crooked holes or misaligned cables. You’ll want to position the cutout where it reduces cable strain and supports your workflow. Typically, 2–3 inches from the back edge of the desk works best, centered unless your setup favors one side. Avoid placing it directly under desk lighting mounts, as that can block access or create shadows when routing cords. Measure twice, especially if you’re fitting a rectangular or oval plate-some models have asymmetric mounting tabs. Use a pencil to trace the outer guide, then double-check alignment with nearby outlets or monitor arms. Remember, once you cut, you can’t go back. Misplacement leads to stress on power and data cables, shortening their lifespan. A well-marked location guarantees clean routing and keeps your setup flexible for future changes.
Cut the Grommet Opening Precisely
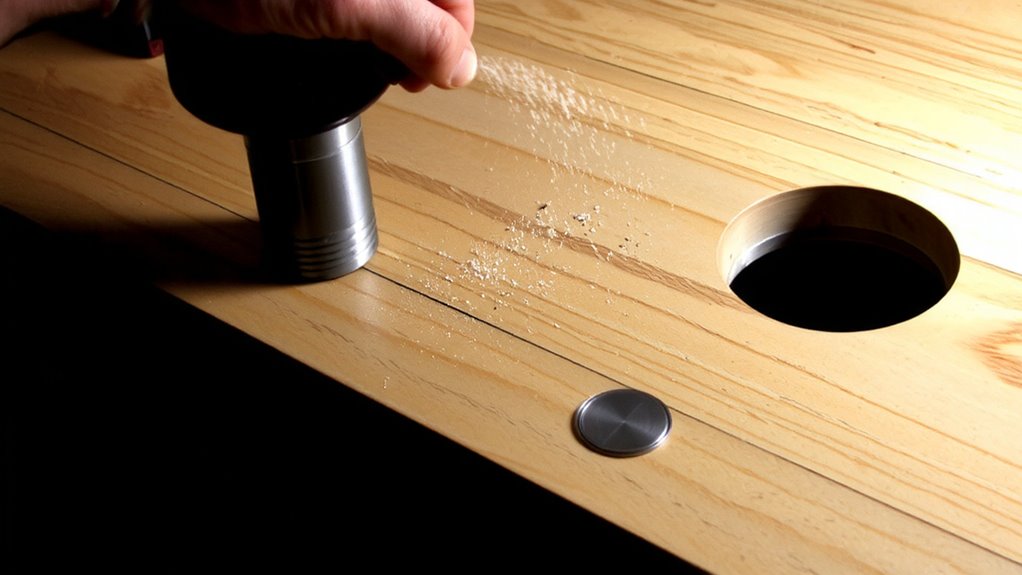
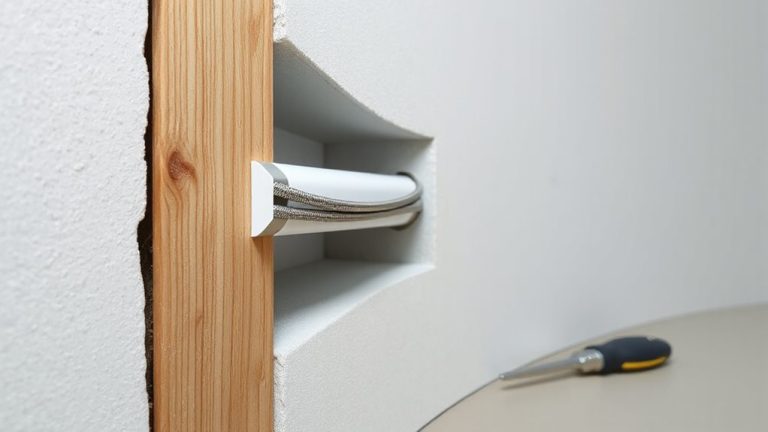
Now it’s time to make the cut-use a jigsaw or hole saw depending on your grommet plate’s shape, and stick to the traced outline with tight control. For clean edges and minimal tearout, maintain a moderate drill speed; going too fast can burn the wood, while too slow risks jagged results. Blade sharpness is critical-dull blades drag and splinter, especially in veneered or laminated desktops. A fresh carbide-tipped blade handles hardwoods and composites with noticeably better precision. If using a jigsaw, support the underside to prevent blowout, and let the tool do the work-forcing it causes inaccuracies. With a hole saw, drill a starter hole and keep the bit perpendicular. Even with care, minor chipping can occur, so sand lightly after cutting. The fit should be snug but not tight-account for slight variances in material thickness. This step demands accuracy; a clean cut sets the foundation for a professional-looking installation.
Install the Plate Flush With the Desktop
Though getting the cutout right is half the battle, seating the grommet plate flush hinges on proper alignment and the right mounting hardware. You’ll want to make certain the plate sits level with your desktop surface-any gap compromises both look and function. Use the included screws or clips as specified by the manufacturer, since over-tightening can crack certain desk materials. Desk material compatibility matters here; solid wood and laminate behave differently under pressure than MDF or acrylic. Align the plate before fully securing it, double-checking that the opening angles correctly for cable strain relief. A well-seated plate prevents cords from bending too sharply, reducing wear over time. If it’s even slightly raised, it’ll snag sleeves or catch dust. Test the fit with your fingers around the rim-smooth and even wins. Flush isn’t just visual-it guarantees long-term durability and clean cable routing without added friction. A clutter-free desk starts with thoughtful cable hiding options integrated directly into your workspace design.
Route Cables and Test the Setup
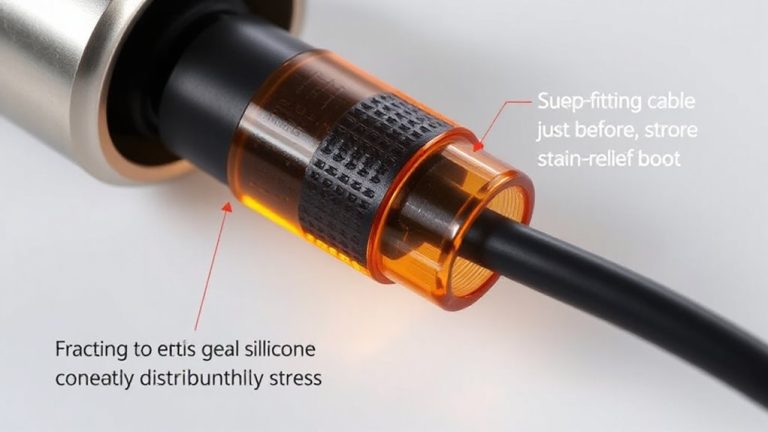
Once you’ve secured the grommet plate, routing your cables through it becomes the next critical step in maintaining both functionality and a clean desk. Start by grouping devices logically and using cable labeling to identify each line-this saves time during upgrades or troubleshooting. Always apply strain relief where cables exit devices or pass through tight openings; it prevents long-term wear and connection issues. Pull cables gently through the grommet, avoiding sharp bends. A well-executed setup aligns with the best practices of cable management solutions for a clutter-free workspace.
| Feature | Benefit |
|---|---|
| Cable labeling | Reduces confusion, speeds up maintenance |
| Strain relief | Prevents fraying, extends cable life |
Test each connection under load-monitor for power drops or signal loss. Some cables may require repositioning to avoid interference. While the setup improves organization, overly thick cables can limit grommet fit. Verify clearance before finalizing.
On a final note
You’ll get clean cable management by installing a recessed grommet plate, but only if you measure twice and cut square. A precise 3.5-inch hole guarantees a flush fit, and tight seams prevent splintering. Metal plates last longer than plastic, especially with frequent plugging. While it boosts desk function, misalignment can ruin the look. Test cable reach before final routing-some ports may end up too far.