Labeling USB Hubs With Port Function Descriptions for Team Environments
Label your USB hub ports clearly with durable, matte-finish vinyl labels using thermal transfer printing to resist smudging and UV damage. Name each port plainly-like “Printer” or “Scanner”-and match cables with matching tags to prevent confusion. Use hubs with at least 5Gbps per port on USB 3.2 Gen 1 and individual power management to avoid overload. Even the best setup fails with poor cables or no maintenance plan-stick with a system that’s easy to update as devices change. There’s more to getting it right on the first try than just sticking on labels.
Notable Insights
- Use clear, standardized labels like “Printer” or “External Drive” to ensure all team members understand port functions at a glance.
- Apply durable, matte-finish polyester or vinyl labels resistant to smudging, UV exposure, and frequent handling.
- Pair text with universal symbols to improve recognition speed and reduce language barriers in diverse teams.
- Label both hub ports and connected cables to maintain consistency and simplify troubleshooting during shift changes.
- Assign a team member to review and update labels monthly to reflect equipment changes and prevent outdated identifications.
What’s Really Clogging Your Team’s USB Hub
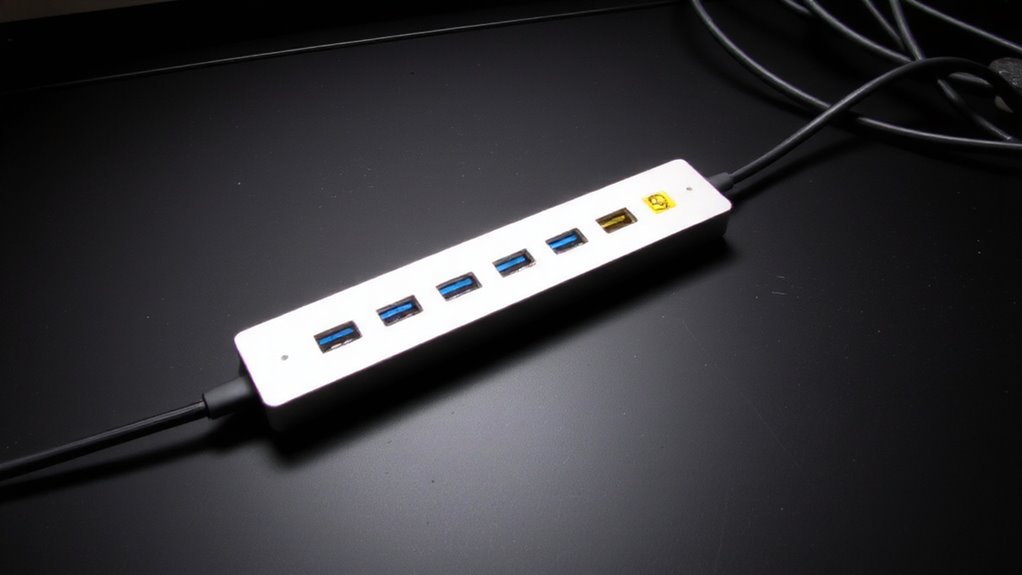
Why does your team’s USB hub keep slowing down at the worst possible moment? Data congestion and device conflicts are likely culprits. When multiple high-bandwidth devices-like external drives and webcams-draw power and bandwidth simultaneously, performance drops. Most hubs share limited total bandwidth across ports, so heavy use strains the connection. Device conflicts happen when incompatible drivers or outdated firmware cause recognition errors or stalls. You might not see issues during setup, but under load, weaknesses show. To reduce risk, choose hubs with individual port power management and built-in surge protection. Look for models tested under real workloads-ones offering at least 5Gbps per port on USB 3.2 Gen 1. Just remember, even the best hub can’t fix poor cable quality or overloaded source ports. For reliable performance, consider the best USB hubs based on verified user and expert reviews.
Pick Durable, Readable Labels That Last
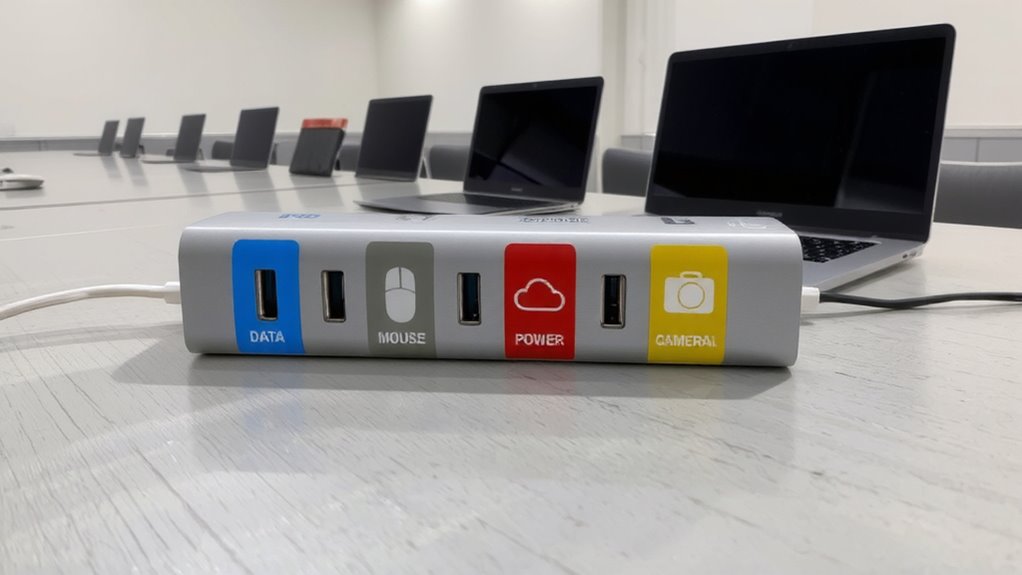
A good label shouldn’t fade by lunchtime. You need serious label durability if your USB hub sits under desk lights or near windows-the UV exposure alone can wreck standard sticky tags. Look for labels made with industrial-grade polyester or vinyl; they resist peeling and hold up to repeated plugging. Ink resistance matters just as much: alcohol wipes, hand oils, and cleaning sprays shouldn’t blur or smear the text. Thermal transfer printing beats inkjet here-those labels won’t fade for years, even in shared workspaces with constant handling. Matte finishes cut glare and improve readability over glossy ones. Brands like Brother and Dymo offer label makers with 3-year warranties and lab-tested adhesives, but test a few samples first-cheap refills often compromise both ink resistance and longevity. Don’t assume “permanent” means tough; verify real-world performance before committing.
Name Ports So Anyone Can Understand Them
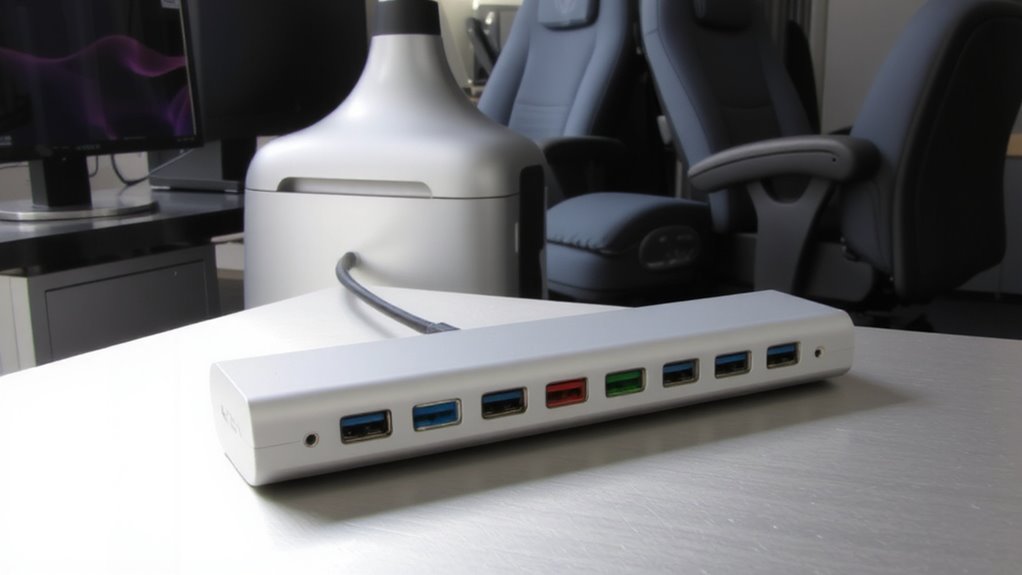
You’ve picked labels that can survive daily wear, UV exposure, and repeated cleaning-now make certain the labeling actually helps your team. Clear port names aren’t just helpful-they’re essential in shared workspaces where people switch stations often. Use simple, consistent terms like “Printer,” “Scanner,” or “Docking Station” so anyone can plug in without guessing. Pair these names with universal symbols (like a printer icon or monitor image) to speed recognition, especially for remote workers or new hires. Symbols reduce language barriers and improve accuracy under stress. But avoid overcomplicating-too many icons or cryptic abbreviations create confusion. Test your labels with someone unfamiliar to make certain they work in real conditions. Remember, even the most durable label fails if no one understands it. Port names and universal symbols together boost usability, but only if they’re chosen carefully and kept consistent across all hubs.
Label Your USB Hub in 5 Steps
Labeling your USB hub doesn’t need to be complicated, but doing it right saves time and cuts down on mistakes in busy workspaces. Start by powering down all connected devices to avoid damage during setup. Next, identify each port’s role-like charging, data transfer, or peripheral use-based on your team’s workflow. Use a label maker or adhesive tags with clear, concise text that matches your naming convention. Apply labels firmly to both the hub and corresponding cables to improve cable management and reduce confusion. Finally, verify power distribution matches load demands; overloading can cause slow charging or port failure. These steps help maintain order and prevent downtime. While labels wear over time, choosing weather-resistant tape extends life. Setup takes under ten minutes and pays off during shift changes or troubleshooting. It’s a simple fix with measurable impact. Consider using a best powered USB hub to ensure reliable performance across all labeled ports.
Keep Labels Fresh as Tools Change
Things change-your team swaps out devices, workflows shift, and that USB hub you labeled last quarter might not match today’s setup. You need to keep labels fresh to avoid confusion and maintain efficiency. When port rotation happens-moving peripherals between ports-outdated labels mislead users and slow down workflows. Tool migration, like upgrading from USB-A to USB-C devices or adding docking stations, also makes old labels obsolete. You should review your hub labels every few months or after any major equipment change. Use removable labels so updates are easy and don’t damage the hub. While relabeling takes time, it prevents errors during high-pressure tasks. The trade-off is minor downtime versus long-term clarity. Consistent updates guarantee everyone stays aligned, especially in shared environments where multiple people rely on the same hub. Don’t assume labels last-refresh them as tools evolve.
Get Your Team to Stick With Labeled Ports
Why do some teams abandon labeled ports even after setting them up correctly? Because without team accountability, habits fade. You might label each port clearly, but if no one owns the system, labels get ignored or removed. Consistent maintenance keeps the setup useful-tape wears, devices change, and new team members join. You’ve got to assign someone to check labels monthly and reassign ports as tools shift. It’s not enough to label once; you’ve got to reinforce the habit. Teams that succeed treat it like a shared calendar: everyone relies on it, so everyone respects it. But don’t expect perfection-people rush, cables get swapped. The trade-off is small oversight for big efficiency. When ownership and upkeep are clear, labeled ports stick. Without them, even the best labels fail.
Stop Downtime: How Clear Labels Speed Up Work
While it might seem minor, taking a few minutes to label your USB hub ports can save hours of frustration when devices stop working mid-task. Clear labels cut down on port confusion, so you’re not guessing which slot powers your headset or connects to your monitor. That means less time troubleshooting and more time working. Tool misplacement drops sharply when everyone knows where peripherals belong. Teams avoid unplugging essentials by accident, reducing interruptions during critical work. You don’t need expensive gear-just a label maker or printed tape and consistent naming, like “Webcam” or “Ethernet.” Though labels won’t fix hardware failures, they do speed recovery. Just remember: if your hub lacks enough ports or power output, labeling won’t overcome those limits. It’s a simple tweak, not a miracle fix-but when done right, it keeps workflows smooth and downtime low.
On a final note
Labeling your USB hub is worth it-but only with the right approach. Use weather-resistant labels and a permanent marker so text stays legible after months of use. Name ports by function, like “Keyboard” or “External Drive,” not device brands. Test labels with team members to confirm clarity. Replace them when gear changes. It cuts setup time, but only if everyone follows the system. Skip this, and confusion slows work.