How to Position Your Camera When Using a Sit-Stand Desk Transitioning Between Modes
Always keep your camera at eye level in both sitting and standing positions, ideally 24–48 inches from the desk surface. Use a securely clamped external webcam on an adjustable arm that moves with your sit-stand desk to avoid frame shifts. Align the camera with your monitor to maintain natural eye contact and prevent neck strain. Test your framing after every height change-especially with wide-angle lenses-and avoid digital tilt. Proper mounting prevents drift, but check tightness weekly. For built-in laptop cameras, expect compromises in alignment and lighting. The right setup keeps you centered, professional, and ready for any meeting. Small adjustments make a noticeable difference over time.
Notable Insights
- Position the camera at eye level in both sitting and standing positions to maintain a flattering, natural angle.
- Use an adjustable external webcam mounted on a flexible arm that moves with your sit-stand desk.
- Ensure the mount has a vertical range of at least 16–20 inches to cover both posture transitions smoothly.
- Test your framing after every height adjustment to keep eyes in the top third of the screen and shoulders visible.
- Avoid built-in laptop cameras and digital tilt features, as they distort framing and reduce video quality.
Check Eye Level in Sitting and Standing
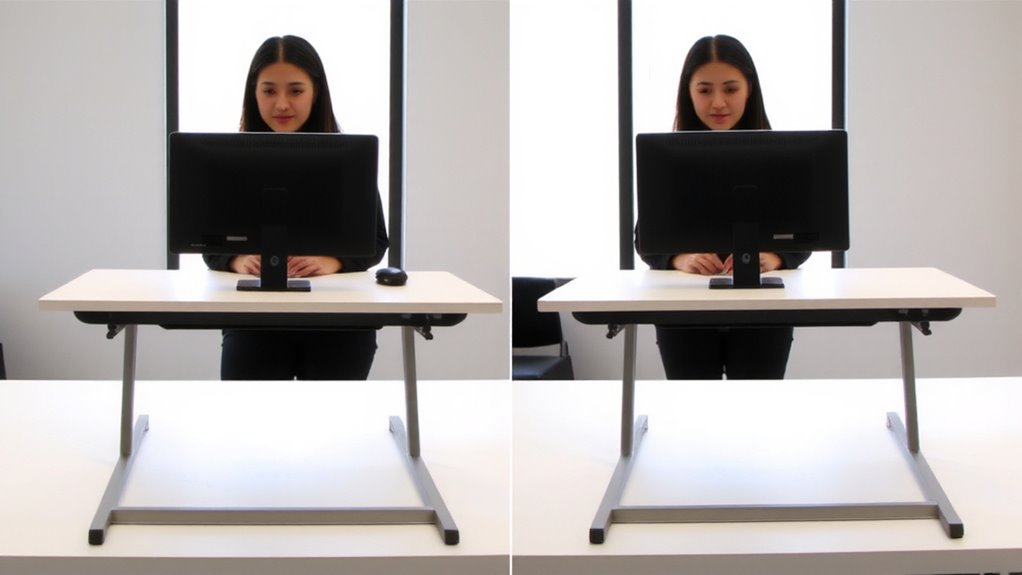
How often do you switch between sitting and standing at your desk, and does your camera stay at the right height each time? You need consistent eye-level alignment in both positions to maintain natural eye contact and professionalism. Without it, you’ll compromise camera stability and lighting consistency, resulting in distracting shifts during calls. Ideally, your lens should sit at or slightly above eye level whether seated or standing-about 24 to 48 inches from the desk surface, depending on your setup. Use a monitor riser or articulated arm to position your camera correctly, but verify the height each time you adjust. Even small deviations can tilt the angle upward or down, skewing your facial proportions. While built-in laptop cameras are convenient, they rarely stay aligned through adjustments. For reliable performance, invest in a securely mounted webcam that remains fixed relative to your face, ensuring stable framing and uniform lighting across posture changes. Top models in our standing desk converters review maintain smooth height transitions without shifting monitor alignment, minimizing camera repositioning needs.
Pick a Mount That Adjusts With Your Desk
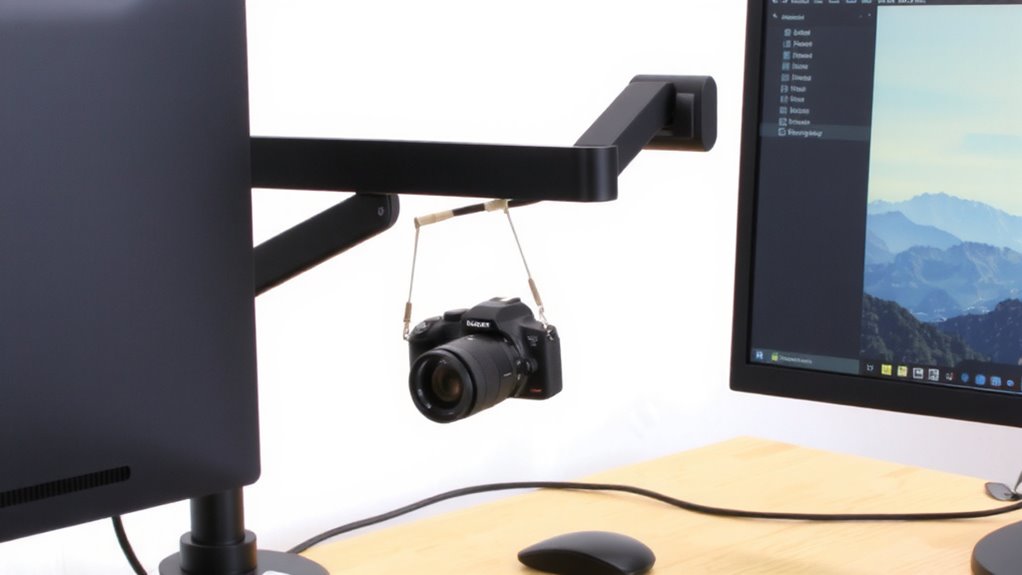
While your sit-stand desk moves, your camera shouldn’t drift out of frame or misalign with your eye line, so picking a mount that moves with your desk is key for consistent video quality. Look for mounts with solid mount stability-ones that clamp securely to your desk and use tension arms or gas-spring compatibility to stay put during shifts. Flex arms or ball joints let you fine-tune positioning without wobbling. Built-in cable management also matters; routing your camera’s USB or power cord through the mount reduces clutter and prevents snagging when the desk rises or lowers. Track whether the mount’s range of motion covers both your seated and standing height without re-adjusting. Some models, like articulated desk mounts with 16–20 inches of vertical reach, handle most shifts smoothly. Just make sure the clamp doesn’t damage your desk edge and that cables stay secured under real-world use.
Align Camera and Monitor at Eye Height
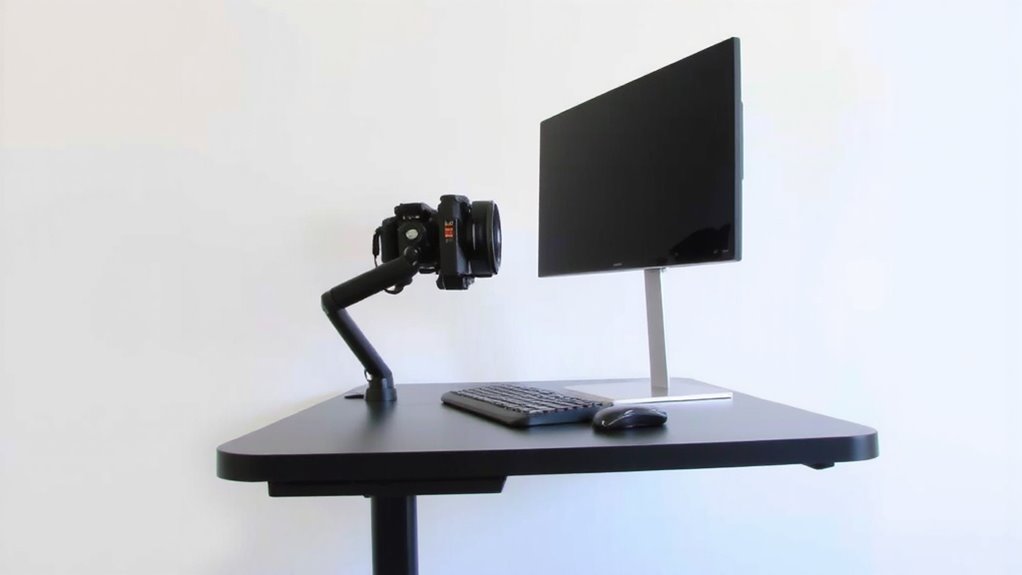
Getting this right means just one thing: your camera should sit at eye level whether you’re sitting or standing. Misalignment causes unflattering angles and strains your neck. Use an adjustable mount to keep your monitor and camera at eye height in both positions. This guarantees camera stability and consistent, natural-looking lighting consistency across shifts. A durable clamp mount can support smooth transitions without compromising alignment.
| Desk Mode | Camera Height | Lighting Angle |
|---|---|---|
| Sitting | 24–28 in | Front-facing, even |
| Standing | 36–40 in | Slightly elevated |
| Shift | Adjustable | Maintain front source |
A rigid clamp mount with a 360° arm offers durability and precision, but verify tightness weekly to prevent drift. Most premium mounts include rubber-lined grips and 5-year warranties. Even with perfect gear, poor room lighting undermines clarity-position lights accordingly.
Test Your Frame After Every Position Change
Since your posture shifts between sitting and standing, testing your camera frame after every adjustment guarantees you stay centered and properly framed, especially when using wide-angle lenses that exaggerate movement. You need consistent frame consistency for professional-looking calls-small shifts can push you off-center or cut off parts of your face. Check that your eyes remain near the top third of the screen and your shoulders stay visible. Lighting stability also matters; moving up or down may shift shadows or cause backlighting if windows or lights aren’t positioned well. A desk-mounted camera arm with fine-tuned adjustments helps maintain positioning across changes. But even then, always do a quick preview before joining meetings. Built-in laptop cameras often require re-framing due to shallow depth-of-field. External webcams offer more control but still demand checks. Skipping this step risks amateurish framing no matter how good your gear. For optimal flexibility, consider using one of the best webcam stands for your setup.
Avoid Nose-Up and Top-Down Camera Angles
If you’ve ever looked at your video call preview and felt like you were peering up at yourself-or worse, catching a shot of your nostrils-it’s likely your camera’s too low. A low angle exaggerates facial features due to lens distortion and creates an unflattering nose-up view. Tilting the camera downward from a high position isn’t the fix-it causes a top-down angle that flattens your face and cuts off eye contact. Instead, position your lens at or slightly above eye level when seated or standing. This minimizes distortion and keeps your gaze aligned with the frame. Use a monitor arm, tripod, or riser to adjust height precisely. Even small shifts matter. Avoid relying solely on digital camera tilt features-they can reduce image quality. Test each setup in real lighting. A neutral angle looks professional, but only if it’s consistently maintained across sit-stand shifts.
On a final note
You should mount your camera on an adjustable arm that moves with your sit-stand desk, keeping the lens at eye level in both positions. This guarantees a natural, face-on angle without unflattering nose-up or top-down views. Test your framing after each height change, since small shifts matter. Even premium mounts can drift over time, so check alignment monthly. A well-positioned camera improves video quality, but only if you’re consistent with adjustments and realistic about setup limits.