Installing Task Lighting With Adaptive Brightness Based on Ambient Light Levels
You’ll get reliable adaptive brightness by choosing LED task lights with 80+ CRI and 25,000-hour lifespans that support 0–10V dimming. Place ambient sensors away from direct light on the desk edge or monitor bezel for accurate readings. Use shielded, twisted-pair wiring to prevent flicker and lag. Even top models can drift-recalibrate monthly, especially as seasons change, and expect minor twilight flicker. North-facing setups tend to perform best. There’s more to optimizing responsiveness over time.
Notable Insights
- Choose task lights with adaptive brightness that automatically adjust output based on ambient light levels.
- Position ambient light sensors away from direct sunlight and reflective surfaces to avoid false readings.
- Mount sensors where they receive the same light as the workspace, such as on a desk edge or monitor bezel.
- Use 0–10V dimming with shielded, twisted-pair wiring for smooth, flicker-free brightness control.
- Recalibrate sensors monthly, especially during seasonal changes, to maintain accurate adaptive performance.
Choose Task Lights That Support Adaptive Brightness
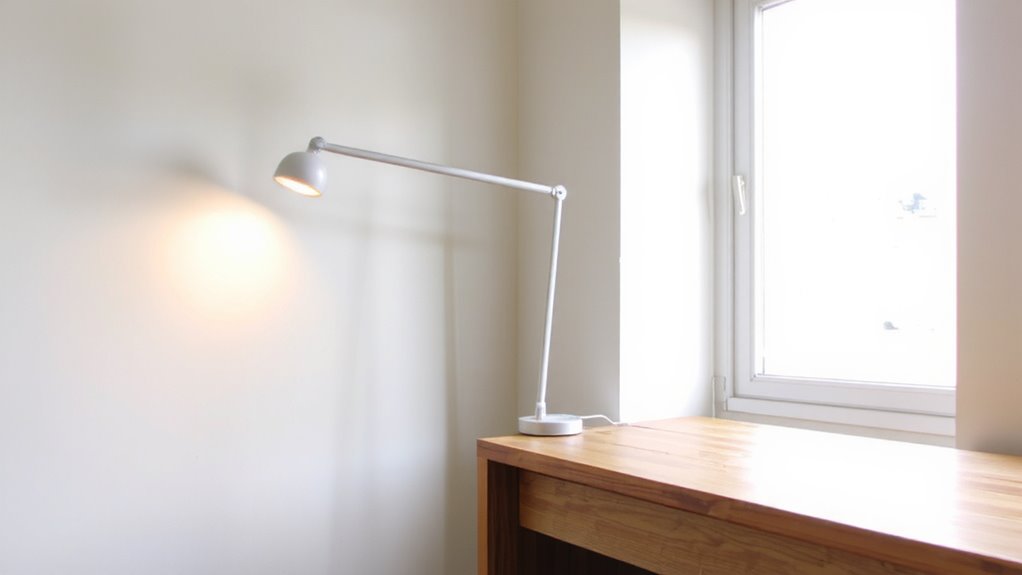
While not every task light adjusts to changing light conditions, picking one with adaptive brightness can make a real difference if you’re spending hours at a desk. These models automatically shift output based on ambient light, maintaining consistent visibility without manual tweaks. Look for ones that also adjust color temperature-warmer in low light, cooler in bright settings-to reduce eye strain. Units with high energy efficiency draw less power, cutting costs over time. Most top-tier adaptive lights use LED arrays with 80+ CRI and last 25,000+ hours, but check warranty length, as some brands offer only one year. Sensors can misread if blocked or in shadow, so position carefully. While they’re pricier than basic lights, the long-term comfort and efficiency gains often justify the cost-just don’t expect miracles in unevenly lit rooms. For reliable performance, consider models highlighted in reviews of the best desk lamps for your workspace.
Install Ambient Light Sensors Where They Work Best
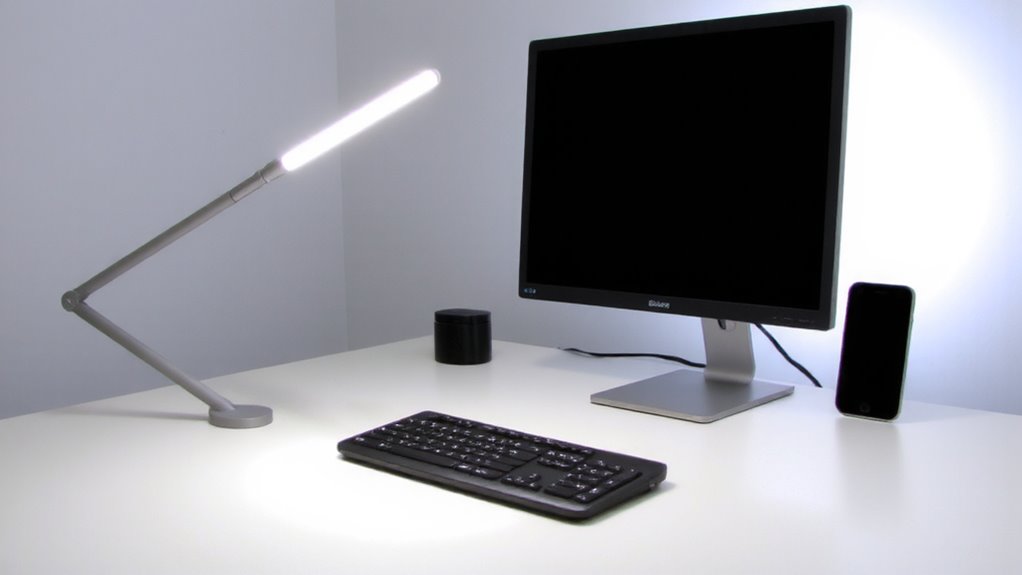
Where should you place the ambient light sensor for the most accurate readings? Ideal sensor placement is away from direct light sources and reflective surfaces that cause light interference. Mount it where it sees the same ambient light as your workspace-typically on a desk edge or monitor bezel-but not in the beam of task lights or windows. You’ll get more consistent adaptive control if the sensor isn’t tricked by sudden glare or shadows. Avoid placing it near LED strips or overhead fixtures that cycle brightness, as this skews readings. Real-world tests show sensors on north-facing desks perform best, with fewer false triggers. Keep in mind: poor placement leads to flickering or delayed dimming. While most sensors have a 90–120° field of view, results vary by model. Check manufacturer specs and test placement before final mounting. For optimal video conferencing lighting, consider pairing your setup with one of the best desk lamps for Zoom calls featuring adjustable color temperature.
Wire for Seamless Dimming and Sensor Control
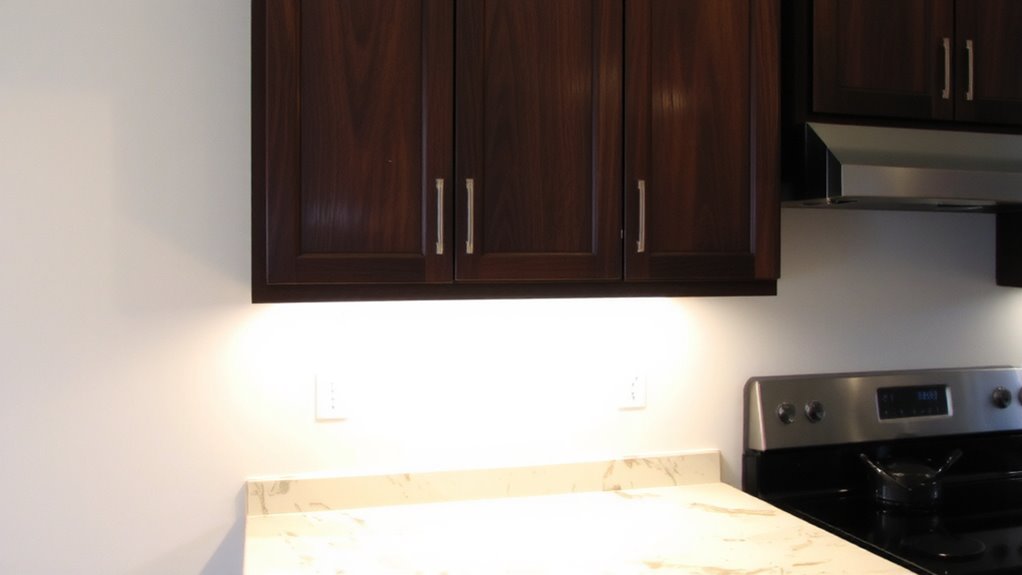
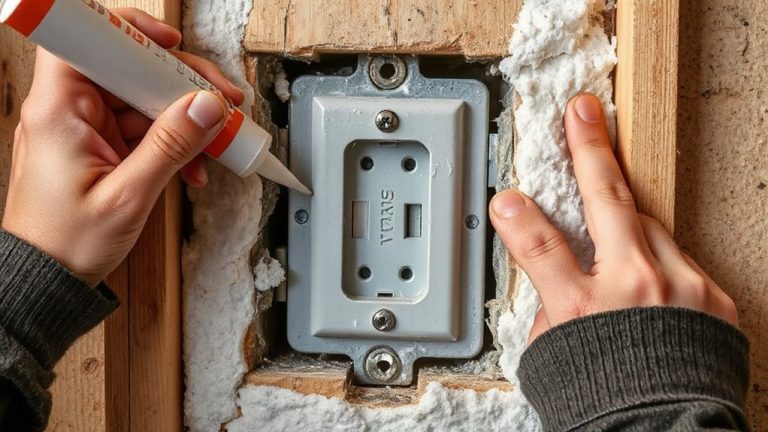
If you want smooth, flicker-free dimming tied to your ambient light sensor, you’ll need to pair a compatible LED driver with a reliable control wire setup-starting with a 0–10V dimming system that’s widely supported and easy to install. Proper wiring techniques are critical: use shielded, twisted-pair cables to reduce interference and maintain voltage stability across long runs. Poor connections or undersized wire can cause dimming lag or sensor misreads, especially in shared office environments with fluctuating power loads. You’ll want to test the circuit under load to verify signal consistency. While 0–10V works well with most commercial sensors and drivers, remember that calibration drift can occur over time, so choose components with solid warranties and field-proven reliability. Avoid mixing brands without checking compatibility first-some drivers respond sluggishly, undermining automation precision.
Set Room-Specific Brightness Automation
Once you’ve got your dimming system wired and stable, it’s time to tailor the lighting behavior to each room’s actual use-automating brightness based on occupancy, daylight availability, and scheduled tasks. You’ll want to enable motion detection in high-traffic zones like kitchens and bathrooms so lights turn on only when needed, saving energy without sacrificing convenience. For living rooms and bedrooms, pair motion detection with color tuning to shift from cool white in the morning to warm tones at night, supporting natural circadian rhythms. In home offices, avoid over-reliance on automation; manually adjustable settings often beat presets. Set schedules as a baseline, but expect to fine-tune sensitivity and delays. Most quality fixtures offer 25,000-hour lifespans and 5-year warranties, but always test responsiveness over a week. Automation helps, but poorly calibrated sensors can frustrate more than help.
Calibrate for Smooth Day-to-Night Transitions
How often do your lights feel jarring as daylight fades? You can avoid abrupt shifts by calibr Improve day-to-night changes. Start by testing sensor accuracy at multiple times between 5 PM and 8 PM, noting how well your system responds to natural light changes. Use a consistent calibration routine-same location, same height-every time to guarantee calibration consistency. Most systems need recalibration monthly, especially if lighting conditions shift seasonally. Place sensors away from direct window light to prevent false brightness readings. While high-end sensors like the Lutron Clearfield offer stable performance, cheaper models often drift. Check manufacturer specs for lux range and testing warranties. Even with precise setups, minor flickering may occur during twilight. You’ll get better long-term results by combining stable hardware with disciplined setup-just don’t expect flawless automation in every home office layout.
Fix Common Sensor and Dimming Issues Fast
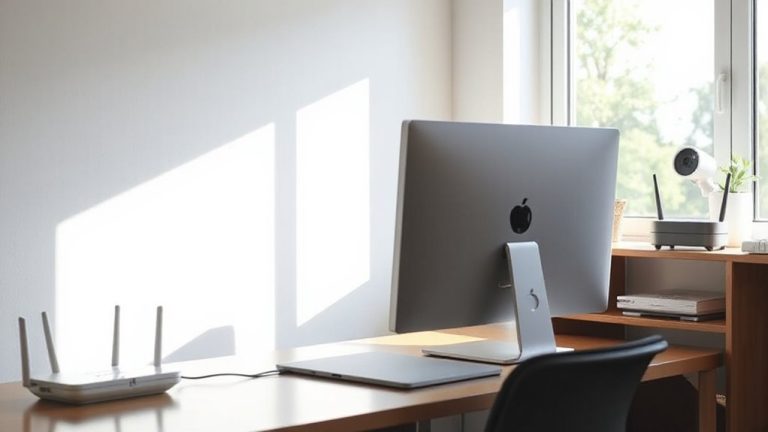
Why does your task light still flicker or dim unpredictably when you need steady illumination? Sensor interference from nearby electronics or direct sunlight can trick your light’s photoreceptor, causing erratic behavior. Start by relocating the fixture away from monitors, routers, or windows that flood the sensor with false ambient cues. If problems persist, check for calibration drift-over time, sensors lose accuracy and no longer match actual light levels. Recalibrate using the manufacturer’s procedure, usually involving a reset button and exposure to consistent room lighting for five minutes. Most quality units recover full function after this. However, if dimming still stutters, verify compatibility between LED drivers and control circuits; mismatched components often cause flicker. Units with 0–10V or DALI controls tend to be more stable. Expect solid performance for 1–2 years, though warranties typically cover only 12 months. Test thoroughly before final mounting.
On a final note
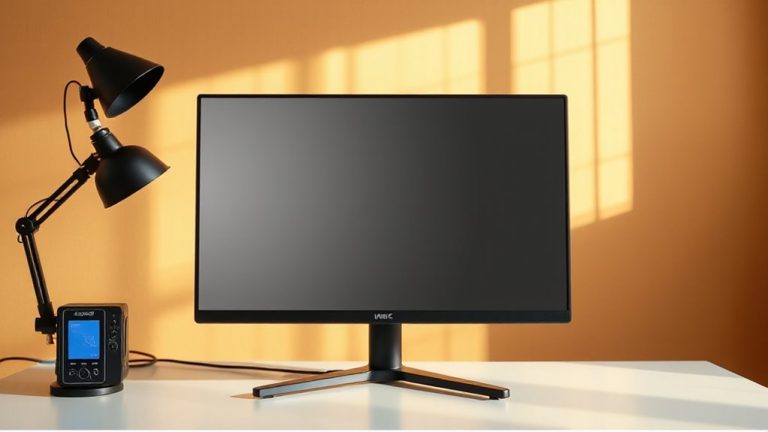
You should install adaptive task lighting-it boosts focus and reduces eye strain in home offices. Lights like the BenQ WiT MindDuo use precise ambient sensors to adjust brightness smoothly from 300 to 1,200 lux. Calibration matters: misaligned sensors cause flickering or delayed response. Most units offer 3-year warranties, but dimming compatibility requires checking LED driver specs. Results are strong under controlled conditions, though mixed lighting environments may need manual tweaks for best performance.