Inspecting Cable Management Trays for Cracks That Trap Dust
You should inspect cable trays regularly because cracks trap dust and restrict airflow, raising rack temperatures over time. Look for visible fissures, warping, or corrosion-especially in trays over 10 years old. Use a flashlight and light pressure; if deflection exceeds 1/4 inch, the tray’s compromised. Clean debris with soft brushes, but know cracked trays are hard to fully clear. Replace damaged sections to restore integrity. There’s more to think about when choosing between repair and full replacement.
Notable Insights
- Inspect trays visually for cracks, warping, or corrosion that can trap dust and compromise structural integrity.
- Check for dust buildup in cracks, as accumulated particles impede airflow and increase cooling strain.
- Power down equipment before inspection to safely assess tray condition and connection points.
- Test tray flexibility with light pressure; excessive deflection indicates material fatigue or failure risk.
- Document cracks and degradation, especially in trays over 10 years old, to track maintenance needs.
Why Cracked Cable Trays Threaten Your Data Center
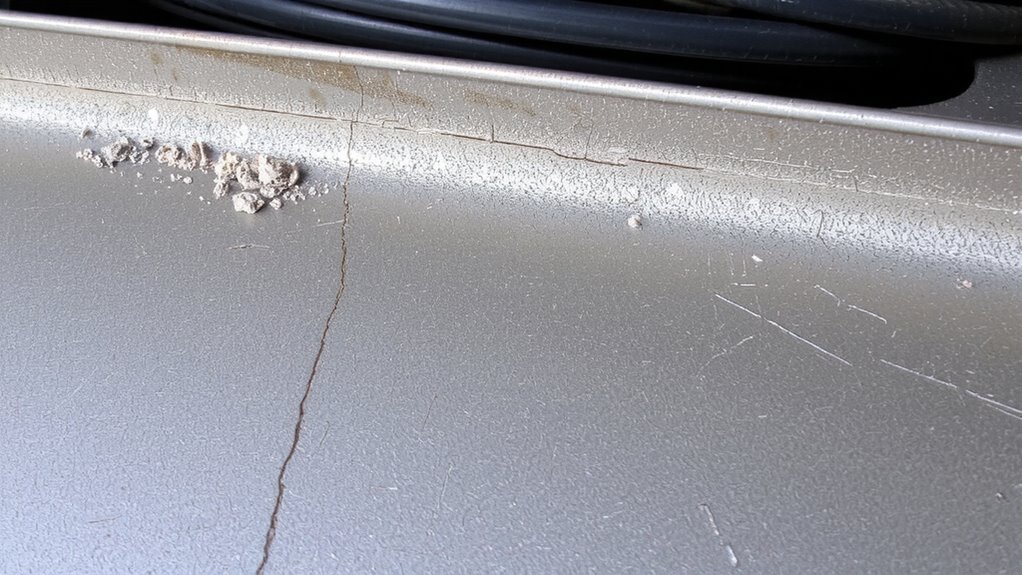
While they might seem like a minor part of your data center’s infrastructure, cracked cable management trays can seriously undermine system reliability-and you’re likely underestimating the risk. You’re exposing your setup to structural failure and cable strain, especially under continuous load. Repeated thermal expansion stresses already weakened plastic or metal, accelerating material fatigue over time. These cracks often start small but grow due to fluctuating temperatures, common in tightly packed racks. Once compromised, trays can’t properly support bundled cables, risking disconnection or damage during maintenance. You should inspect trays quarterly, focusing on connection points and midspan areas where stress concentrates. While high-grade nylon or stainless steel models resist fatigue better, even they fail if overfilled. Replacement isn’t always immediate, so prioritize trays showing visible warping or hairline fractures. Ignoring these signs risks unplanned outages-small flaws today can cascade into major failures tomorrow.
How Dust Builds in Cracked Cable Trays
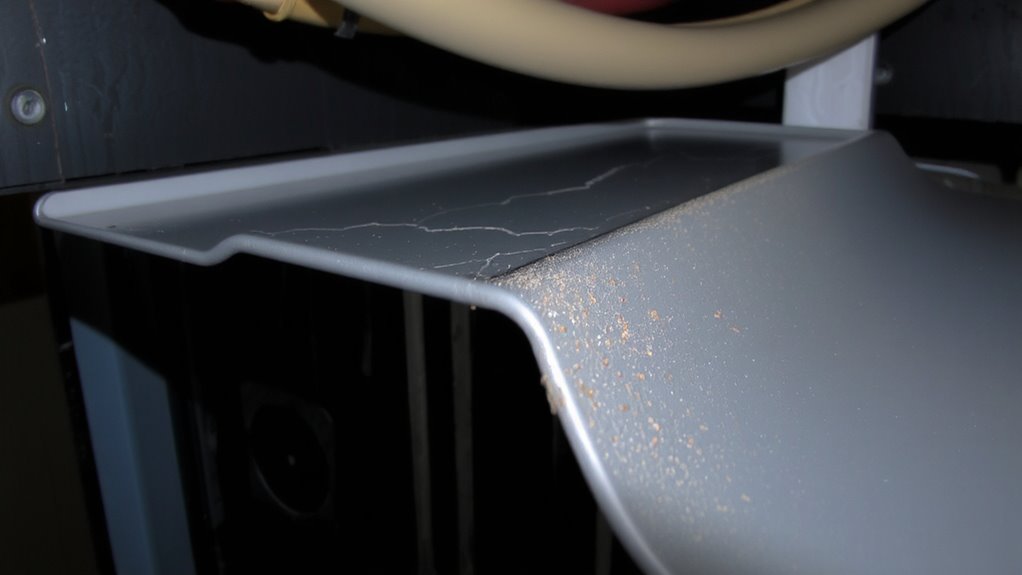
Since dust naturally circulates in any enclosed IT environment, cracked cable trays give it a hiding place where it quickly accumulates and becomes harder to remove. You’re dealing with more than just mess-dust accumulation in these areas traps heat and can compromise airflow. Cracked surfaces break the tray’s smooth finish, creating tiny ledges where particles cling and build up over time. Once lodged, dust isn’t easily dislodged by standard cleaning, especially in tight or overhead spaces. These cracks often start small, but they accelerate the retention of contaminants. You might not see the full effect at first, but over months, the trapped dust creates a persistent maintenance challenge. It’s not just about appearance-this buildup stresses cooling systems and could shorten hardware lifespan. While routine inspection helps, damaged trays often need full replacement to restore cleanability. Prevention matters, but don’t assume all trays resist cracking-even quality polymer blends degrade under prolonged stress. Effective organization starts with choosing the right cable management solutions to minimize clutter and reduce dust traps.
Signs Your Cable Trays Need Attention
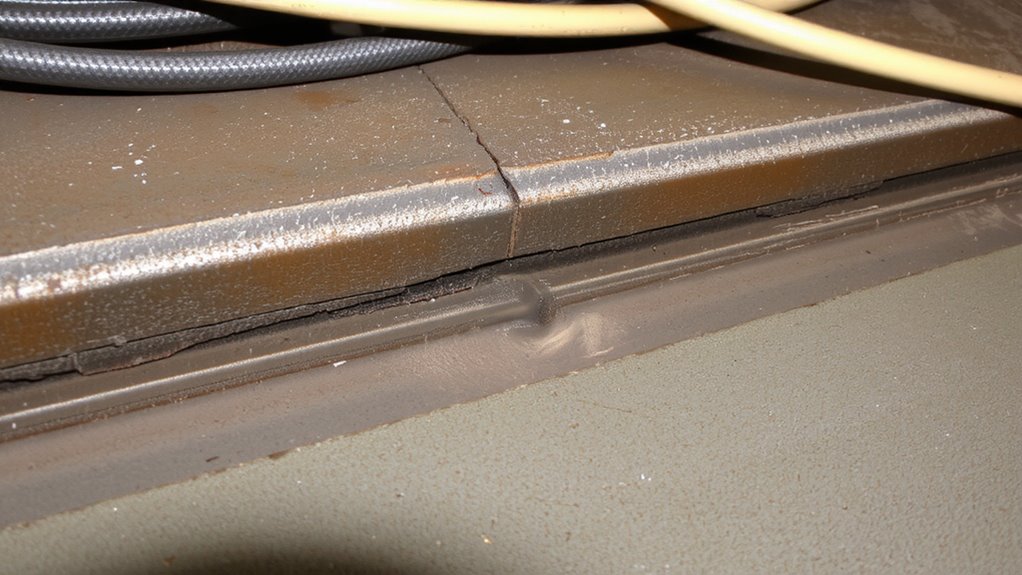
If you’ve noticed rising temperatures in your rack or dust piling up where it shouldn’t, cracked cable trays might be the culprit. You’re likely compromising both airflow and cleanliness, which strains cooling systems over time. Visible cracks or warping are red flags, but don’t overlook subtle signs like fading cable aesthetics or uneven tray surfaces-these often precede structural failure. Tray corrosion, especially along edges or mounting points, weakens support and increases debris buildup. Discoloration or flaking metal suggests prolonged exposure to humidity or contaminants. While neat cable appearance matters for professionalism, it’s also a quick visual indicator of wear. You’ll want to act before damage affects performance. Keep in mind that not all trays are equally resistant-check material specs like powder-coated steel vs. aluminum. Early intervention helps, but replacement isn’t always immediate; assess critical zones first.
How to Inspect Cable Trays for Damage
Start your inspection by turning off equipment power and confirming the rack is safe to work around-safety always comes first. Begin with a thorough visual inspection, checking each tray segment for cracks, warping, or corrosion. Look closely at connection points and supports, since loose hardware can compromise structural integrity over time. Run your fingers along the edges if safe-sometimes you’ll feel fractures you can’t see. Pay extra attention to trays under heavy cable loads, as stress can weaken plastic or thin metal. If a tray flexes more than 1/4 inch under light pressure, it’s likely past its limits. Minor surface marks are normal, but deep fissures or bent mounting flanges mean it’s time to replace. Don’t assume age equals failure, but trays over ten years old deserve extra scrutiny. Document findings so you can track degradation.
Cleaning Cracked Cable Trays: Tools and Tips
Though cleaning cracked cable trays won’t fix structural damage, doing it properly can slow further deterioration and keep your setup looking professional. Use vacuum attachments to pull out dust from hard-to-reach fissures without pushing debris deeper. Follow up with gentle brushing using a soft-bristle tool to avoid scratching surfaces or widening cracks. Work slowly and inspect as you go-aggressive cleaning can worsen existing damage. Effective cable management starts with maintaining clean, dust-free pathways, so consider integrating cable management trays into your overall desk organization strategy for long-term aesthetics and functionality.
| Tool | Purpose |
|---|---|
| Crevice tool attachment | Targets narrow cracks |
| Soft-bristle brush | Enables controlled gentle brushing |
Always power down nearby equipment before cleaning, and never use liquids or compressed air, which can force contaminants further into the system. While results vary by crack depth and tray material, consistent maintenance with these tools helps preserve integrity and appearance over time.
How to Prevent Cable Tray Cracks
A well-maintained cable tray stays crack-free longer, and the best way to get there is by combining proper load management with durable materials from the start. Your material selection directly affects longevity-steel resists impact better than aluminum, while fiberglass handles corrosion well in humid spaces. Always check manufacturer load ratings and stay under them by at least 10% to prevent stress fractures. Equally important are installation techniques: mount supports no more than 3 feet apart, use proper alignment, and avoid over-tightening clamps, which can create weak points. Misaligned trays twist under load, increasing crack risk. UV exposure degrades some plastics, so indoor-rated trays shouldn’t be used outdoors. While sturdier materials cost more upfront, they reduce long-term maintenance. No tray is indestructible-routine inspection helps catch issues early, but prevention starts with smart planning and attention to real-world performance.
Replace or Repair? Know When to Act
How do you know when a cracked cable tray needs a fix or a full replacement? If the crack is small and not near load-bearing areas, a repair might extend cable longevity without immediate risk. However, deep splits or warping across support channels mean you should skip patches and plan for tray replacement. Repairs can fail under stress, leading to sagging cables or dust buildup that’s hard to clean. For setups with heavy bundles or in high-vibration environments, replacement guarantees long-term reliability. Most manufacturers design trays to last 10–15 years; if yours is older, even minor cracks suggest material fatigue. New trays often come with stronger alloys and better edge sealing, cutting dust traps. But if your system’s under warranty, check terms before swapping-some don’t cover third-party repairs. Balance cost, effort, and future maintenance to decide wisely. Upgrading to modern cable management solutions can significantly reduce desk clutter and improve airflow.
On a final note
You should replace cracked cable trays-cleaning them offers only a temporary fix. Cracks trap dust, reduce airflow, and increase fire risk, especially in high-density racks. While repair clips or epoxy might seem cost-effective, they often fail under thermal cycling. New trays, especially steel or reinforced polymer models with a 5–10 year warranty, deliver better long-term reliability. Always prioritize fit and load rating during installation, since even small misalignments stress cables.