Labeling Cables With Device Name and IP Address for Network Troubleshooting
Labeling cables with device name, IP address, and switch port cuts troubleshooting time by up to 70%. Use a thermal labeler like the Brother PT-P750W-its smudge-proof, ink-free prints last longer than sticky tags. Apply identical, bold-text labels 1–2 inches from each connector end for quick tracing. Durable vinyl resists heat and handling, but test adhesion on greasy cables first. Outdated labels mislead, so update them after changes-consistent tagging pays off during outages, especially when you know exactly where each line goes.
Notable Insights
- Label both ends of each cable with the device name and IP address for fast identification during network troubleshooting.
- Include switch port numbers on labels to quickly trace connections from device to network source.
- Use thermal printing with durable vinyl tape to ensure labels resist fading, smudging, and environmental damage.
- Place labels 1–2 inches from the connector on the same side of the cable for consistent visibility.
- Update and audit labels quarterly or after configuration changes to prevent outdated information from causing errors.
Stop Wasting Time Troubleshooting Unlabeled Cables
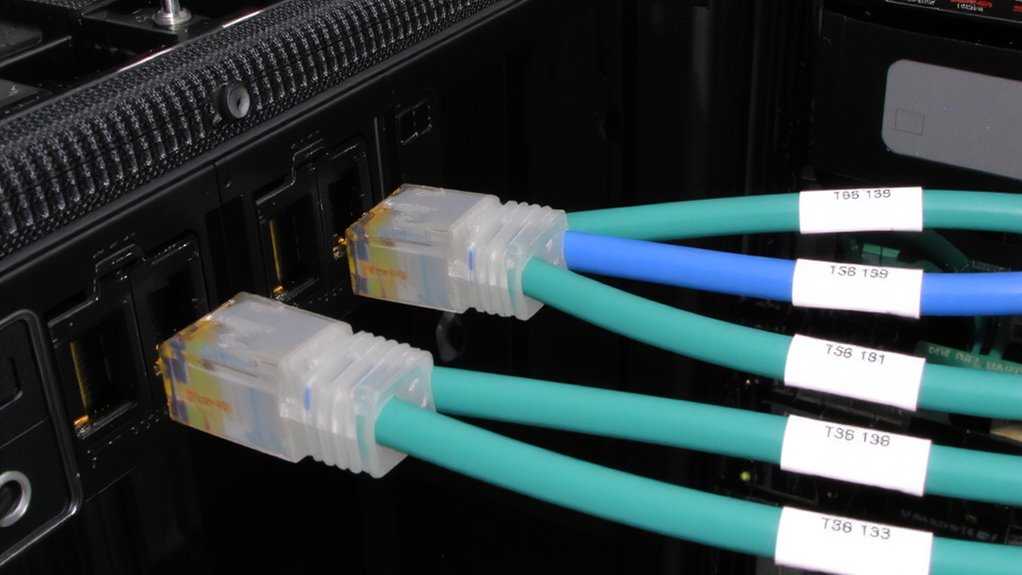
While you might save a few minutes upfront by skipping labels, tangled, unmarked cables will cost you way more time when something goes wrong. A solid label placement strategy-like tagging both ends within six inches of connectors-ensures quick identification during swaps or audits. You’ll cut diagnostic grinding substantially, especially in dense racks or shared walls. Cable color coding helps, too, by grouping functions-say, blue for data, red for VoIP-so visual scanning works faster. But don’t rely on color alone; fading or lighting can fool you. Labels stay reliable. Use durable, writable sleeves or printed tags that resist smudging and heat. Yes, labeling takes effort, but it’s a one-time cost that pays off in uptime. Skipping it risks confusion, errors, and longer outages. For consistent results, combine color coding with clear labels-just don’t expect it to fix poor cable management habits. Consider using an in-wall cable management kit to maintain organization and accessibility in structured installations.
What to Put on Network Cable Labels (Device, IP, Port)
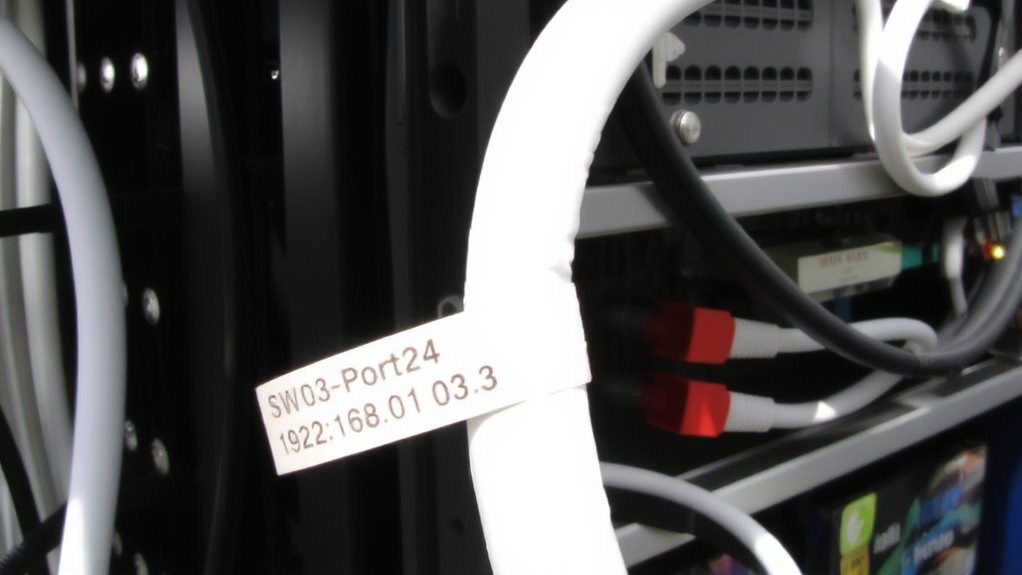
You already know unlabeled cables create chaos when issues strike, and even color coding has limits under flickering lights or faded jackets. For fast troubleshooting, label each cable with the connected device name, IP address, and switch port. This trio gives immediate context no matter who’s on call. Cable color coding helps at a glance, but labels confirm what’s real-especially after changes. Pair it with label placement consistency: always position labels 1 inch from each end, on the same side of the cable. That way, anyone can read them without twisting or guessing.
| Device Name | IP Address | Port |
|---|---|---|
| AP-Lobby | 192.168.1.10 | SW1 Gi0/1 |
| PC-05 | 192.168.1.50 | SW2 Gi0/8 |
| Printer-2 | 192.168.1.102 | SW3 Gi0/15 |
Best Label Makers and Supplies for Network Cables
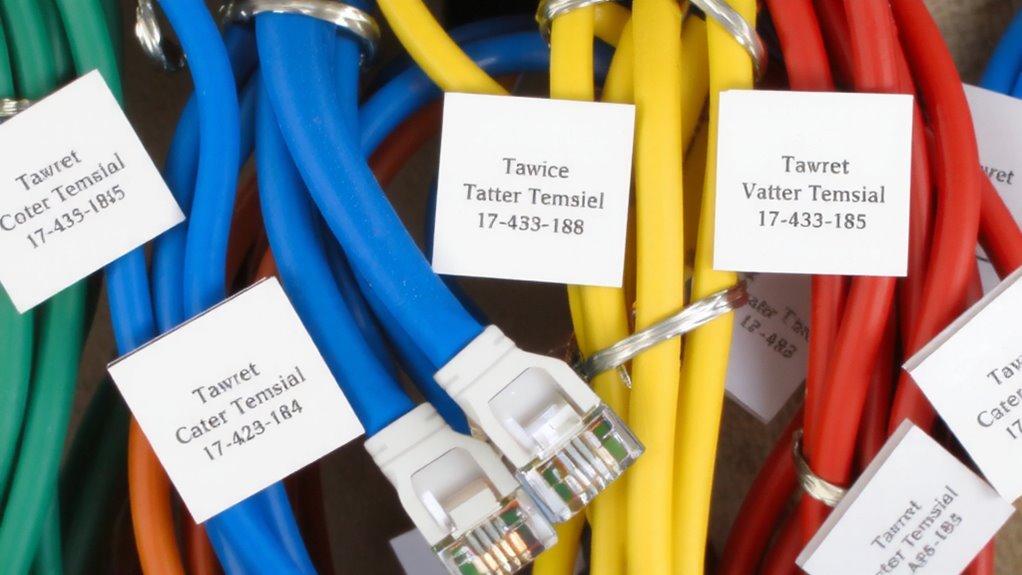
A reliable label maker is a network technician’s best ally when it comes to keeping cabling organized and troubleshooting efficient. For permanent, clean results, you can’t beat thermal printing-it doesn’t need ink and produces smudge-proof labels that last. Look for models like the Brother PT-P750W or P-touch Cube Plus, which support small label sizes ideal for network cables. Their thermal printing tech guarantees crisp text, even for tiny IP addresses. Pair them with high-quality vinyl tapes-they offer excellent vinyl durability, resisting fading, heat, and abrasion over years. These labels won’t peel or blur in tight racks or dusty server rooms. However, vinyl supplies cost more than basic tapes, and some compact models limit tape width to 12 mm, which may not fit long device names. Always check warranty-Brother offers 3-year coverage- and test print adhesion in humid conditions. Thermal printing with vinyl durability gives reliability, but balance needs against budget and label space. For versatile options that suit different labeling needs, explore the best label makers for every need.
Label Your Network Cables: A Step-by-Step Guide
Now that you’ve chosen a reliable label maker like the Brother PT-P750W or P-touch Cube Plus and picked durable vinyl tape for long-lasting results, the next step is putting those tools to work. Start by implementing a cable color coding system-use blue for switches, red for routers, green for servers-so you can visually trace connections fast. Then, apply your label placement strategy: put identical labels on both ends of each cable, about 1–2 inches from the connector, ensuring they’re visible without obstructing the port. Use concise, standardized formats like “SW01-P05” or “192.168.1.254” so labels stay readable even on shorter cables. Print clean, bold text with no extra graphics that could reduce legibility. While vinyl labels resist fading and smudging, avoid stretching them during application to prevent peeling. This method saves time during outages or upgrades-just don’t skip consistency, or you’ll lose the benefit.
Mistakes That Make Network Labels Useless
Why do some meticulously labeled networks still turn into tangled headaches during outages? Because even perfect labels fail if they’re unreadable or missing. You might’ve labeled every cable, but if the ink fading makes text illegible after six months, you’re back to guessing. Cheap label makers often use ribbons that degrade under light or heat, speeding up ink fading. Label peeling is just as bad-adhesives fail over time, especially on dusty or oily cables, leaving blanks where IDs should be. You need weather-resistant labels with strong adhesives and pigment-based ink, tested for at least three years of indoor durability. Thermal transfer labels outperform direct thermal here-no fading. But they cost more and require specific printers. Label peeling also increases with frequent handling, so apply them snugly and avoid overtightening ties. Don’t assume one label type fits all environments-verify materials match your setup’s conditions.
Keep Your Cable Labels Up to Date
You’ve made certain your labels resist fading and stay firmly attached, but that durability means nothing if the information on them is out of date. You need to update labels whenever devices are moved, replaced, or reconfigured-otherwise, they’ll mislead during troubleshooting. Good label adhesion guarantees they stay put, but if the data’s wrong, you’ll waste time chasing dead ends. Outdated labels also increase the risk of disconnecting the wrong cable, which can accelerate cable degradation from repeated handling. Regular audits-quarterly or after major changes-help maintain accuracy. Use rewritable labels or label printers with editable templates to make updates easier. While strong adhesion and rugged materials protect against wear, they also make removal harder, so balance durability with flexibility. Keeping labels current doesn’t just support clarity-it preserves the integrity of your entire cabling system. Implementing effective cable management solutions can further reduce clutter and simplify label visibility.
On a final note
You should label every network cable with device name, IP, and port-it cuts troubleshooting time drastically. A good label maker like the Brother P-touch PTD600 prints durable, smudge-proof tapes that withstand dust and handling. Test labels first; some adhesives fail in heat or humidity. Labels only help if they’re accurate, so update them after changes. Outdated or unclear tags create confusion. Keep it consistent, precise, and treated as living documentation, not a one-time fix.