Creating a Wall-Mounted Pegboard System for Tools and Supplies in a Compact Office
Use a 0.06-inch-thick perforated steel pegboard for durability and strong tool support in tight spaces-steel resists warping and handles heavy loads, but adds depth to your wall. Mount it on studs with screws or use toggle bolts for drywall, masonry anchors for concrete. Position daily tools at shoulder to waist height, group by use, and leave space between zones. Reconfigure hooks and bins as needs shift, staying under 50 lbs per sq ft. You’ll see how layout tweaks improve access over time.
Notable Insights
- Use perforated steel panels with a minimum thickness of 0.06 inches for durability and reliable tool support.
- Mount the pegboard on wall studs or use appropriate anchors rated for 50+ pounds in hollow walls.
- Position frequently used tools and supplies between shoulder and waist height for easy access.
- Organize items by workflow sequence and group similar tools to reduce clutter and improve efficiency.
- Choose modular hooks, bins, and shelves that fit 1/4-inch perforations for flexible, reconfigurable storage.
Pick the Best Pegboard Material for Your Office
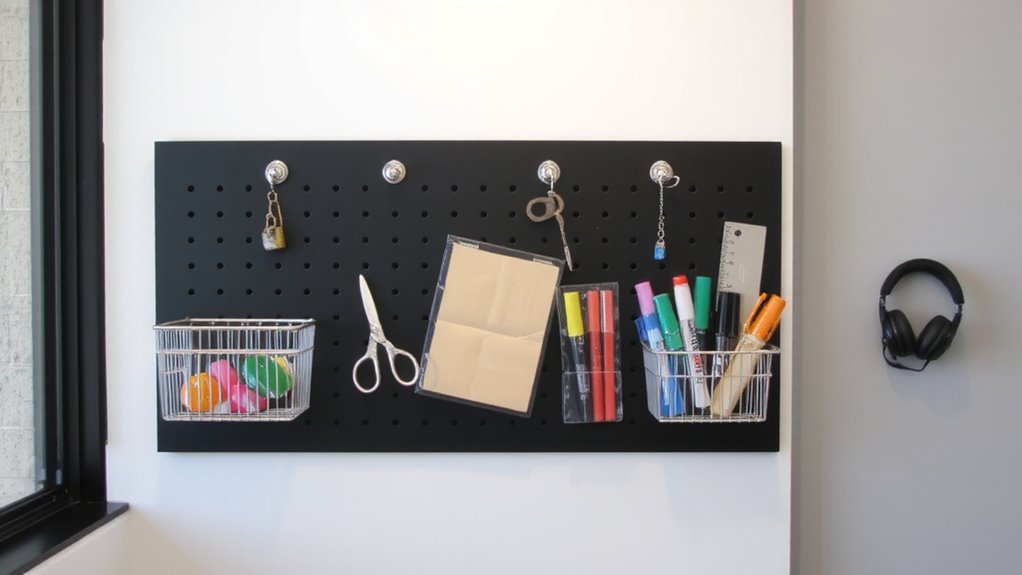
Durability starts with the right material, and when it comes to wall-mounted pegboards for your office, perforated steel is your best bet. It holds heavier tools without sagging, unlike thinner plastic or fiberboard options. Look for a pegboard thickness of at least 0.06 inches-this gives you reliable hook support, even with daily use. The paint finish matters, too; a baked-on powder coat resists chipping and corrosion better than standard paint, especially in busy workspaces. Steel boards may cost more upfront, but they won’t warp or degrade over time. Just remember: your pegboard thickness affects both load capacity and profile depth-thicker panels stick out further from the wall. And while a smooth paint finish looks sharp, it can show scratches. Regular maintenance keeps it looking clean. Choose steel for long-term performance, but be honest about your load needs and aesthetic tolerance.
Check Your Wall Type Before You Start
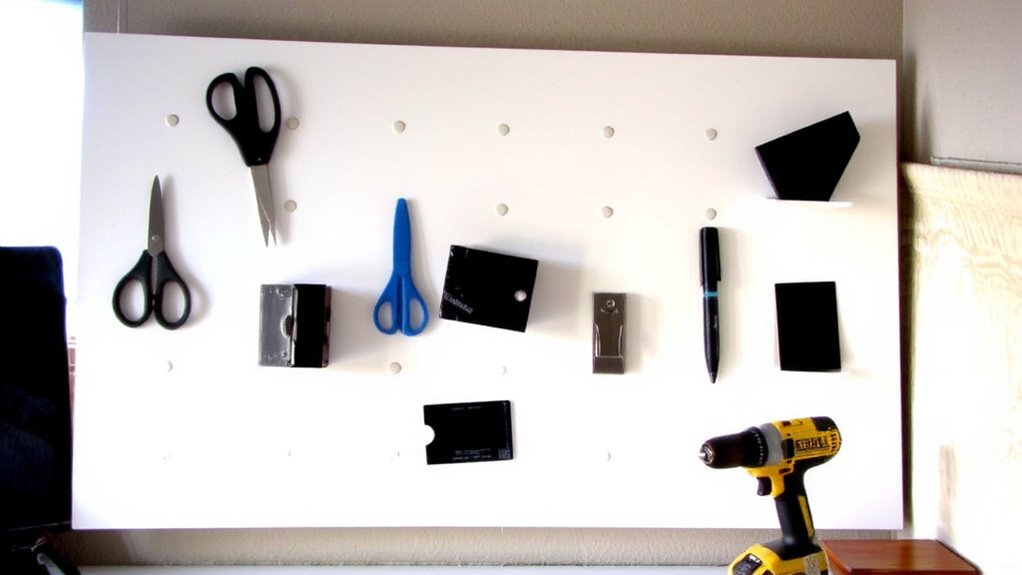
You’ve picked a sturdy steel pegboard that can handle your tools, but none of that matters if your wall can’t support it. Drywall alone won’t cut it-you’ll need wall anchors to secure the mounting hardware properly. If you’re drilling into wood studs, standard screws work well, but for hollow walls, toggle bolts or snap-toggle anchors provide better hold, tested to support 50+ pounds each. Always check behind the wall with a stud finder to avoid wiring or pipes. Concrete or masonry walls? Use masonry anchors and a hammer drill for a secure fit. The right mounting hardware varies by wall type, so don’t assume one size fits all. Mismatched hardware risks damage and instability. Your pegboard’s strength means nothing without secure installation. Match anchors and fasteners to both wall material and load weight-skimp here, and the whole system could fail.
Design a Layout That Fits Your Workflow
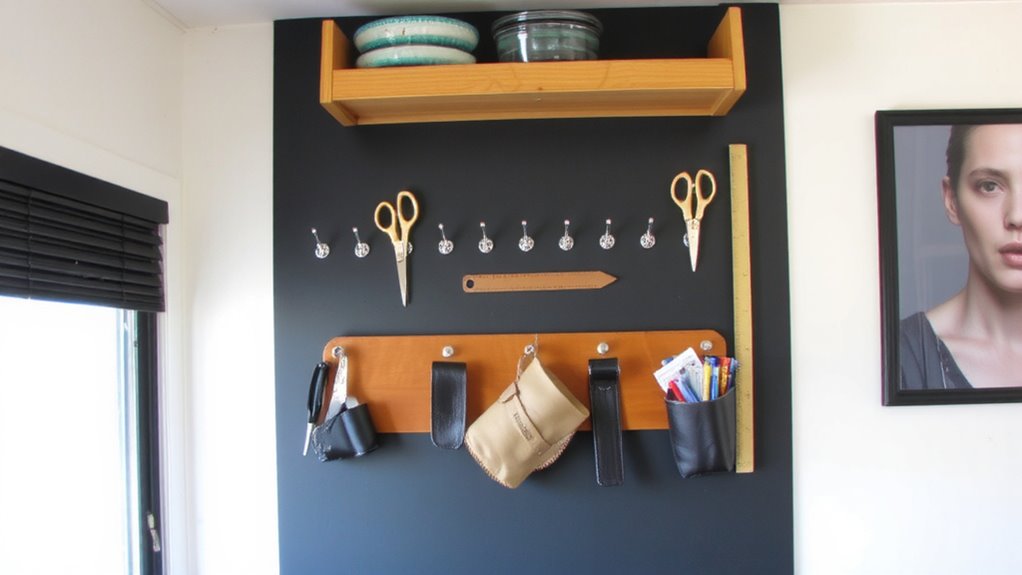
How often do you reach for a tool only to pause, scanning your pegboard in frustration? Designing a layout that fits your workflow starts with smart ergonomic positioning-place frequently used items within easy reach, between shoulder and waist height, so you’re not overreaching or bending. Arrange tools in sequence, matching how you actually use them during tasks, to reduce movement and mistakes. Prioritize visual accessibility: group similar items, use color-coded bins or labels, and leave space between clusters to avoid visual clutter. This helps you see and grab what you need without hunting. Test your layout over a few work sessions, then tweak it. Remember, even the best setup can fail if mounted on weak drywall or if pegs aren’t rated for the load. Balance convenience with structural limits to keep your system safe and efficient.
Organize Office Tools by How Often You Use Them
Often, the most effective office setups rely on a simple rule: keep what you use daily front and center. Place items requiring frequent access-like scissors, tape, pens, and staplers-in easy reach at eye and shoulder level. This boosts efficiency without overreaching or straining. Less-used tools, such as spare batteries or specialty stapler refills, belong in lower or outer storage zones. Group similar items together to reduce clutter and decision fatigue. Hooks, baskets, and bins should match the size and weight of what you store-overloading small bins leads to sagging and dropped items. While metal or sturdy plastic components hold up best, cheaper plastic hooks may crack under daily stress. Test your layout over a full workweek to spot inefficiencies. This method works well in compact spaces, but only if you’re honest about actual use-not just what you *think* you use. A dedicated spot for beverages keeps drinks stable and within reach, and adding a best desk cup holder can prevent spills while maintaining workflow.
Adapt Your Pegboard as Needs Change
While your workflow evolves over time, a well-designed pegboard shouldn’t become obsolete-it should adapt with you. Modular adjustments let you shift hooks, bins, and shelves as tasks change, so you’re not stuck with a static layout. Reconfigurable setups mean you can upgrade or reposition components without reinstalling the whole board. If your project needs shift from hand tools to tech gear, for example, you can swap out deep bins for shallow trays. Most metal pegboards support up to 50 lbs per sq ft, but always check manufacturer specs-overloading leads to sagging or wall damage. Perforated panels with 1/4-inch holes work best for compatibility. While the flexibility is a strong perk, frequent rearranging can wear out plastic pegs. Choose zinc-coated or steel hardware for longer life. Labels help maintain order after changes. With smart planning, your system stays functional, but don’t ignore the limits of your hardware.
On a final note
You’ll get the most out of a wall-mounted pegboard if you pick 1/4-inch tempered hardboard-it’s sturdy but easy to drill. Anchor it properly, especially on drywall, using toggle bolts. Lay out frequently used tools within easy reach, reserving higher spots for rarely used items. Reconfigure hooks and bins as needs shift. Just remember: even the best system fails if it fights your actual workflow-adjust often, or it’ll become clutter.