Creating a Dedicated Recording Zone in Your Home Office With Portable Booths
You’ll get faster, more predictable results with a portable booth than room treatment-real-world tests show 15–20 dB of noise reduction. It’s ideal for vocals or voiceover, not mastering. Set it up in as little as 24 x 24 inches, near a wall for better control. Pick one with 20–24 inch depth, NRC 0.75+ lining, and keep 6+ inches between mic and wall. Center your mic 6–8 inches from your mouth for clean tone. There’s more to optimizing your space where every detail fine-tunes performance.
Notable Insights
- A portable booth provides immediate sound isolation and fits in small home office spaces as compact as 24 x 24 inches.
- Position the booth against a wall or corner to enhance acoustic control and reduce ambient noise by 15–20 dB.
- Choose a booth with interior depth of 20–24 inches and at least 6 inches mic-to-wall clearance for optimal vocal recording.
- Center the microphone 6–8 inches from your mouth to balance clarity, intimacy, and reflection control within the booth.
- Use foldable, lightweight designs and clamp-mounted lighting to create a tidy, efficient recording zone in minutes.
Why a Portable Booth Beats Room Treatment
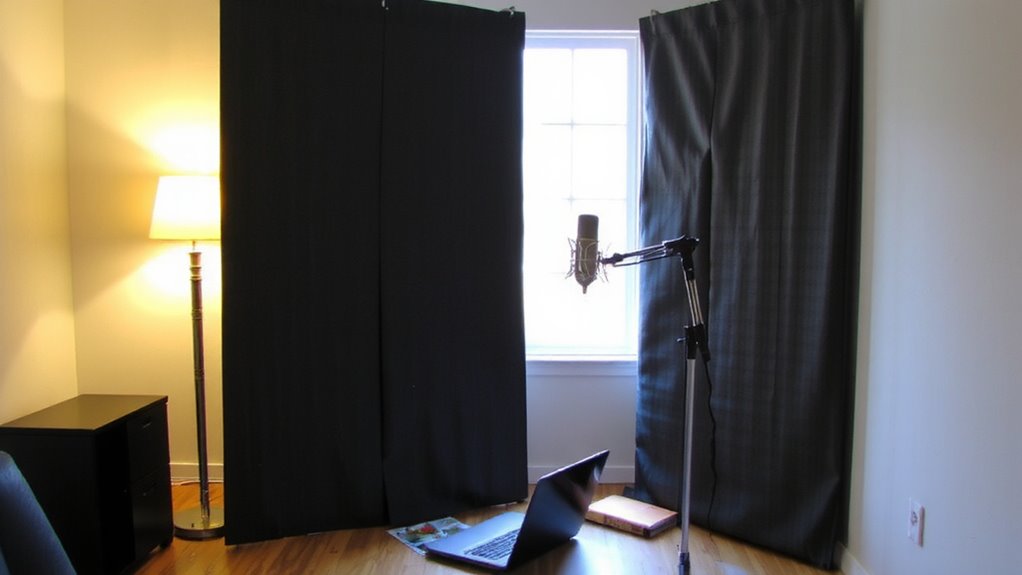
While room treatment can improve acoustics over time, a portable vocal booth often delivers faster, more predictable results-especially if you’re recording vocals or voiceover in a shared or untreated space. You get immediate sound isolation, blocking outside noise and preventing bleed-key when you can’t control your environment. These booths also offer acoustic flexibility; you can move them between rooms or disassemble them when not in use. Most models use dense composite panels and open-back designs to manage reflections without fully enclosing you, balancing clarity and comfort. Real-world tests show they reduce ambient noise by 15–20 dB, which is significant for dynamic mics. Still, they don’t replace full room treatment for critical mixing. They’re best for tracking, not mastering. Warranty coverage varies-check for at least one year. For fast setup and solid isolation, they’re a smart pick-but don’t expect miracles in extremely noisy spaces.
Set Up Your Booth in Tight Spaces
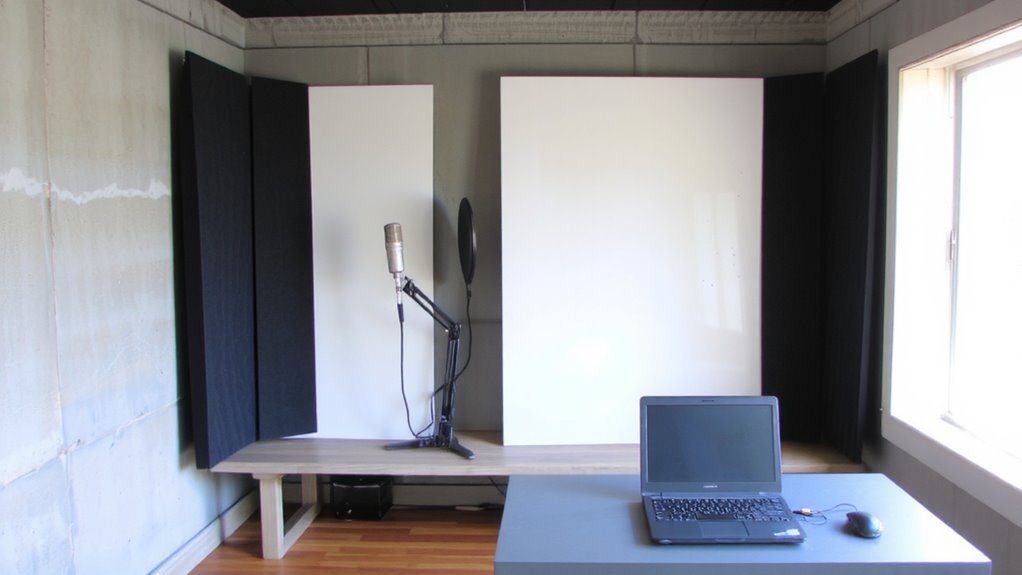
If you’re working in a cramped bedroom, closet, or corner of a living room, a portable vocal booth can still fit-many models are designed specifically for tight spaces, with footprints as small as 24 x 24 inches. Space optimization is key, and these compact units deliver decent sound isolation without needing permanent installation. They won’t match professional studios, but they considerably reduce room echo and outside noise.
| Feature | Benefit |
|---|---|
| Foldable walls | Easy storage in small areas |
| Lightweight frame | Simple repositioning |
| Inner acoustic lining | Improved sound isolation |
| Minimal footprint | Maximized space optimization |
Place the booth near a wall or in a corner to further enhance sound control. Make sure there’s enough room to open the front panel and adjust your mic. While isolation isn’t perfect, especially for very loud sources, the trade-off in convenience and space savings is often worth it.
Choose a Booth by Size, Material, and Mic Clearance
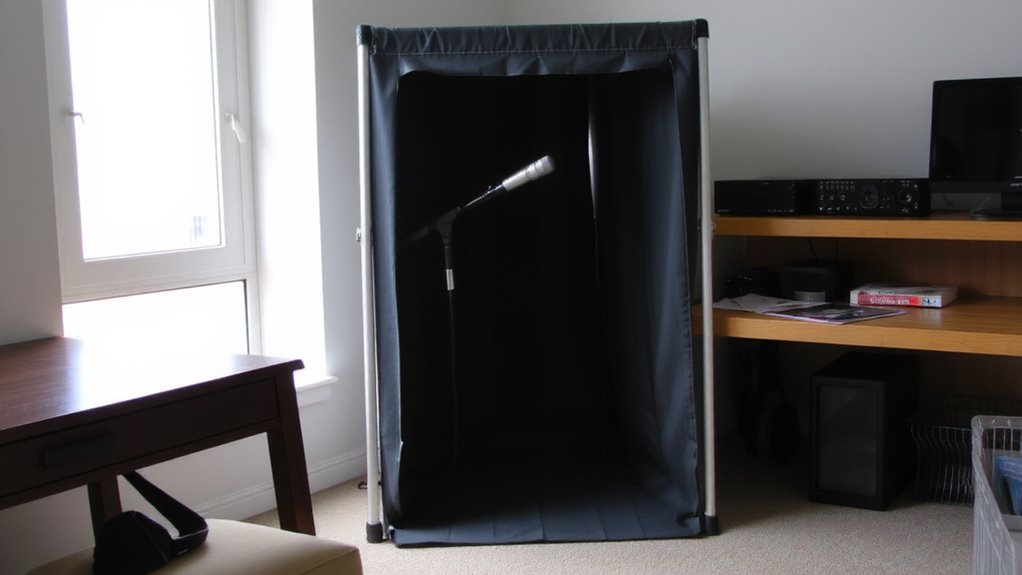
Your best bet for solid vocal isolation on a budget comes down to three key factors: size, material, and mic clearance. You need enough interior space to avoid feeling cramped-most booths range from 20 to 24 inches deep-but not so large that reflections weaken sound absorption. Look for dense foam or composite panels with proven material durability; softer fabrics may collapse over time. High NRC-rated materials (0.75 or above) trap mid and high frequencies effectively. Mic clearance matters too: allow at least 6 inches between your mic capsule and the booth’s interior wall to prevent plosives and phase issues. Compact models like the Kaotica Eyeball or sE Electronics Reflexion Filter work well for dynamic mics, but condensers may need more room. Most units last 3–5 years with moderate use. Check warranty lengths-2 years is typical-and read real-world reviews on long-term sound absorption performance.
Place Your Mic for Crisp Audio in a Portable Booth
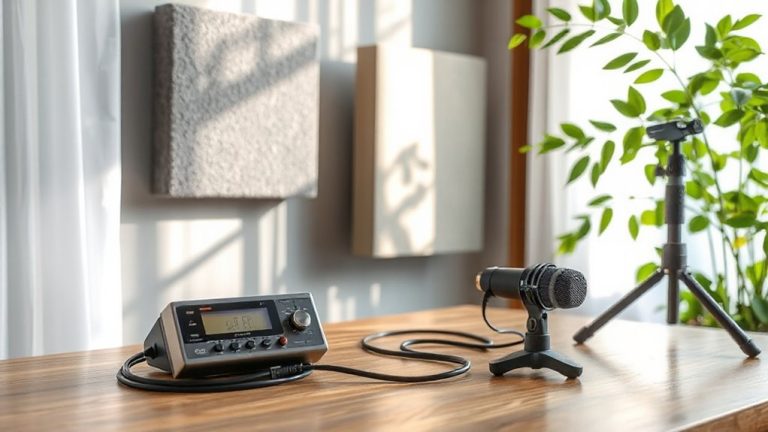
You’ll get the cleanest vocal tone by positioning your microphone dead center in the portable booth, aligned with your mouth when seated in your usual recording posture. Proper mic positioning reduces plosives and uneven frequency response, especially with directional condenser mics. Keep the capsule 6–8 inches from your mouth to maintain intimacy without overloading the preamp. Centering the mic improves sound isolation by ensuring reflections bounce off the booth’s padded interior rather than hard surfaces. Don’t mount it too close to the fabric walls-leave at least 3 inches clearance to prevent muffled tone. Most portable booths aren’t fully sealed, so mic placement directly impacts how much ambient noise gets rejected. Even slight off-center angles can compromise isolation, especially in shared spaces. While these booths help, they can’t match permanent walls. Adjust your gain carefully; poor mic positioning can undo the benefits of decent sound isolation. Test recordings at speaking level before final takes.
Complete Your Recording Desk in 20 Minutes
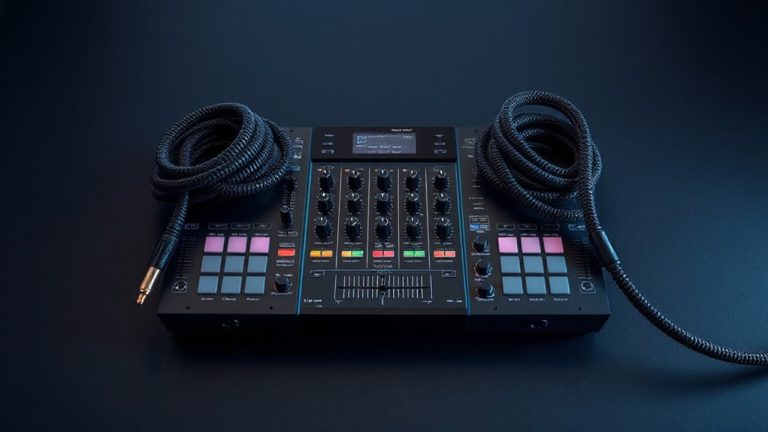
How much should you really expect from a 20-minute desk overhaul? You can build a functional, tidy recording zone-if you focus on essentials. Start with cable management: use adhesive clips or a nylon sleeve to bundle power, audio, and USB cables. That alone cuts clutter and reduces noise interference. Position your audio interface and mic preamp within easy reach, but anchor them to avoid shifts during use. Then, set up your lighting setup with a soft-led ring light or desk lamp at a 45-degree angle to your face-avoid backlights that cause shadows. Mount it with a clamp arm to save space. Don’t aim for perfection; this is about consistency, not studio-grade polish. Some gear may still feel cramped, especially with larger headphones or monitors. But in 20 minutes, you’ll gain clear workflow gains, better signal paths, and a professional look on camera-worth the trade-offs. For even cleaner setups, consider using a best cable management solution to hide and route cables behind your desk.
On a final note
You’ll get cleaner audio fast with a portable booth-it’s a smart pick if you’re short on space or budget. They cut reverb and outside noise better than cheap foam, but won’t match a fully treated room. Look for models with at least 6 inches of mic clearance and dense, breathable fabric. Most set up in under 10 minutes and fit on standard desks. Just don’t expect miracles in noisy apartments-background sounds may still leak.