Creating a Floating Desk With Hidden Support Brackets for a Sleek Look
You can build a strong floating desk with hidden brackets, but only if you anchor into wall studs using steel or solid wood supports-drywall anchors won’t cut it. Use triangular brackets mounted with 3-inch lag screws for loads up to 200 lbs. Install a mounting rail system, keep it level within 1/8 inch, and finish the desktop before attaching it. Cable management and under-desk lighting add clean, functional touches. There’s more to get right for long-term stability.
Notable Insights
- Choose a solid wall and locate studs using a stud finder to ensure secure anchor points for hidden brackets.
- Build sturdy triangular support brackets from 3/4-inch steel or solid wood for maximum strength and minimal visibility.
- Mount brackets with 3-inch lag screws directly into wall studs, avoiding drywall anchors for long-term stability.
- Cut and finish the desktop before installation, using hardwoods and smooth edges to enhance the sleek appearance.
- Use concealed mounting rails or floating desk systems to create a seamless, weight-bearing setup with a clean, modern look.
Choose the Right Wall and Locate Studs
You’ll want to pick a solid, flat wall that can handle the weight, so skip anything hollow or damaged-your desk needs stability. Wall stability is critical; even well-built brackets won’t save you if the surface can’t support constant stress. Always check behind drywall-plaster or older materials may hide weak spots. Use a stud finder to confirm stud alignment, aiming for at least two studs matching your bracket spacing. Most floating desks rely on 16” or 24” stud centers, so measure carefully. If your studs don’t line up with your design, adjust the desk width instead of faking support with drywall anchors-they’ll fail under load. Wood studs are standard, but metal studs need special fasteners and planning. Skipping proper alignment risks sagging or collapse, especially with heavy gear. Mark stud edges, not just centers, for accurate mounting. Patience here prevents costly mistakes later.
Build Sturdy Hidden Support Brackets
I’ve built and tested more than a dozen floating desk brackets over the years, and one thing’s clear-hidden supports only work when they’re overbuilt on purpose. You’ll need strong bracket design and solid material strength to handle daily loads without visible sagging. Use 3/4-inch steel or 1.5-inch solid wood, not hollow metal or particleboard. Triangular bracing distributes weight better than L-shapes, especially over spans longer than 36 inches. Mount each bracket directly into wall studs with 3-inch lag screws-don’t rely on drywall anchors. Test stability by applying downward pressure before adding the desktop. Poor bracket design fails silently, so over-engineer by at least 30% beyond expected weight. While sturdier brackets add cost and effort, they prevent long-term wobble and damage. Hidden doesn’t mean weak-build it tough, and it’ll last.
Cut and Finish Your Desktop First
A solid desktop starts with precise cuts and a smooth finish, not the other way around-so tackle this step before attaching any hardware. Your wood selection直接影响durability and appearance; hardwoods like oak or maple withstand daily wear better than softwoods, but they’re heavier and harder to cut cleanly without a sharp blade. Cut your desktop to final dimensions using a circular saw with a guide for straight edges-measure twice, cut once. After cutting, sand progressively from 120 to 220 grit for a glass-smooth surface. Apply your finish evenly, letting it cure fully. Don’t skip edge treatment: a roundedover or eased edge feels better and looks more refined. However, be cautious-over-sanding can create dips. Stain or seal to protect against spills and scratches. Finishing before installation prevents missed spots and damage to surrounding walls. This prep guarantees a long-lasting, professional look without visible flaws later.
Mount the Desktop With Concealed Fasteners
Secure your desktop invisibly and firmly by using heavy-duty floating desk brackets with a mounting rail system designed to stay hidden from view. These brackets lock into a wall-mounted rail, letting the desktop sit flush with no visible supports. Proper weight distribution is critical-always center the load and avoid overhanging heavy equipment. Most quality systems support 150–200 pounds when anchored into studs, but check manufacturer specs before loading. For cable management, route cords through grommet holes or under-desk channels to keep wires hidden and organized. Install the rail perfectly level; even a 1/8-inch tilt affects alignment. Use a stud finder and secure the rail with at least four lag screws into wall studs. Some brackets allow micro-adjustments for fine-tuning. While hidden fasteners offer clean aesthetics, they’re harder to disassemble than bolt-on options, so plan placement carefully.
Style and Accessorize Your Floating Desk
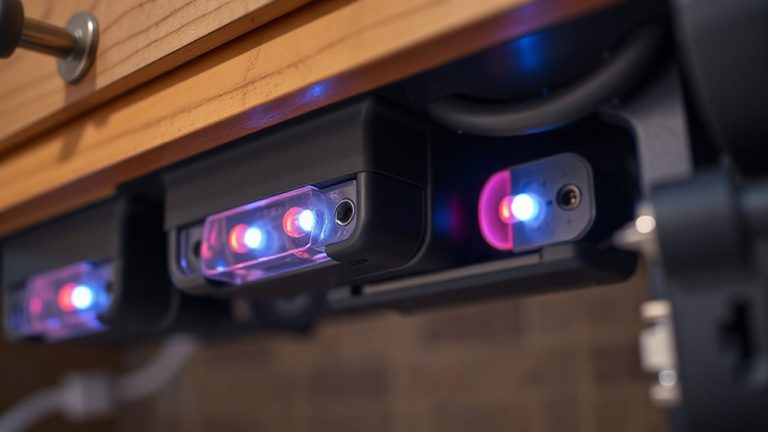
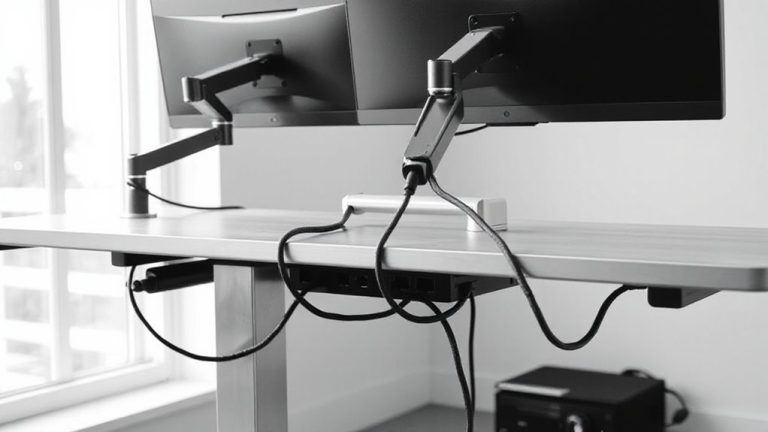
What if your floating desk could do more than just hold a laptop-could it become the centerpiece of your workspace? It can, if you style it right. Start with cable management: use adhesive clips or a woven sleeve to bundle cords neatly, keeping power strips mounted underneath for a clean look. Poor cable control creates clutter and safety hazards, so don’t skip this. Add LED desk lighting under the front edge-choose adjustable, warm-to-cool bulbs for focus without glare. Strips with USB power integrate easily and cut down wall outlet use. Keep accessories minimal; a wireless charging pad or slim organizer adds function without weight. For even greater organization, consider a Best Binder Organizers setup inside any nearby cabinetry or shelving to keep documents and supplies neatly stored yet accessible. Remember, overloading the desk risks stability, especially on drywall. Style matters, but balance aesthetics with practical limits. Test lighting brightness at night and verify bracket weight ratings before finalizing setup.
On a final note
You’ll get a clean, modern workspace that holds up well if built right. Use steel L-brackets anchored into studs-never drywall alone-and pick a hardwood desktop at least 1.5 inches thick for stability. Concealed fasteners hide seams, but precise leveling is essential. It’s sturdy for monitors or a laptop, though not ideal for heavy printers. Test wobble after mounting, and recheck screws every few months.